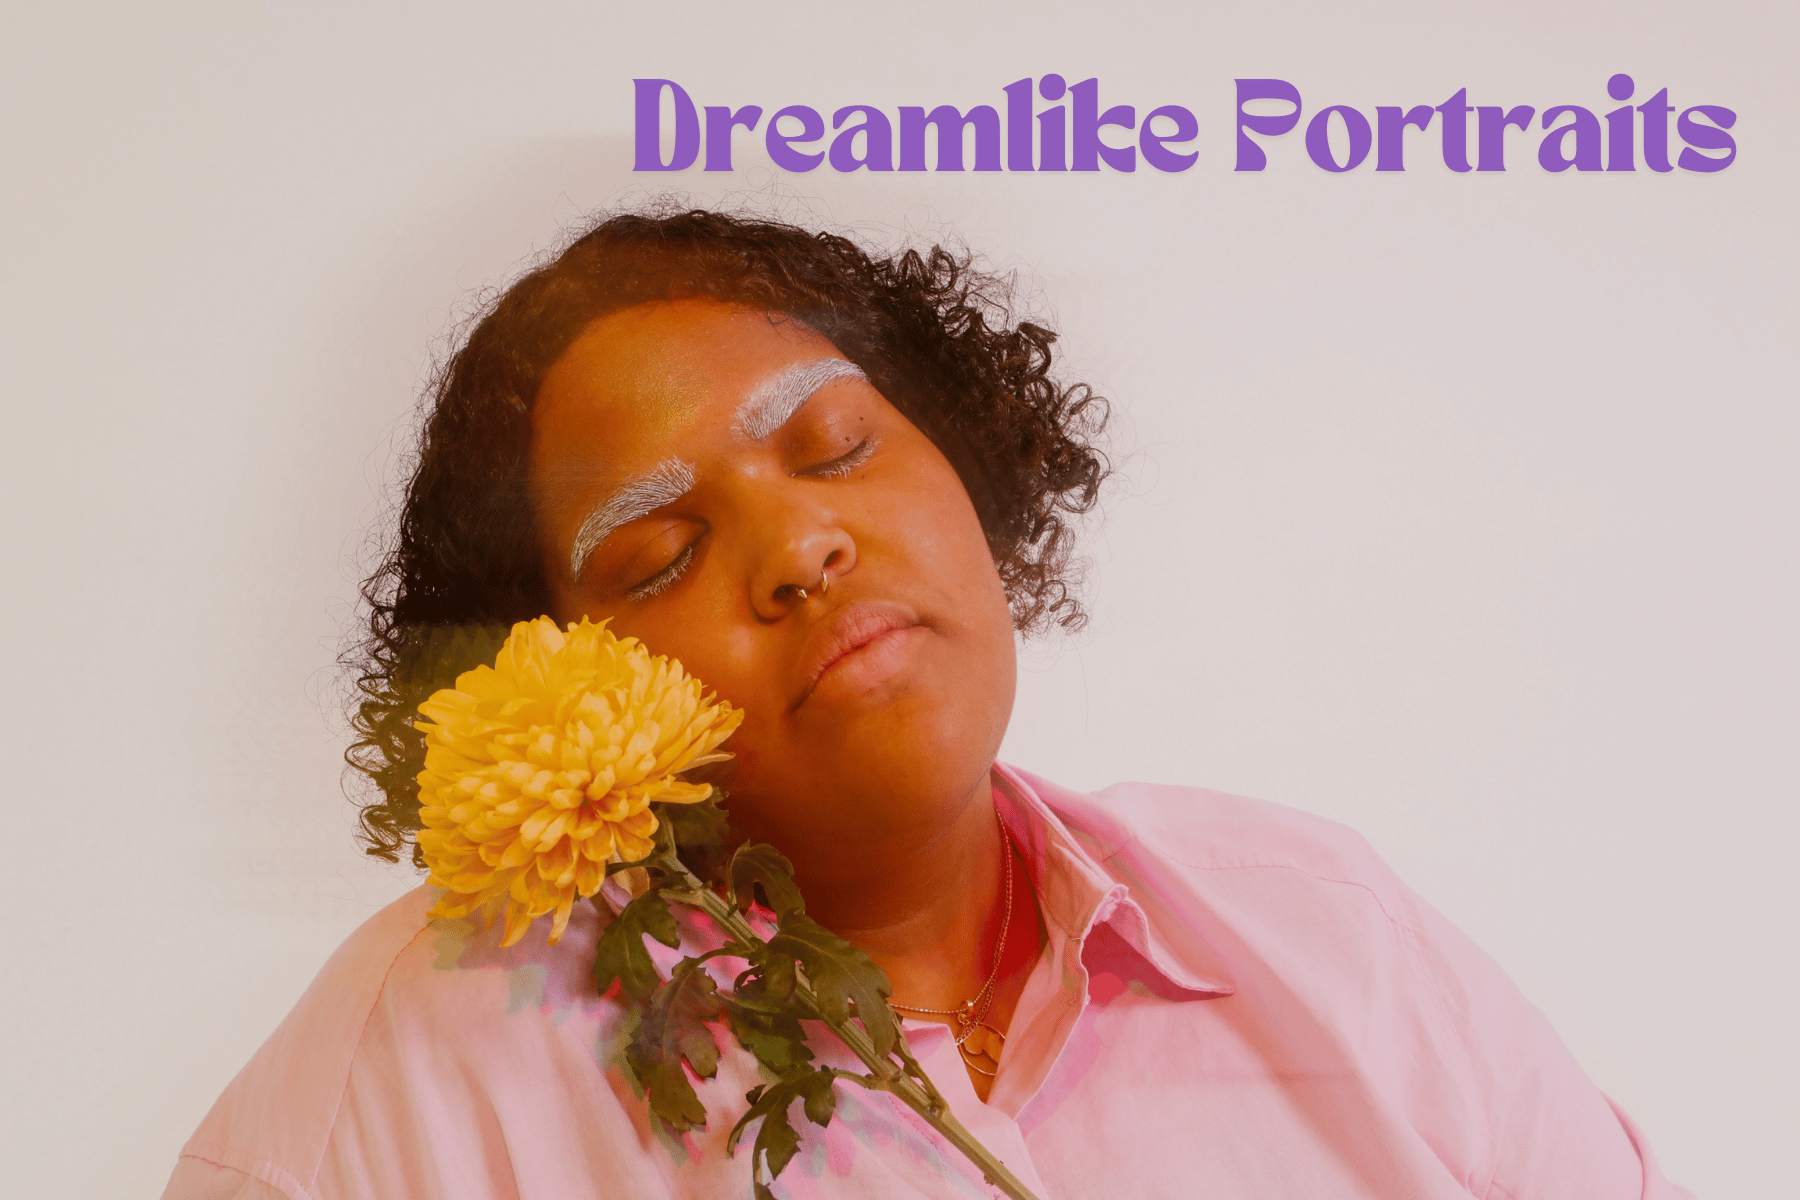
Creating soft and dreamy portraits has become a popular trend, giving photos a magical, “dreamlike” quality. These portraits often evoke feelings of nostalgia, romance, or tranquility - perfect for photography genres like weddings.
If you’re a beginner, mastering this style can open up new creative possibilities for your work. In this blog, I’ll share tips and techniques to help you get started, from shooting to post-processing.

The Basics of Dreamy Photography
Before diving into editing, it’s essential to understand what makes a photo look dreamy. Here are some key elements:
- Soft Focus: A slight blur in parts of the image creates a gentle, glowing effect.
- Muted Colors: Pastel and subdued tones add to the dreamlike quality.
- Light and Airy Exposure: Bright, sometimes overexposed areas contribute to the ethereal feel.
- Subject Matter: Nature, romantic portraits, or peaceful landscapes often suit this style well.
Key Elements of Dreamlike Portraits
- Lighting: Natural light, diffused light is ideal. Shooting during golden hour (just after sunrise or before sunset) creates a soft, ethereal vibe.
- Composition: Keep it simple. Uncluttered compositions draw attention to the softness and details of the image.
- Wardrobe and Setting: Flowing clothes, delicate fabrics, and natural settings like fields or gardens enhance the dreamy effect.

Preparing Your Image: Shooting Tips
Starting with a well-composed and well-lit photo is crucial. While editing enhances the dreamy look, the foundation is set during the shoot.
1. Choose the Right Lighting
Soft, diffused light helps avoid harsh shadows and creates a natural glow. Overcast days, open shade, or golden hour light work best. Try backlighting your subject for a beautiful halo effect.
2. Use a Wide Aperture
Using a wide aperture - something like f/1.8 to f/2.8—creates a shallow depth of field. This blurs the background and isolates the subject, adding to the softness of the image.
3. Experiment with Soft Focus
Soft focus can enhance the dreamy effect. It doesn’t mean the entire image should be blurry, but allowing some elements like the background or edges to be less defined adds to the atmosphere.
4. Incorporate Motion
A little movement, like wind through hair or a flowing dress, can amplify the dreamy feel. Use a slightly slower shutter speed to capture motion gently.
5. Consider Your Background
Choose simple, uncluttered backgrounds. Natural settings often work best, keeping the focus on the subject.

Step-by-Step Editing Process for Dreamy Photos
Once you’ve captured your image, editing will bring out the dreamy effect. Here’s a step-by-step guide using Lightroom and Photoshop.
1. Basic Adjustments in Lightroom
Start with basic adjustments to set the stage for dreamy effects:
- Exposure: Increase slightly for a light, airy feel.
- Contrast: Reduce to soften the overall look.
- Highlights and Shadows: Lower highlights to recover details, and lift shadows to brighten darker areas.
- Clarity: Reduce to create a soft, hazy effect.
- Vibrance and Saturation: Decrease slightly for a muted color palette.
2. Adding Glow and Softness
Now, add the signature glow and softness:
- Duplicate Layer: In Photoshop, duplicate the background layer.
- Gaussian Blur: Apply a soft blur (10-20 pixels) to this layer.
-
Blending Modes: Change the layer to
Soft LightorOverlay. Adjust opacity to fine-tune the effect. - Layer Mask: Use a mask to keep certain areas sharp, like eyes or key details.
3. Color Grading
Color grading sets the mood:
- Tone Curves: Adjust for a slight matte effect.
- Split Toning: Add warm tones to highlights and cool tones to shadows for balance.
- HSL Adjustments: Fine-tune colors for a soft, cohesive look.
4. Final Touches
These small adjustments can make a big difference:
- Vignette: Add a subtle vignette to draw attention to the center.
- Sharpening: Selectively sharpen key areas to enhance focus.
- Noise Reduction: Use noise reduction if needed to smooth out grain.
5. Saving and Exporting
Save your work and export it in high resolution for printing or online sharing.

Tips for Enhancing Your Dreamy Portraits
1. Practice Makes Perfect
Experiment with different settings and work through various editing techniques to see what works best for you.
2. Use Presets
Presets can help you achieve a consistent look. Use them as a starting point and tweak them to fit your style.
3. Study Other Photographers
Look at the work of photographers who excel in this style. Learn from their use of light, composition, and editing.
4. Keep It Subtle
Less is often more in dreamy photography. Aim for a natural, effortless look.
5. Experiment with Different Subjects
Try this style with various subjects, not just portraits. Flowers, landscapes, and still life like jewelry can also look stunning with a dreamy effect.
Conclusion: Embrace the Dreamy Aesthetic
Editing soft and dreamy photos is a beautiful way to explore your creativity. By understanding the basics, knowing the tools, and experimenting with different techniques, you can create captivating images that inspire. Grab your camera, start shooting, and embrace the dreamlike aesthetic in your photography!
Related article: Shallow Depth of Field: A Guide to Better Storytelling
Related article: How to Use Color Theory to Create Visually Pleasing Images?
Related article: Into the Mist: How to Capture Atmospheric Fog Photos as a Beginner
Related article: Glitch Reality: How to Capture Real-Life Scenes with Glitch Art Effects
Related article: 10 Tips for Photographing People
Related article: How to Use Prism Photography to Create Creative and Abstract Images?


