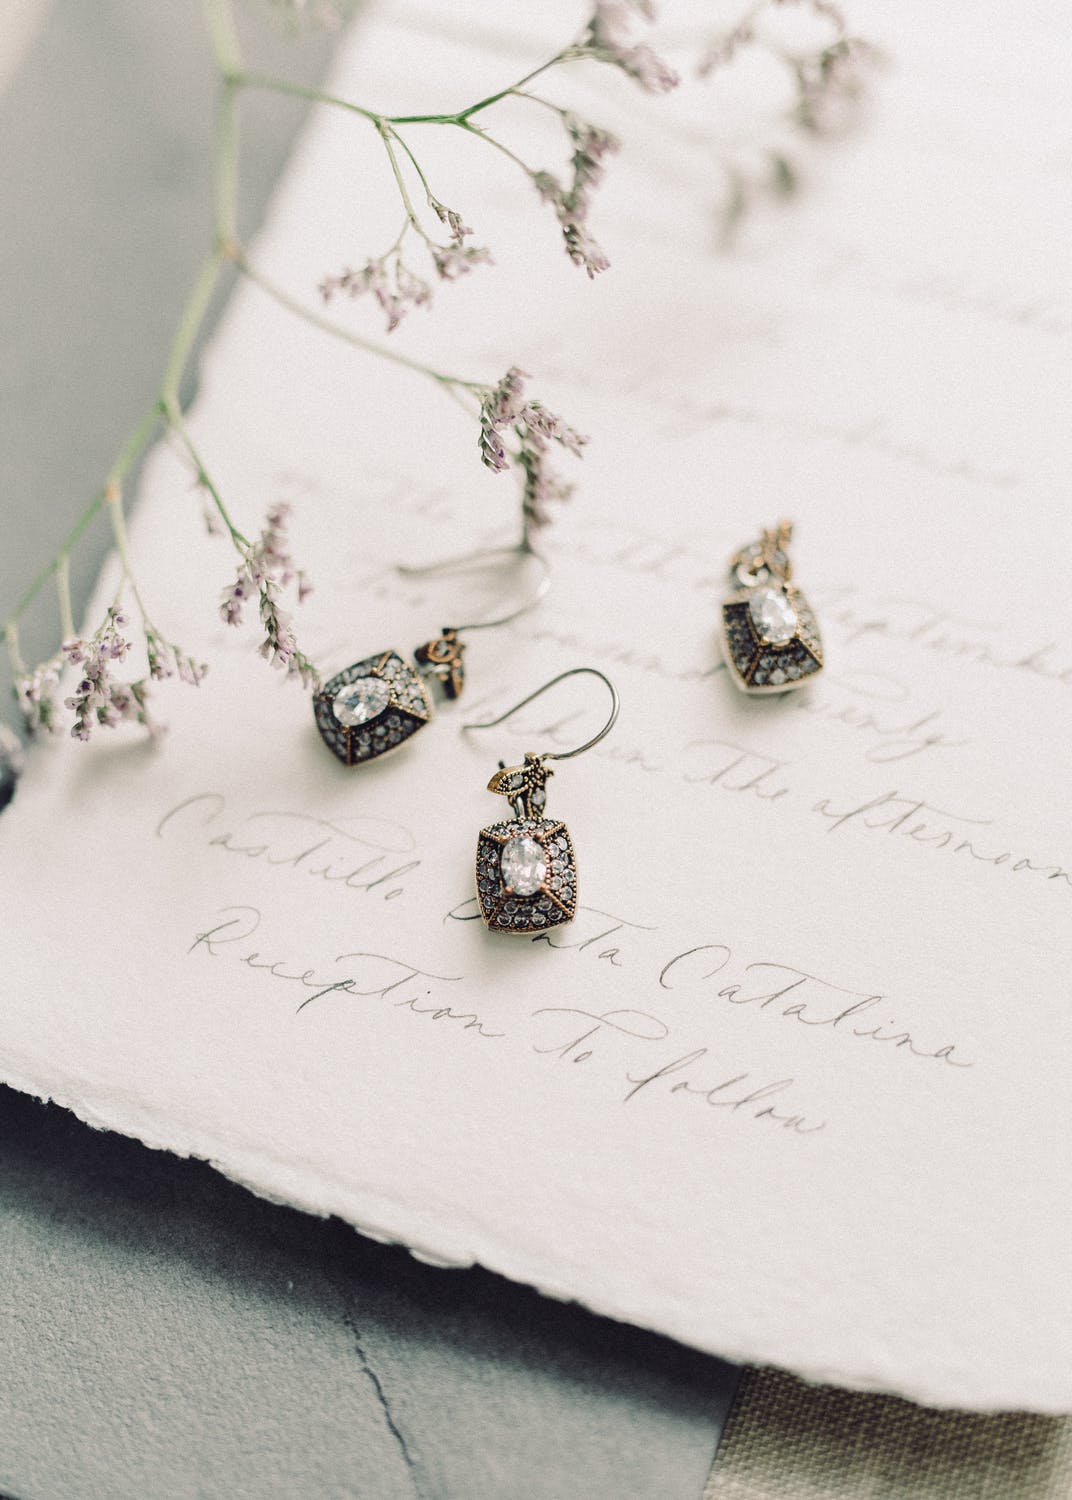
If you are an eCommerce jewelry seller, you know the struggle is real. Trying to photograph jewelry has its challenges. You need to capture all of the tiny detail and texture, so potential buyers know what they are purchasing.
Although there are challenges, don't let them discourage you. With a few helpful tips, you'll be able to capture your accessories like a pro. On the upside, setting up your scene should be a breeze since you aren't trying to photograph a large item.
Lighting
Ensure you have the proper lighting. Whether that is natural light from a window or you invest in a light kit. Stay away from using a flash when photographing jewelry so you won't have a glare or cause shadows in your background. No matter what your light source is, you'll need to make sure it is indirect.
If you purchase a light kit, make sure you have two flash heads or continuous light, one for the left and the other for the right. Most light kits will also come with reflective umbrellas and fabric diffusers to help reduce reflection.
Background
Next up is your backdrop choice. You can easily use a white sheet as your background but, it's best to purchase a lightbox to help contain your light. Most jewelry has a reflective surface which can cause issues if you aren't using a lightbox. Using a lightbox, like a Promaster Still Life Studio, will also help create a simple background that way, you aren't taking the attention off of the beautiful piece of jewelry.
Gear & Props to Consider
• Tripod: Use a tripod to keep your camera steady. You want to make sure it is perfectly still to keep your photo in focus.
• Lens: Invest in a great macro lens with a focal length of 60mm. Using this will help magnify the jewelry.
• Mannequin Bust: Laying a piece of jewelry flat won't always do it justice. Picking up a mannequin bust is a way to prevent a lack of visuals. Using this will help your buyers visualize how a necklace would look on their neck. A white bust will most likely be the best for most jewelry colors to help it pop on the mannequin during photographs. In-person, white isn't the best choice.
• Double-sided tape/Glue Dots: If you need help propping a ring up, you can use double-sided tape or glue dots. You should take a few photos, one upright and another flat on the surface.
• Fishing Wire: If you have dangling earrings, purchase some fishing wire. Using this will help showcase the fringe/dangle. Always ensure there is no movement when you are ready to take the photo.
What Aperture Should You Use?
Now that you have your camera and lens ready to go, what aperture is best? Let's start with the aperture. You want to avoid using a wide aperture with your macro lens. Using a wide aperture will allow too much light to enter and create an off-focus photo of your jewelry. This will create a bokeh look which we want to stay away from (since this isn't a portrait photo). Try using an aperture of f/11 or f/16 to capture more details on your jewelry.
The do's and don'ts of jewelry photography:
Do:
• Keep consistent lighting for all jewelry. This will help your eCommerce site look more professional.
• Always color correct your photos. If you have too much light or not enough, your image won't portray the true colors of your pieces. You want the buyer to know what they are buying so they don't leave negative reviews or even return the product.
• Do take a lot of photos! Try and get as much detail as possible, even photograph clasps on a bracelet or necklace.
• Try working with models if you can fit them into your budget. Having an actual model show off your pieces can better visualize how the piece will look on your buyer.
• Get creative with moving GIFs or small videos of your collection. Although photos can still do justice, adding a small jewelry video adds a little marketing pizzaz.
Don't
• Don't take photos of dull and dusty pieces of jewelry with fingerprints all over. Clean and polish all of your jewelry before photographing. It will save time in the long run during post-processing.
• Avoid reflections. This all goes back to your lighting. Having zero reflections will ensure your potential buyer sees all of the detail.
• Don't rely on buyers to read descriptions. Again, this is why you need to make sure you accurately portray the jewelry as much as possible. Take multiple photos and different angles of your pieces. They should know what they are buying based on your photographs.
• Don't use multiple backgrounds for your photos. Consistency is the best way to show how professional you are. Use the same backgrounds for all of your photos.
Now get your butt out there and start photographing your jewelry collections and make some money! With these helpful tips, you're sure to have an eCommerce that looks professional and consistent.


