If photography is a new hobby to you, hearing the term Raw images might throw you off a bit. Using a Raw image while editing in Photoshop will allow you to retain all of the image's data.
Okay, let me back up a bit...what exactly is a Raw image? Well, a Raw image is a photograph that is taken in an uncompressed format. That means the image sensor will grab all of the light, shadows, and colors during the time your shutter is open. Your camera converts all of this into pixels (tiny squares that make up your image).
Raw file formats might be called different names with different cameras. For example, Nikon names Raw files as NEF files, or Canon names them CR2 or CRW files. RAW images taken with Sony cameras are saved with the .ARW extension, Panasonic Lumix is saved as .RW2. Raw files are usually uploaded with XMP files (Extensible Metadata Platform). These files will give you information about your Raw file and, sometimes, this is a hidden file you won't even see.
The downside to Raw files is how large they are compared to a JPEG file. Because of this, you will need to have a few extra SD cards on hand to switch out once one card is full.
Now we understand what a RAW image is. So, why is it so important?
An important thing to remember is that not all editing software will accept a RAW image. Your safe bet would be to use one of the following:
- Adobe Photoshop
- Adobe Lightroom
- GIMP
- Google Photos
- Pixelmator Photo
- Snapseed
- Corel Aftershot Pro
After you open your image, you will be able to adjust nearly everything. You will have access to exposure, hue and saturation, brightness and contrast, distortion, and more. You will be able to manipulate how your photo turns out in the end and put your own unique style to it.
Time to Understand Smart Objects
Adobe Photoshop and Lightroom are the two most popular photo editing software. Within Photoshop, you have layers, and a smart object is a non-destructible layer. When you are in a smart object layer, you can edit or revisit edits you've already done.
Regular layers are different because edits like resizing, shrinking, and more can result in a low resolution and blurred image.

How do you convert layers into smart objects?
Right-click the desired layer and then select "Convert to Smart Object." If you want to convert multiple layers, press Shift + and select all the layers you want. Then, do the same as above and right-click and choose to convert.
For merged layers, go to Photoshop's top menu then, click:
• Layer > Smart Objects > Stack Mode > and then you will have the option to blend your merged layers the way you want.
Smart Objects will help keep the integrity of the photo and, there are a few other reasons why you will want to use them. Here are two:
1. Nondestructive filters
Photoshop gives you plenty of filter options, like camera raw, sharpening, noise reduction, gaussian blur, and more. When you choose to use a filter in a smart object, that filter becomes a smart filter. You can easily make edits in the filter dialog instead of having to delete the entire layer and restart if you've overdone one of your filter adjustments. You also have the option of blending smart filters by double-clicking the icon on the right-hand edge of the smart filter.
2. Noise Reduction by Image Averaging
If you use multiple identical photos and average them together, you can reduce the noise significantly. To do this, you can use a smart object by:
• First, convert them all to a smart object by selecting them all and then going to the menu bar and selecting Layer > Smart Objects > Stack Mode > Mean (or Median).
• Now, the layers will be averaged together to help reduce noise. You can also do this to experiment with different graphic design applications.

How do you edit smart object?
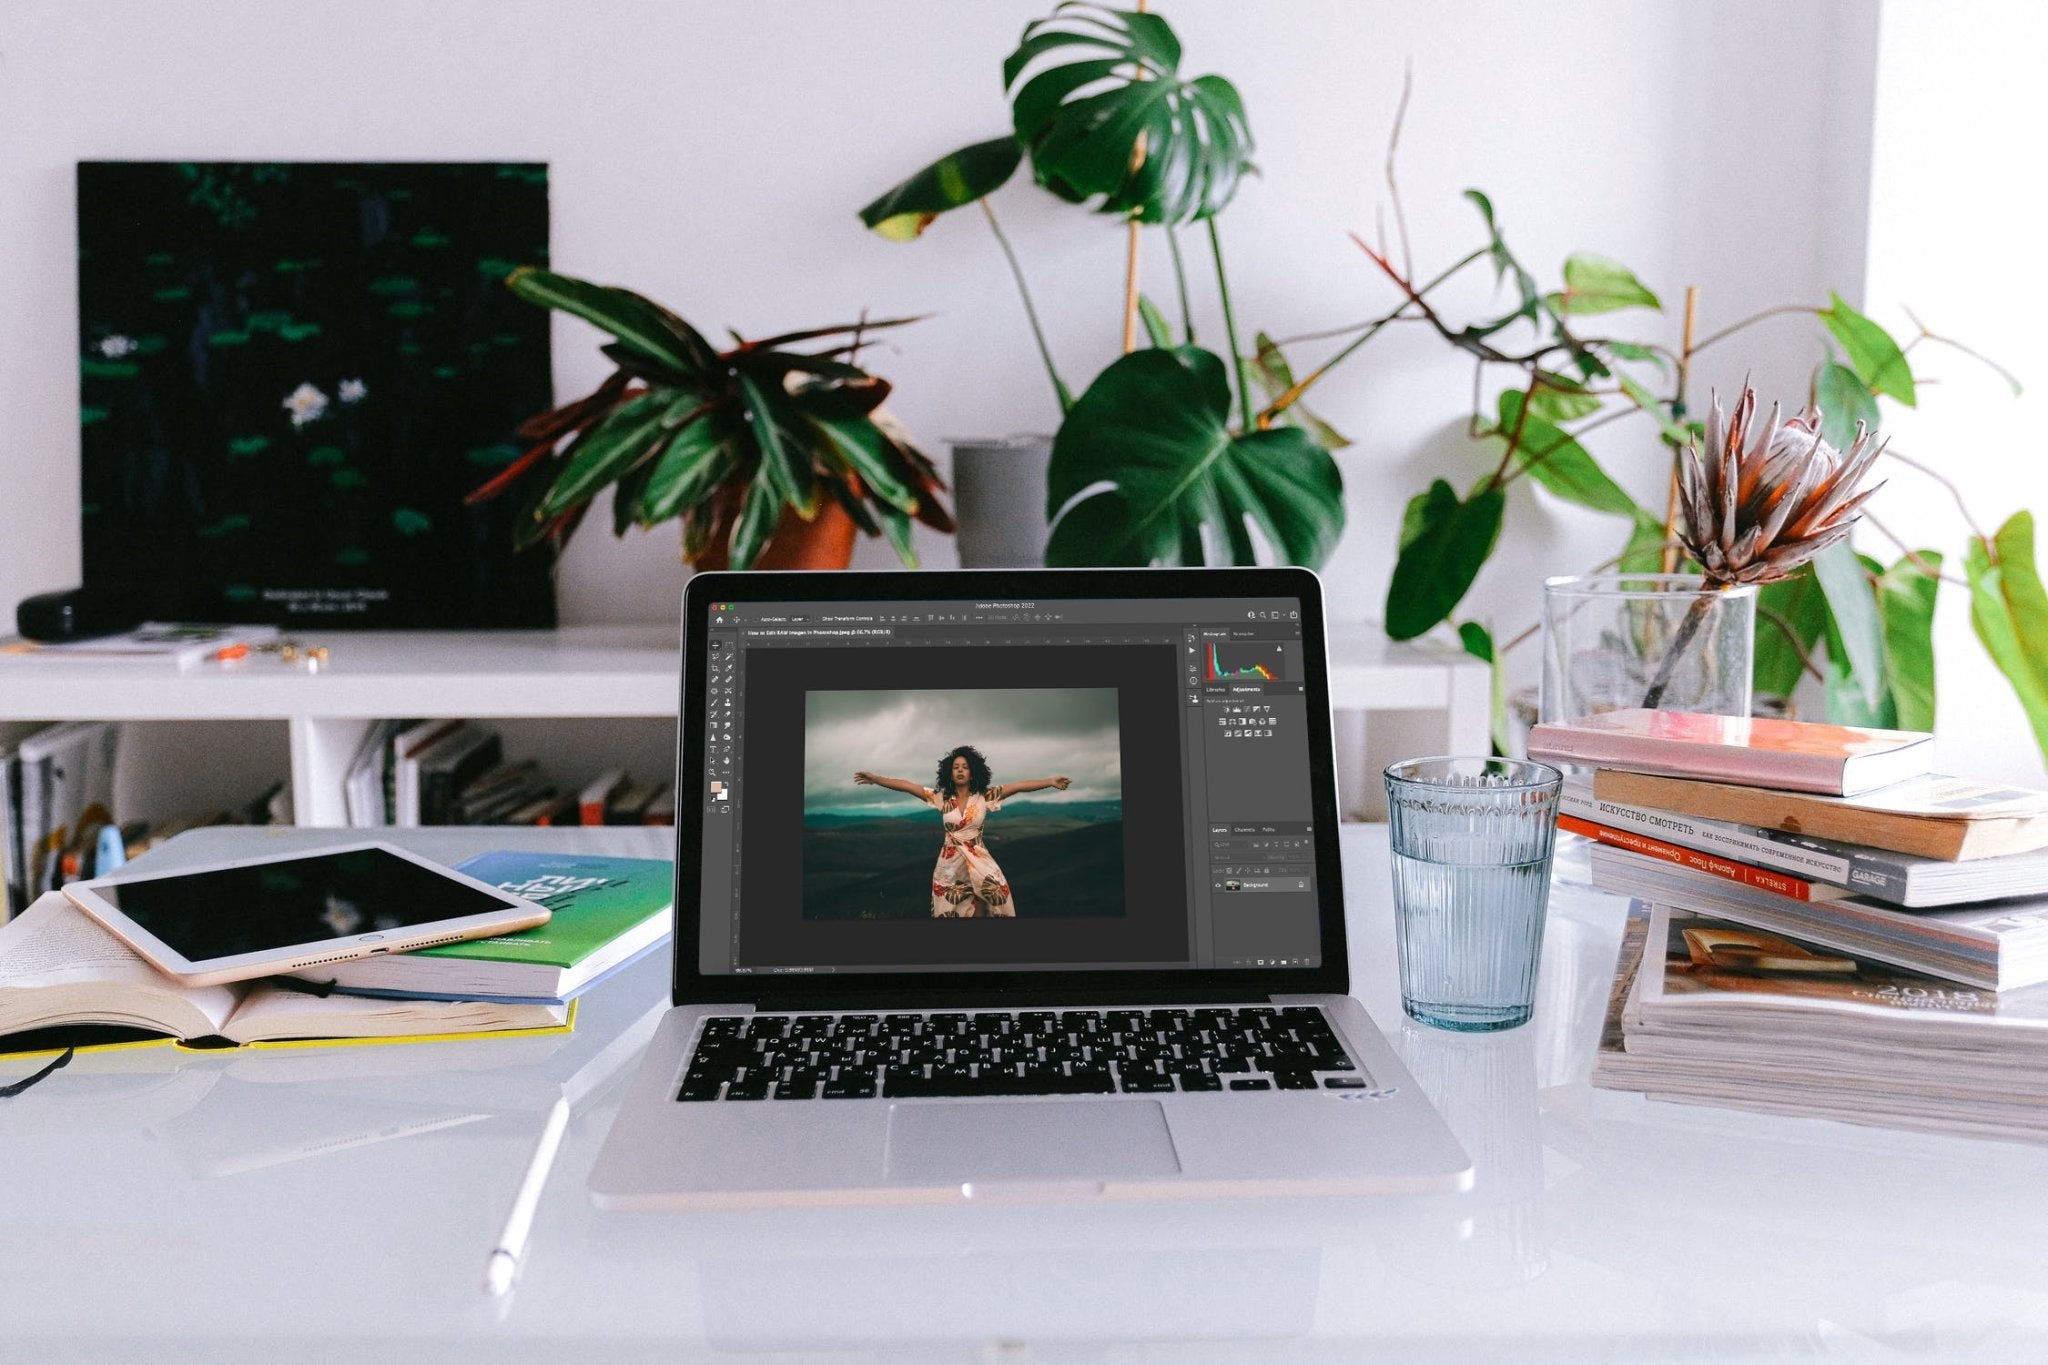
In Adobe Photoshop, you will have the option to edit your newly created smart object within the "Adjustments" section (see image above). This will allow you to edit your Raw images. Once you're in here, you will see a list of of icons. By clicking on a desired icon, you can adjust the following properties:
- Brightness / Contrast
- Levels
- Curves
- Exposure
- Vibrance
- Hue / Saturation
- Color Balance
- Black & White
- Photo Filter
- Channel Mixer
- Color Lookup
- Invert
- Posterize
- Threshold
- Selective Color
- Gradient Map

Please note: each of these properties creates a new layer. Once a desired change is made, be sure to save the file before continuing to further edit your raw image.
Now that you understand the capabilities a Raw image has, experiment away! Hop on Photoshop and play around with all of the neat features and how they can enhance the photographs you take.


