I used to loathe hard light--I tried my best to avoid it like the plague! A golden hour or open shade lighting was what I preferred; they gave me a kind of warmth and comfort that only those can provide. The softness of the colors and hues was more than enough to make me smile every moment I could get them. But sometimes, adverse conditions don't allow us to be picky with our locations or times for photography sessions - we have no choice but to use harsh light occasionally.
Hard Light in Photography Explained
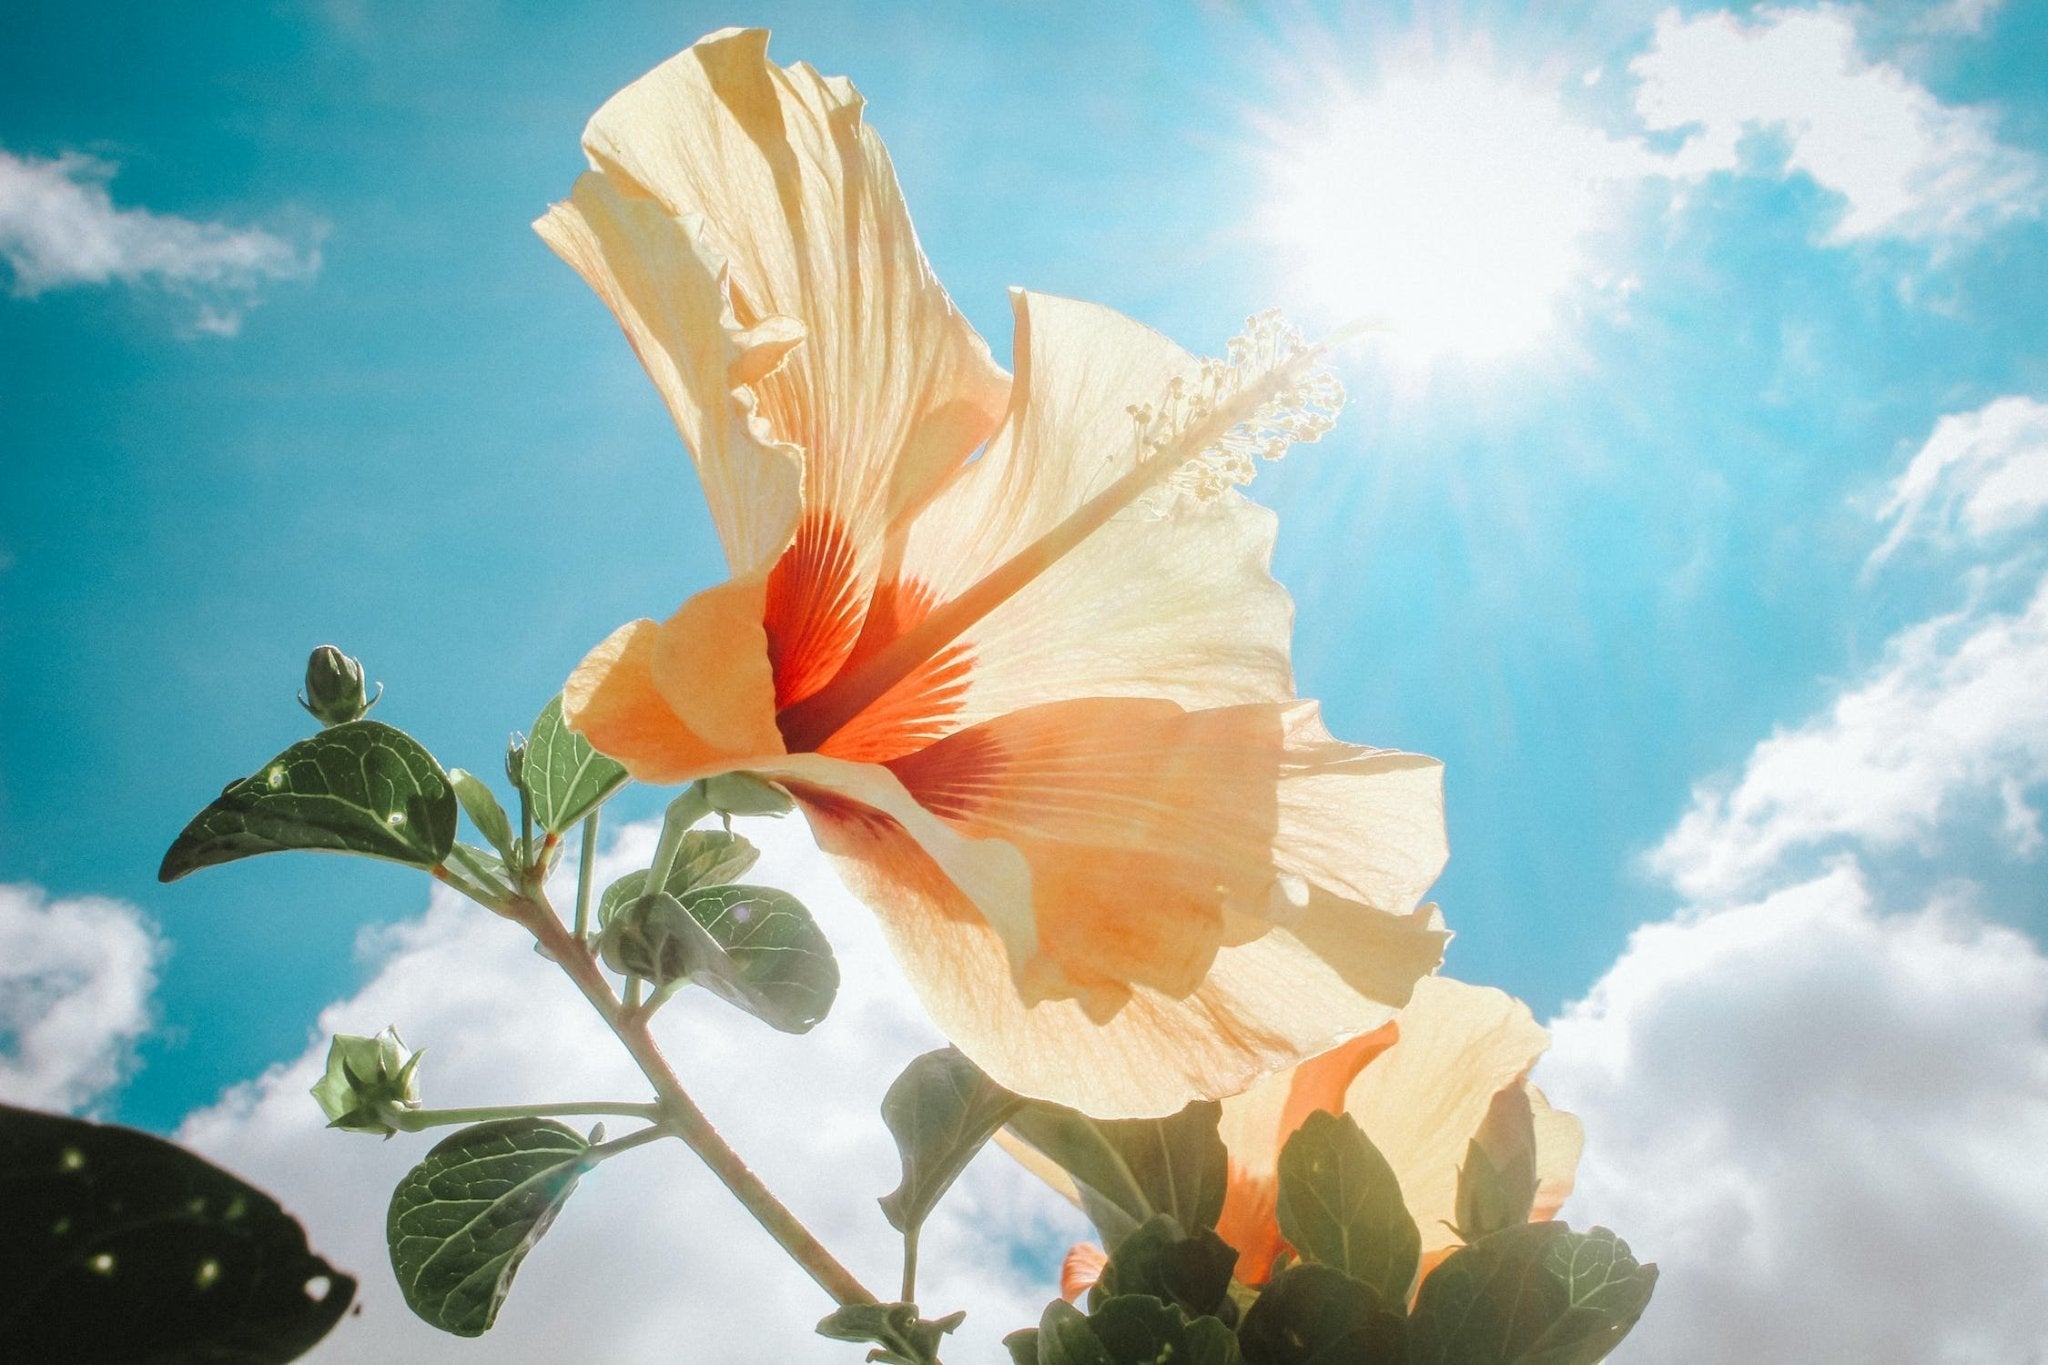
Hard light is a bright, intense source—imagine the sun shining high in an uninterrupted sky. This type of illumination typically results in sharp shadows with dark contrast.
Hard light is a bright, intense source—imagine the sun shining high in an uninterrupted sky. This type of illumination typically results in sharp shadows with dark contrast.
Here are a few tips to use when shooting in hard light:
Shoot in RAW format
While you may already be familiar with this, it's worth mentioning that shooting in RAW is a great way to ensure your images are more malleable and adjustable during post-processing. With RAW, you can easily slide the shadows up or down while maintaining quality - not to mention bringing highlights back from being overly bright! It offers an unprecedented amount of flexibility for even the most inexperienced photographer.
Spot Meter
I always employ spot metering, choosing a particular area of my subject to set the exposure. When capturing in bright light conditions, I don't favor Exposing to the Right (ETTR) for skin tones; whenever it is overly brilliant outside, I will opt to slightly underexpose or expose precisely at zero.
Pay attention to your shadows
If you are capturing images in intense Light, think carefully about the positioning of your subject concerning where the shadows fall. If they are facing toward the source of illumination, then they can create unpleasant shadows due to their intensity and angle.
Do a portrait without a face in the shot
Natural light photography is a breeze for your clients; they won't need to awkwardly pose, and you can craft an incredible story without awkward shadows. Just bask in the beauty of natural lighting, focusing away from the face, so the scenery takes priority.
Take complete control of your white balance
Disengaging Auto White Balance can enable you to take higher-quality photographs in complex lighting settings. I prefer using Kelvin, as it gives me more control over my camera's settings and allows for a much warmer white balance when shooting outdoors - something that adds depth and richness to the pictures I create. Consequently, if you aim to attain top-notch images regardless of light conditions, switching from auto-white balance should be one of your first steps!
Making awe-inspiring hard light photos is a breeze with these few simple steps. Start by setting your aperture high and ISO low, followed by spot metering off your main subject. Lastly, manipulate the shadows to fall exactly where you'd like them placed – voila! You've created beautiful images that stand out from the rest.
Related article: Golden Hour - The Key to Better Golden Hour Photography
Related article: How to Use Fill Light
Related article: Ring Lights for Product Photography
Related article: Create Moody Portraits with LED Lights


