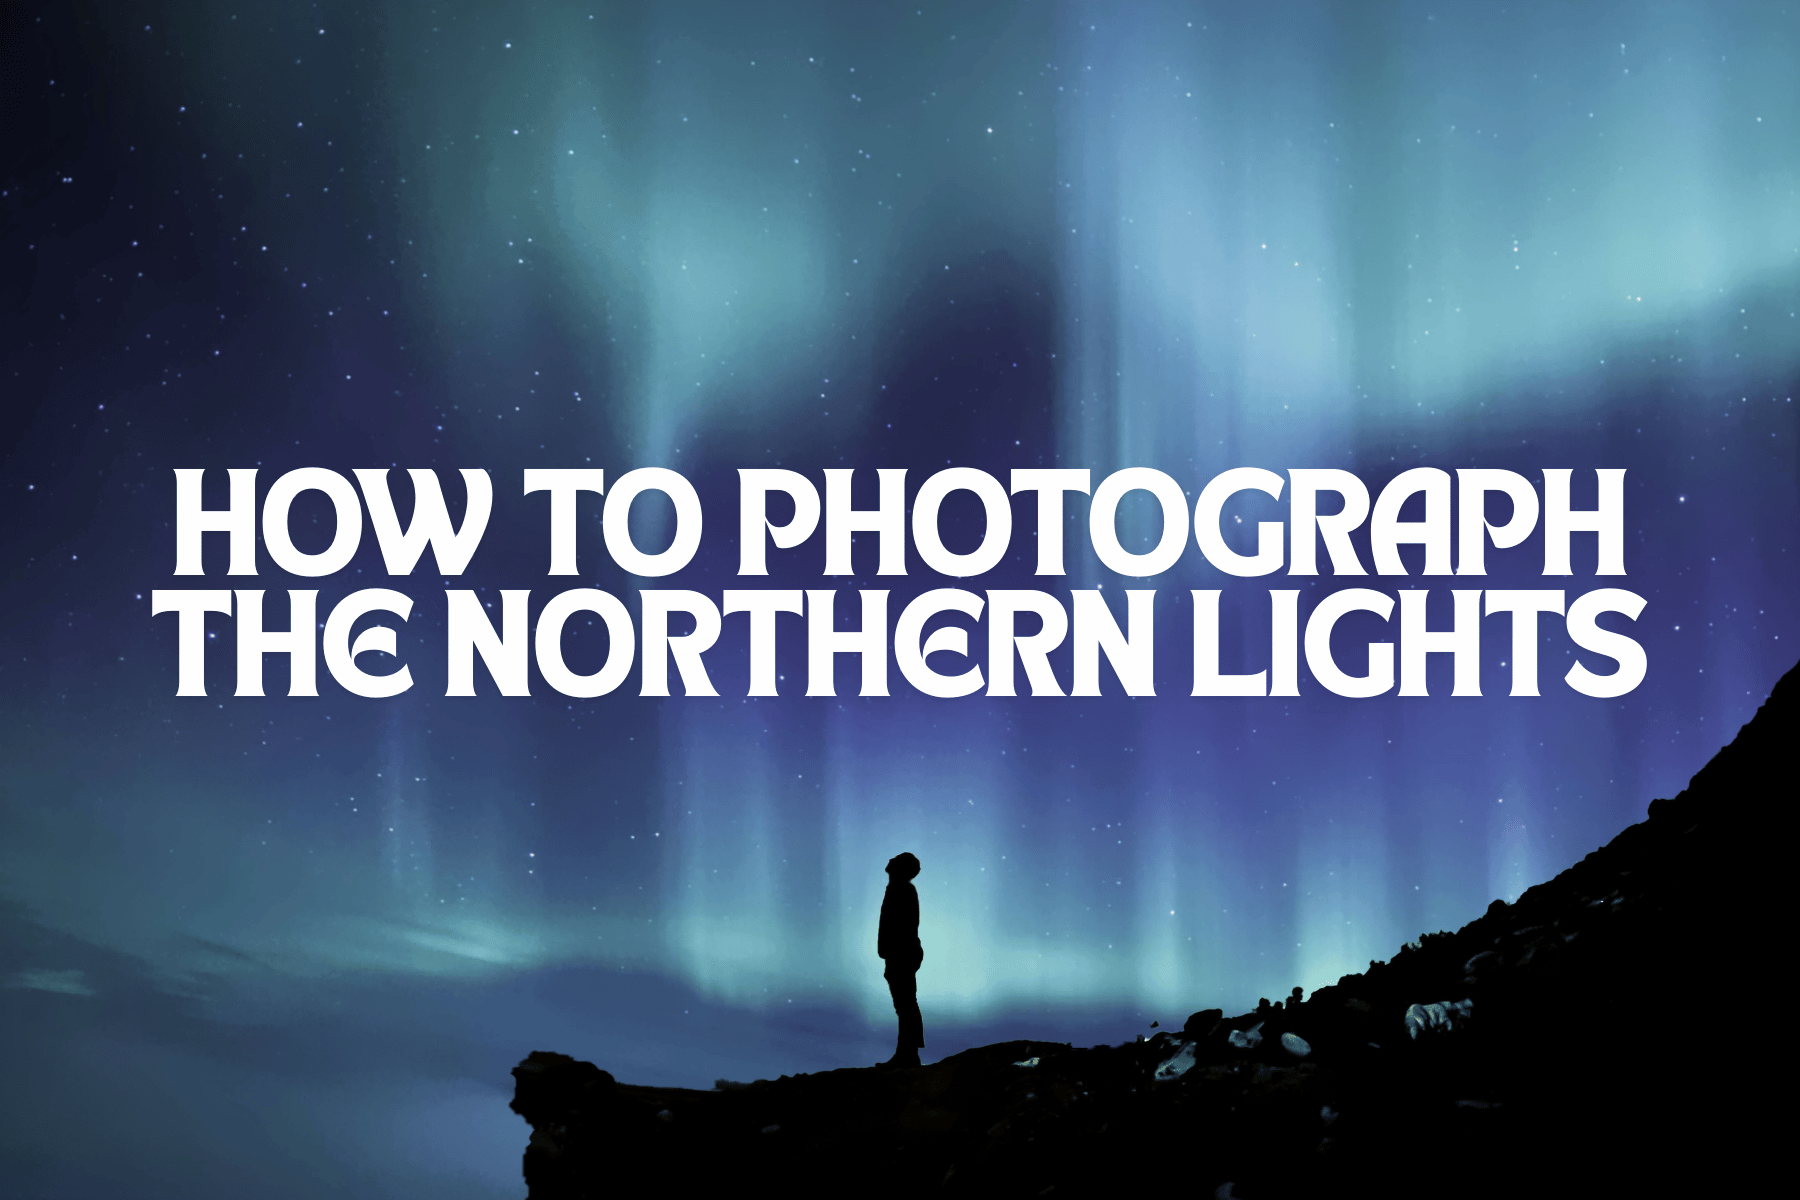
Have you ever seen photos of the Northern Lights, with colorful waves illuminating the night sky? It’s truly spectacular, and capturing the Aurora Borealis is a dream come true for many photographers. If you’re one of those shutterbugs eager to learn how to photograph the Northern Lights and make your pictures just as mesmerizing as what you see with your own eyes, you’re in the right place!
The swirling, wavy colors and otherworldly glow of the aurora make for one of the most breathtaking natural displays on Earth. While photographing them can be a bit challenging, especially for beginners, with the right preparation and gear, you’ll be snapping shots of those dancing lights in no time. Consider this blog your first step in mastering the art of photographing the Northern Lights!

What Are the Northern Lights?
Before diving into the "how," let's briefly talk about the "what." The Northern Lights, or Aurora Borealis, are a natural light display caused by charged particles from the sun colliding with Earth’s atmosphere. These collisions light up the sky in stunning colors—mainly greens, pinks, and purples. You’re most likely to see them in places close to the Arctic Circle, such as Norway, Iceland, Canada, and Alaska. The further north you go, the better your chances!

When to See the Northern Lights
Season: The best time to see the Northern Lights is between late September and early April, when the nights are long and dark. These conditions make the lights more visible and provide better chances for a great photo.
Time of Night: Aim to photograph between 10 p.m. and 2 a.m., when aurora activity is typically at its peak. However, keep an eye on the sky anytime it’s dark—you never know when the colors might appear!
Solar Activity: Check aurora forecasts for high solar activity, as this increases your chances of witnessing a great light show.

Where to Go to Photograph the Northern Lights
Latitude Matters: The closer you are to the poles, the better your chances of seeing the aurora. Top locations include Tromsø, Norway, Yellowknife, Canada, and Reykjavik, Iceland.
Avoid Light Pollution: To capture the Northern Lights clearly, head away from city lights and find a location with dark skies. Light pollution will make it harder to see or photograph the aurora.

Essential Gear for Northern Lights Photography
Getting to the right location is only half the battle. To successfully photograph the Northern Lights, you’ll need the right gear. Here’s what to pack:
-
Camera: A DSLR or mirrorless camera with manual settings is ideal. Full-frame cameras are great, but an APS-C camera works too.
-
Lenses: Use a wide-angle lens with a fast aperture, like f/2.8. A 14-24mm range will allow you to capture as much of the sky as possible.
-
Tripod: A sturdy tripod is essential for long exposure shots, helping you avoid shake and blur.
-
Remote Shutter Release: Minimize camera shake by using a remote shutter release cable or your camera's timer function.
-
Extra Batteries and Memory Cards: Cold temperatures drain batteries fast, so bring extras. And with all those amazing shots you’ll be taking, you’ll want plenty of memory card space!

Camera Settings for Photographing the Northern Lights
Once you’ve found your spot and set up your gear, it’s time to dial in the right camera settings:
-
Shoot in Manual Mode: Take full control by adjusting exposure, aperture, and ISO.
-
Aperture: Set your aperture to f/2.8 or f/4 to allow in the most light.
-
Shutter Speed: Start with a shutter speed of 10-20 seconds. Shorter exposures will capture sharp detail if the lights are moving quickly, while longer exposures will create a dreamy, abstract effect.
-
ISO: Begin with ISO 800-3200, depending on light conditions. Higher ISOs capture more detail but can introduce noise.
-
Focus: Switch to manual focus and set it to infinity. Fine-tune your focus using a distant light or bright star.
-
White Balance: Set your white balance to daylight (around 5500K), but don’t hesitate to experiment. Auto white balance can sometimes give unnatural results, so manual adjustments may be necessary.
-
Shoot in RAW: RAW files offer more data and flexibility in post-processing, especially when adjusting exposure and white balance.

Composing Your Aurora Photos
Photographing the Northern Lights isn’t just about pointing your camera at the sky. Here are a few composition tips to make your shots stand out:
-
Add Foreground Interest: Include mountains, trees, lakes, or buildings to add depth to your photos. This creates a more engaging image with foreground, middleground, and background elements.
-
Experiment with Angles: Don’t just shoot straight up. Try different perspectives to create more dynamic photos.
-
Capture the Movement: Use varying shutter speeds to capture the lights’ movement. Short exposures will show more detail, while longer ones will create smooth, dreamy effects.

Editing Your Northern Lights Photos
After capturing the aurora, a little post-processing can make your images even more magical. Here’s what to focus on:
-
Adjust Exposure and Contrast: Bring out the lights by increasing exposure and contrast.
-
Reduce Noise: Use noise reduction tools, but apply gently—overprocessing can make your photos look artificial.
-
Fine-Tune White Balance: If necessary, adjust the white balance to ensure the aurora’s colors look natural.
-
Sharpen: Add some sharpening to bring out details, but don’t overdo it.
-
Crop for Composition: Cropping can help improve your composition and highlight the most interesting parts of your image.
Conclusion: Enjoy the Journey
Photographing the Northern Lights is as much about the experience as it is about the photos. The chilly nights, the excitement of waiting, and the magic of watching the lights dance across the sky make for an unforgettable adventure. Don’t stress too much about getting the perfect shot—enjoy the process and let the aurora light up your night, and maybe even your life.


