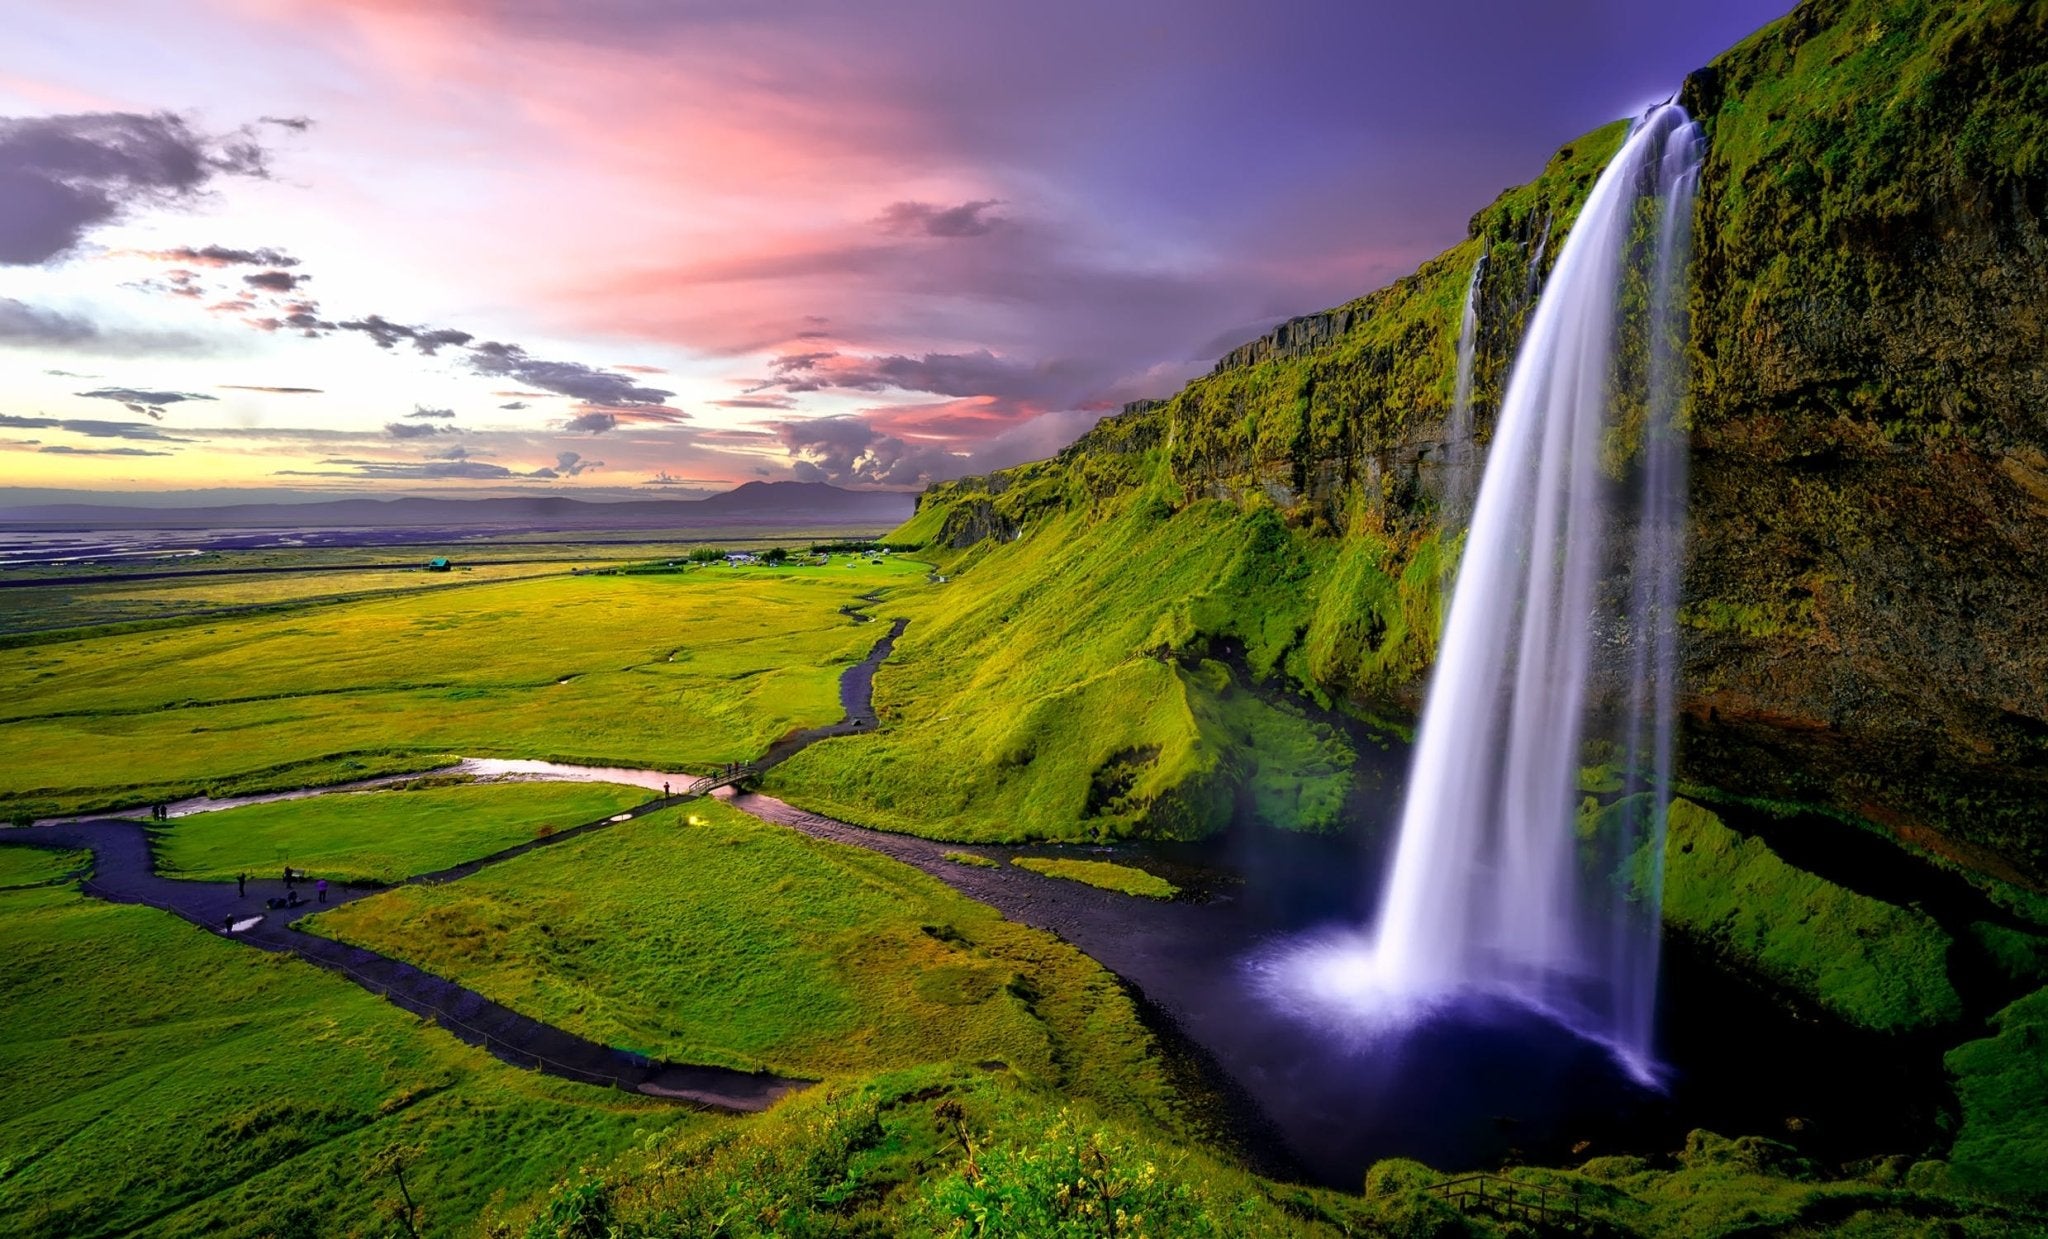
One of the more popular genres of photography is landscape. Landscape photographs can offer beautiful decor in the home and/or workplace. Landscapes are easy to capture since we are constantly near gorgeous scenery (for the most part). This style is also fairly simple because you don't necessarily need any special gear besides a tripod.
And, to be honest, this is probably one of the best genres for amateur photographers. The camera settings for landscapes are also relatively easy to learn, and you can score a stunning landscape photograph with a few tips and tricks.
Recommended Landscape Photography Settings
These settings are a great starting point. Remember, you should still experiment with your settings. Each camera works differently and will give you a different look. Every situation is unique - that is another reason why experimenting and fine-tuning these settings will ensure the best photograph.
Exposure Mode: Always shoot in manual
Drive Mode: Use a single shot if you have a camera remote.
Aperture: f/16
ISO: 50 to 100
Shutter Speed: 1/4th Seconds
White Balance: Varies on Setting
Related article: White Balance Photography: What is White Balance
However, you will need to keep a few things in mind with the recommended settings above. It would help if you were using a tripod, and it is a good idea to use a camera remote. If you don't have access to a camera remote, use plan B. Set your camera's self-timer to 2 to 3 seconds. Doing this will eliminate any shakiness from your hand hitting the shutter release. Trust me, you do not want any motion blur in your landscape photographs, and you want them to be crystal clear to showcase the details.
As for your shutter speed, this will entirely depend on your subject. If you are trying to capture a rapid flowing water stream or waterfall, you could get away with something as low as 1/4th of a second, giving you a good kind of motion blur. On the flip side, a slow-moving river will need a whole second.
Most mirrorless cameras and DLSR cameras will have a few white balance settings. You can also use your auto white balance setting to let your camera decide what works best. This is a safe choice but isn't ideal. Ultimately, whatever camera setting you choose will depend on the lighting condition. Sunrises and sunsets will need something different compared to a daytime waterfall scene. Each scene has completely different lighting to consider. Sunrise/sunset photographs can use daylight, shade, or cloudy setting to bring out the warm color tones.
Depth of Field
Depth of field plays an integral part in landscape photography, and getting a deep depth of field will guarantee to have your whole scene in focus. When you use a wide-angle lens with a small aperture and focus around the center, you will get a desirable depth of field.
Aperture Priority Mode
Another option is to shoot in aperture priority mode. Doing this will make your aperture the number one priority, and the camera will choose the shutter speed that best matches your scenery. Although shooting in manual mode is ideal, this will help when you are short on time, and you won't be wasting your time fiddling with different settings.
Exposure Mode: Aperture Priority
Drive Mode: Single Shot
Aperture: f/8
ISO: 100
Shutter Speed: This will be chosen by your camera
White Balance: Will vary
Focus Mode: Manual
To nail down these settings, you will need to manually focus about one-third of the way from the bottom. No doubt, concentrating on that spot will give you clear focus right in the front of your scene.
Sunrise and Sunset Landscapes Are Different
The guides above won't help you when shooting a photograph of a sunrise or sunset. You will need to consider the colors and lighting when shooting this scene. These landscapes can be tricky compared to others because of the lighting conditions. Check out this article for a more in-depth look at sunrise and sunset landscape tips:
Golden Hour - The Key to Better Golden Hour Photography
Always remember that practice makes perfect. There is never an excellent and sure guide to settings. Not only because every scene is different, but because everyone has their own aesthetic they prefer. However, as I said above, landscapes are the perfect way to test your camera skills and become more than just an amateur. Once you can master this genre, you will also feel more confident to tackle more.
Use the settings above as a starting point while experimenting; you will get the perfect shot in no time!
For more guides, check out these other articles.
Related article: How to Photograph Waterfall
Related article: Golden Hour - The Key to Better Golden Hour Photography
Related article: Best Camera Bag for Hiking


