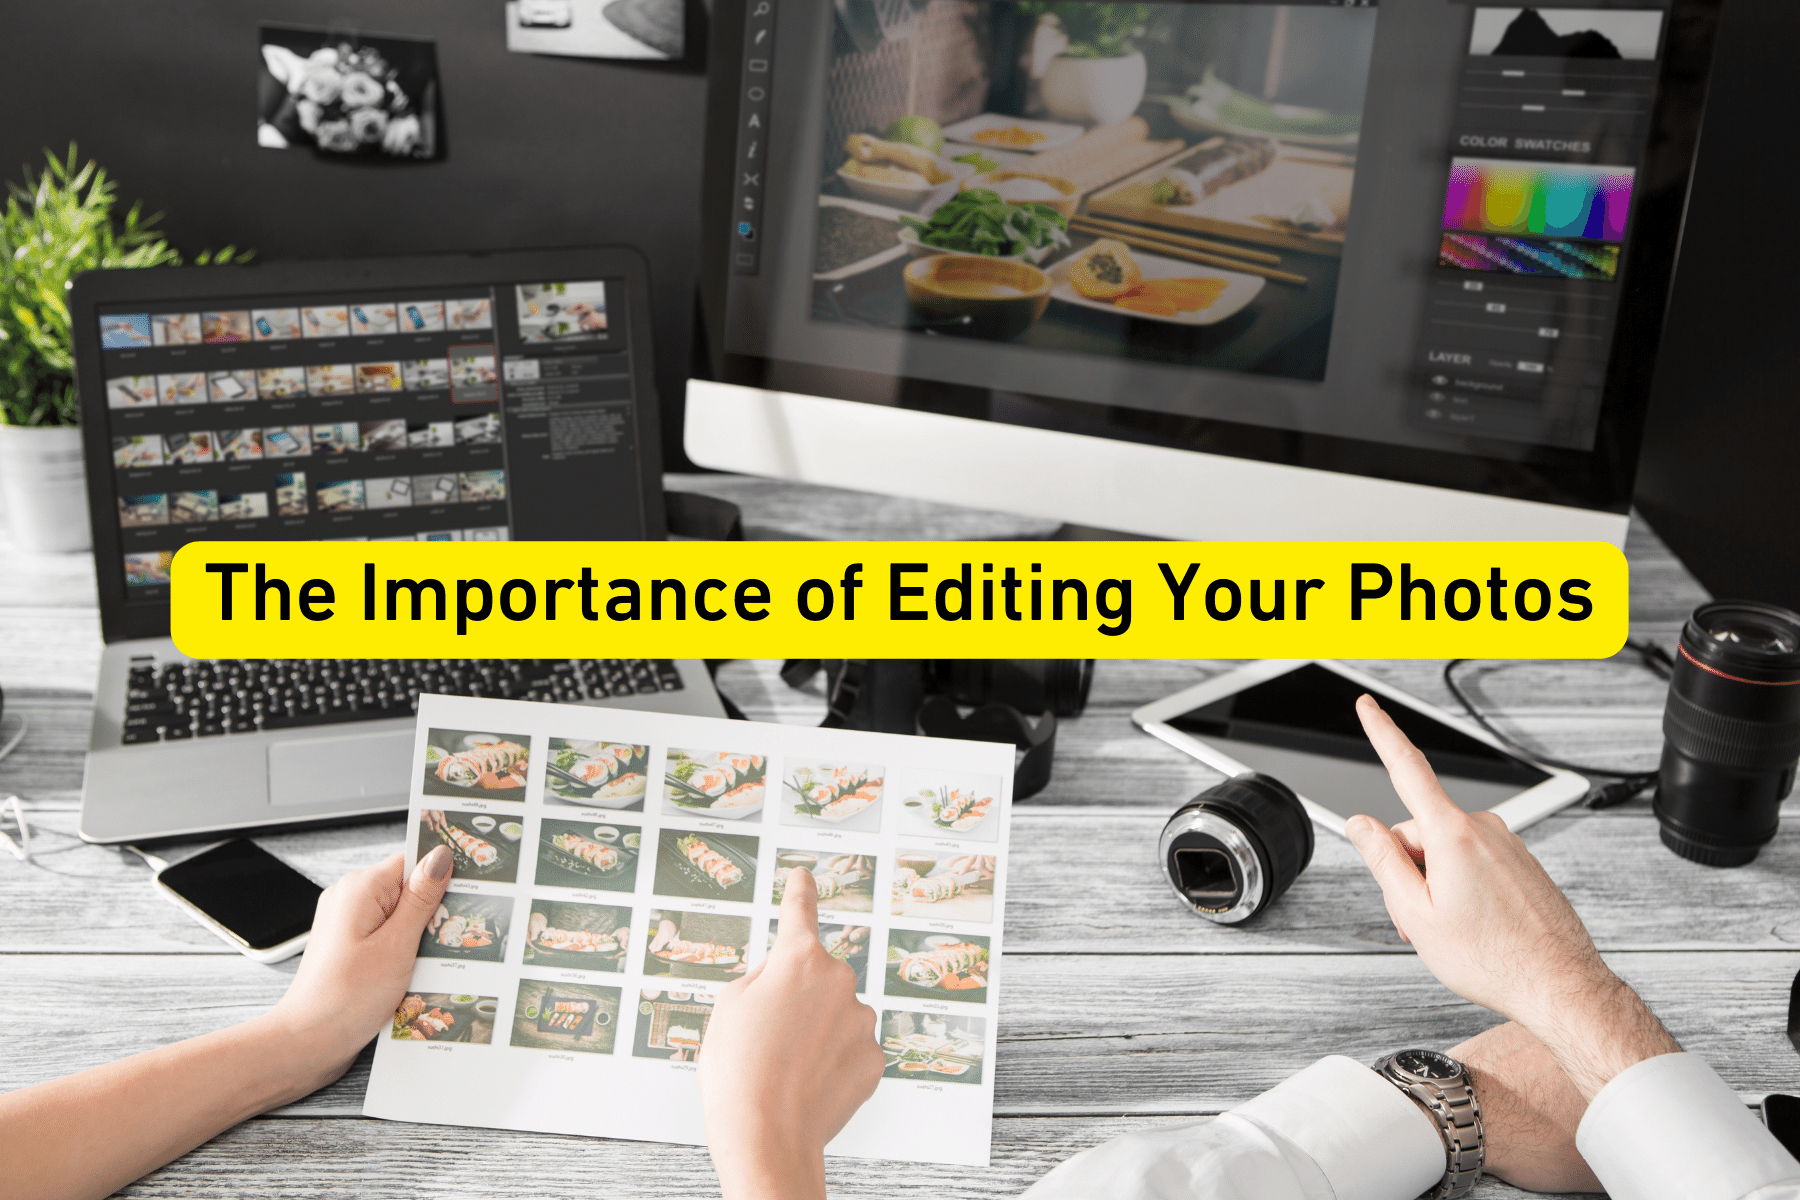
You're out there, capturing the most breathtaking sunset or that perfect candid moment, feeling like you've captured the best photograph. But hold on a second! Before you post your shots to Instagram or add them to your portfolio, you need to do a little photo editing! Editing helps transform your photos from good to great! In this article, I'll review photo editing and show why it's a game-changer for photographers of all levels.

What is Photo Editing?
Photo editing is the art of fine-tuning and enhancing your photographs. You can adjust the colors, tweak the lighting, and add an extra touch of pizzazz.
Photo editing is the art of fine-tuning and enhancing your photographs. You can adjust the colors, tweak the lighting, and add an extra touch of pizzazz.
If you've taken a beautiful landscape photo, it looks dull and lackluster straight out of the camera. Photo editing will help! You can intensify the vibrant colors of the sky, bring out the hidden details in the shadows, and make the whole scene pop. And the best part? You have complete creative control.
Importance of Photo Editing
With photo editing, you can transform a lackluster landscape into a breathtaking vista that takes your breath away. Photo editing allows you to express your artistic flair, adding a personal touch to each image. You become the master of your visual storytelling, conveying emotions and creating a mood that captivates your audience.
Related article: 8 Tips for Better Visual Storytelling

What Are the Different Types of Photo Editing?
Photo editing is like having a whole toolbox of creativity at your disposal.
- Basic Adjustments: Here, you can fine-tune the essentials like brightness, contrast, and color balance.
- Cropping and Composition: Cropping helps you trim away distractions in the frame. You can also experiment with different compositions to give your image that wow factor.
- Color Correction: This tool lets you fix those wonky hues and bring back your subject's natural beauty.
- Retouching and Healing: With retouching and healing tools, you can smooth out skin, remove blemishes, and make your subjects look their best.
- Filters and Presets: Want to add a specific mood or style to your photos in a snap? Then filters and presets are perfect for you! They offer a range of creative effects, from vintage vibes to bold cinematic looks, without the need for manual adjustments.
- Advanced Editing Techniques: Here, you can explore layering, masking, and blending modes to create surreal compositions or stunning double exposures.
History of Photo-editing
In the early days of photography, back in the 19th century, photographers had to rely on their skills in the darkroom. It was a mysterious and tedious process involving chemicals, enlargers, and loads of patience. They would develop their photos on light-sensitive papers, adjusting exposure times and dodging and burning to control the contrast and brightness.
Related article: How Photography Was Invented
In the mid-20th century, the invention of color film came about. Photographers could now experiment with different color tones and create vibrant images.
Then, in the 1980s, digital photography came onto the scene. Photos could now be captured and stored as pixels. But in the 1990s, photo editing software, like Adobe Photoshop, emerged. What used to take hours or even days in the darkroom now took mere minutes on a computer screen.

Essential Editing Tips
- Start with the Basics: Play around with the tools in your editing software (Adobe Lightroom or Photoshop are great choices). Experiment with brightness, contrast, and color adjustments to see how they can transform your photos.
- Keep It Subtle: Less is often more when it comes to editing. Avoid going overboard with drastic changes; instead, aim for subtle adjustments that enhance the natural beauty of your images.
- Shoot in RAW: This gives you more flexibility during editing since RAW files retain vast image data, allowing for better control over exposure and color.
- Preserve the Original: Always work on a copy of your original photo, leaving the original untouched. This way, you can return to the beginning if your edits are wrong.
- Use Layers and Masks: Advanced editing often involves layers and masks. Layers allow you to make changes non-destructively, while masks help you apply adjustments selectively to specific parts of the image.
- Experiment with Filters and Presets: Be bold and play around with filters and presets. They offer a quick way to achieve different moods and styles; you can always tweak them to suit your taste.
- Learn from Others: Watch tutorials. There's so much knowledge to help you hone your skills and discover new techniques.
- Practice: Photo editing requires practice to improve.

What is a Professional Photo Editor?
Professional photo editors have honed their craft through experience and training. One of the secrets that sets professional photo editors apart is their keen understanding of color and light. They know how to manipulate hues and tones to create the perfect mood, harmonizing the colors. Whether it's intensifying the golden glow of a sunset or giving a portrait that timeless black-and-white elegance.
Another trick up their sleeves is their expertise in retouching. They can make imperfections disappear quite quickly. From smoothing out skin in portraits to removing distracting elements in landscapes, their touch is so seamless that you'd never know a change was made.
Layers and masks are among their favorite tools for non-destructive editing. They can control the effects of adjustments with precision. These techniques allow them to fine-tune specific areas of an image, enhancing details and adding depth to create a three-dimensional feel.
One of the most valuable pro tips is to maintain a consistent workflow. By organizing their edits and creating presets, they streamline the process, saving time while maintaining a cohesive style across their work.

Tackling Photo-editing for Product Photography
If you thought editing regular photos was fun, wait till you see the magic it works on product images. From dull and lifeless to utterly mesmerizing, photo editing can transform product photography like no other.
When it comes to showcasing products, presentation is everything. The proper editing can make your products shine like stars in the night sky, whether for an online store, marketing materials, or social media.
First things first: crispness is key. Sharpen product images to make every detail pop off the screen. That glimmer in jewelry, the texture of a piece of fabric, or the fine print on labels – it's all about enhancing the tiniest nuances to make your products irresistible. With careful color correction, you can help guarantee that what customers see on their screens matches the product.
Related article: How to Photograph Jewelry
It's also a good idea to master background removal to eliminate any distracting elements and replace backgrounds with something more subtle.
When it comes to e-commerce, size matters. Professional editors know how to optimize images for web use, striking the perfect balance between quality and file size.
Whether capturing breathtaking landscapes and portraits or showcasing products, photo editing empowers you to tell stories that resonate with your audience. Embrace the magic of photo editing, and watch your images come alive with an irresistible charm!
And remember, there's always something new to learn and discover.
Related article: How to Use Color Theory to Create Visually Pleasing Images?
Related article: Everything Looks Better in Black & White – Tips for Better B&W Photography
Related article: How to Photograph in Bad Weather
Related article: How to Choose Your Photography Style
Related article: Three Quirky Camera Techniques to Stimulate Your Imagination


