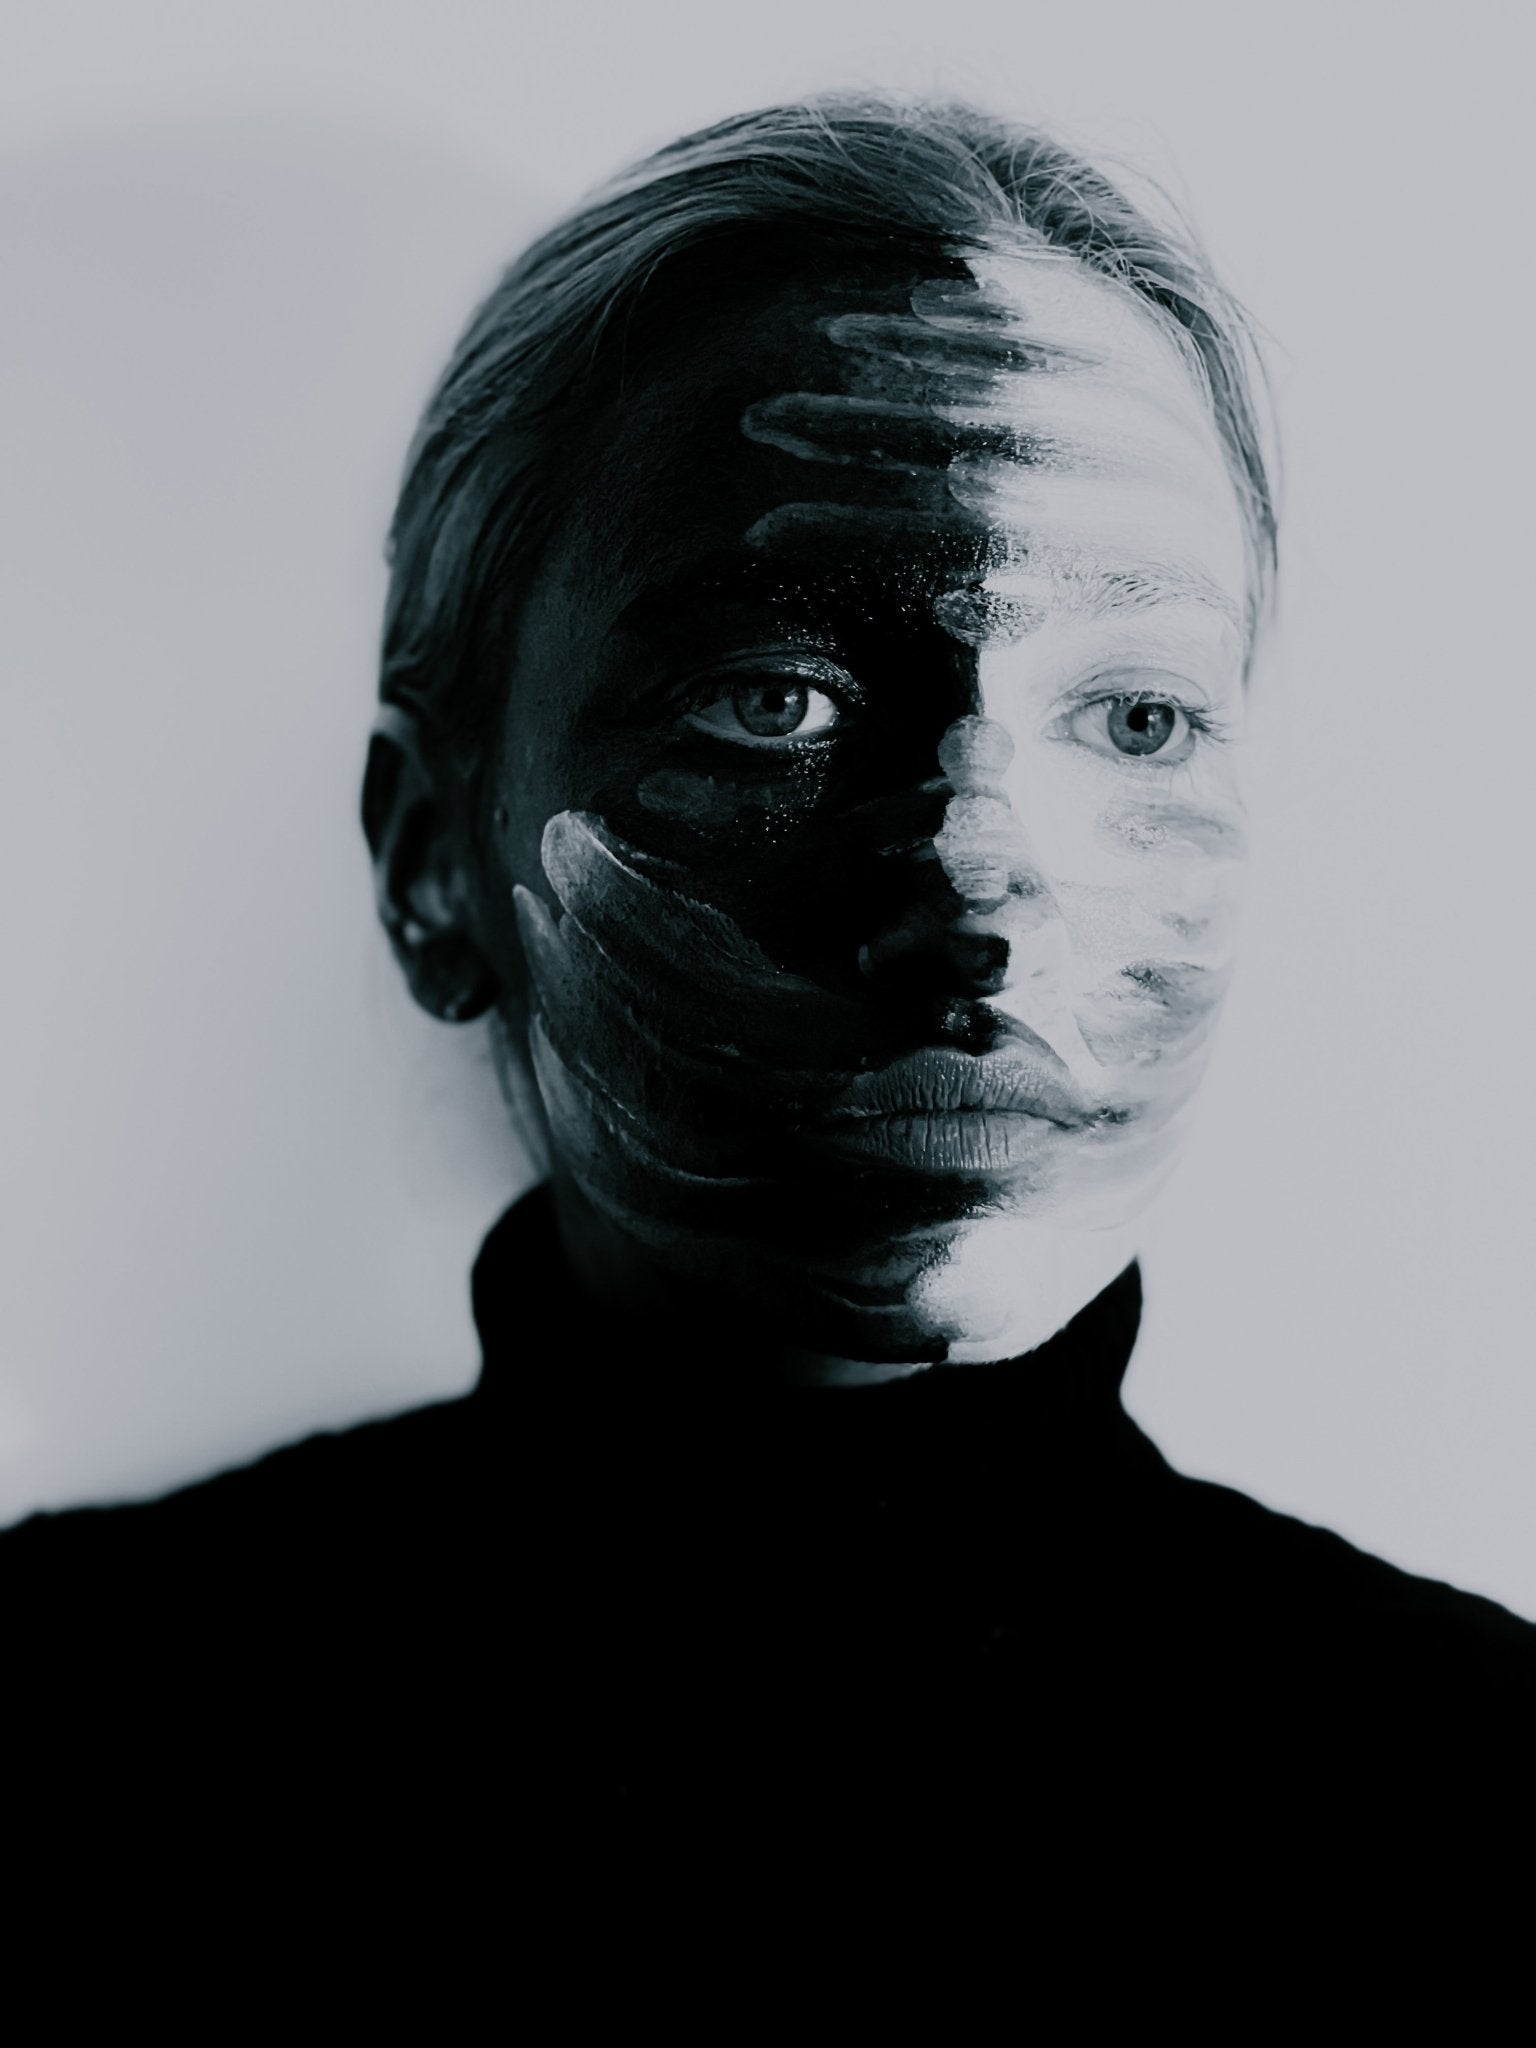
Examine the link between dark shadows and light tones in your photographs. Make effective, striking images by utilizing natural light and negative space.
High-contrast photography, like feng shui, emphasizes the contrast between light and dark elements in a photo. High-contrast images, like feng shui, require all components to be in balance and harmony.
The various tones in a photograph may help to create visual coherence and interest in your work. In almost every area of photography, there's a lot of contrast, and it might be a prominent location with a tiny person or something similar.
Both high-contrast and black-and-white photographs rely on a balance of bright light and darkness to achieve their intended effect. The primary distinction is that high-contrast images are not limited to grayscale. They may also include vibrant, iridescent hues and deep, thick shadows that offer striking color contrast in your photographs.
The Three Contrast Types:
Tonal Contrast
Tonal contrast divides light tones and darker tones. Tonal contrast may be used in color images to draw the attention of the subject while keeping the picture's composition basic, as it does not restrict itself to black-and-white photos. An excellent example of tonal contrast is a silhouette.
Related article: What is Emphasis in Photography
Color Contrast
To create color contrasts that will turn other photographers green with envy, utilize the color wheel and color theory to discover hues that contrast with each other. They're easy to spot since they're on opposing sides of the wheel.
Conceptual Contrast
Conceptual contrast is the most abstract type of contrast. Conceptual contrast relies on thoughts rather than visuals to create contrast in your photos. It tells a narrative and adds depth while also raising questions, which allows for greater engagement and interaction. For example, you might combine a budding blossom with graffiti in a street photograph.
Find the right spots
The lighting in various locations (or lack thereof) can assist you in creating higher contrast in your images. You'll have more natural light sources outdoors but less control over them. You'll have greater power in the studio, but creating contrast rather than finding it is required.
Plan your shots
Consider where the contrast will appear in your photo before you start shooting. You may modify it while shooting, but having a vision, visual concept, or goal to strive for can help you get more out of each shot.
P.S. be open to adapting that plan, as well.
Exposure is a playground
To observe contrast change, take several photos of the same environment or subject with various exposure levels. To increase contrast, raise the ISO sensitivity of photographs. Shooting in manual mode will allow you to learn even more about your camera's settings and how to create higher-contrast results.
The Final Touches
To make your photos glisten, import them into Adobe Photoshop or Lightroom. Adjust exposure and contrast using the Light adjustment sliders, as well as highlights, shadows, and blacks and whites of an image — all settings that will aid in the fine-tuning of contrast. Color sliders may be used to adjust the vibrance and saturation. Save particular settings for high-contrast shots as Lightroom presets to apply those exact changes to future pictures.
Related article: Everything Looks Better in Black & White – Tips for Better B&W Photography
Related article: White Balance Photography: What is White Balance
Related article: What is Saturation in Photography
Related article: What is Value in Photography


