Many people are more focused now - than ever before on beauty products and cosmetics. Companies are eager to put energy into their advertisements - product photography.
Cha-ching! Another way to put extra cash in your pocket is by providing product photography services, especially with e-commerce being so popular.
So, how do you make your client happy and produce photographs that tempt consumers? You will need to know and have the following:
- Ideas for product layout.
- Photographing makeup swatches.
- How to eliminate glares.
Here are your steps to creating the best photograph:
Lighting is Crucial
Lighting is one of the most important things to focus on for clean photographs. Your light will depict how your photo turns out, especially beauty products. So many of these products have a sheen that can cause reflections. Strobes are a great way to help direct light where it is needed. You may even need several light sources to get the right amount of light. You want to stay far away from over and under-exposed photographs.
How Many Products Should be in Your Shot?
If you are selling just one product, you may want to have a shot with just that one. However, for example, if you are taking a picture of a mascara tube, you can show it open and closed in one shot. If you are promoting a makeup kit, you can include all the items in one photograph.
Clean All Products, Again and Again
Products with a shine can easily attract dust or show smudges in the photos. Make sure you are constantly polishing and cleaning your products throughout the shoot. You can always edit out imperfections during post-processing.
Have a Consistent Style
You will need to employ consistent style and branding. Your shots should not look like they were each taken by a different photographer, and everything needs to look like they were photographed in the same session. The only things you should be switching out are the actual product and the distance between you and the product. Unless something changes with your environment and you need to adjust your lighting.
What are the different types of beauty products?
- Bath & Body
- Makeup
- Hair
- Skincare
- Fragrance
Here are the best ways to prep before the photo shoot to help reduce the time you spend on post-processing:
Wet cleaning:
You want to eliminate all that space dust and specks that float around. The best way to do this is wet cleaning, not just dusting. Your entire space needs to be cleaned right before the shoot.
Clean your products:
Do not just clean the area and photo studio - but also your products. You might even need to polish some of your products to ensure there are no streaks or dried wet spots. Keep a lens tissue handy to wipe a product down if you need to at the last minute. And really, you should be using white gloves to handle all your products to keep them clean and free of fingerprints.
Reduce the time between shots:
Place all of your items in the order you will shoot them to help keep consistency.
Assemble everything:
Everything should be assembled and ready to go when you need them, respectively! Any props or backgrounds should be easily accessible.
Have the proper backgrounds ready:
If you need to create a drop shadow effect, you will want to use a white paper background. Looking for a reflection, try a white acrylic background. However, you might have a client who does not wish to have a shadow effect. You should use a tall stand to put your product on top to eliminate shadows.
Settings & Equipment
Each style of photography requires different settings and equipment. For beauty products, here are my suggestions:
Camera Settings:
- ISO: 100
- Shutter Speed: 1/125s
- Aperture: f/11
- Remote shooting to reduce blur
- Always use RAW format
Camera Gear Needed
Tripod
You will always need a tripod. Using a tripod will dramatically improve your photos by eliminating the risk of movement and blurred images. Your tripod should be sturdy to ensure your camera won't fall off.
Lighting
Unless you have excellent natural light on your side, you will need a few pieces to help achieve gorgeous and crisp shots. Reflectors and diffusers can help your photos - you will need to experiment with them. Once you have played around with your lighting gear, don't switch things up. You will need to be consistent and not switch things up between shots. You will also want to invest in a light kit if you aren't near a large window.
Extra Tips for the Best Photos
Always have extra products:
Extra products will always be beneficial. If you need to create swatches of highlighter, lipstick, or any other product, you do not want to get in a pickle and not have an extra to swatch.
Have fun with your backgrounds, but not too much fun:
You will most likely need a sharp and classy look, but sometimes, you'll have a client request something funky. Try using textured backgrounds or even something with a pop of color. If you opt for a fun color - refer to the company's brand book. You will need your colors to align precisely with their brand. If you go for a textured background, this can help add something a little extra without going overboard.
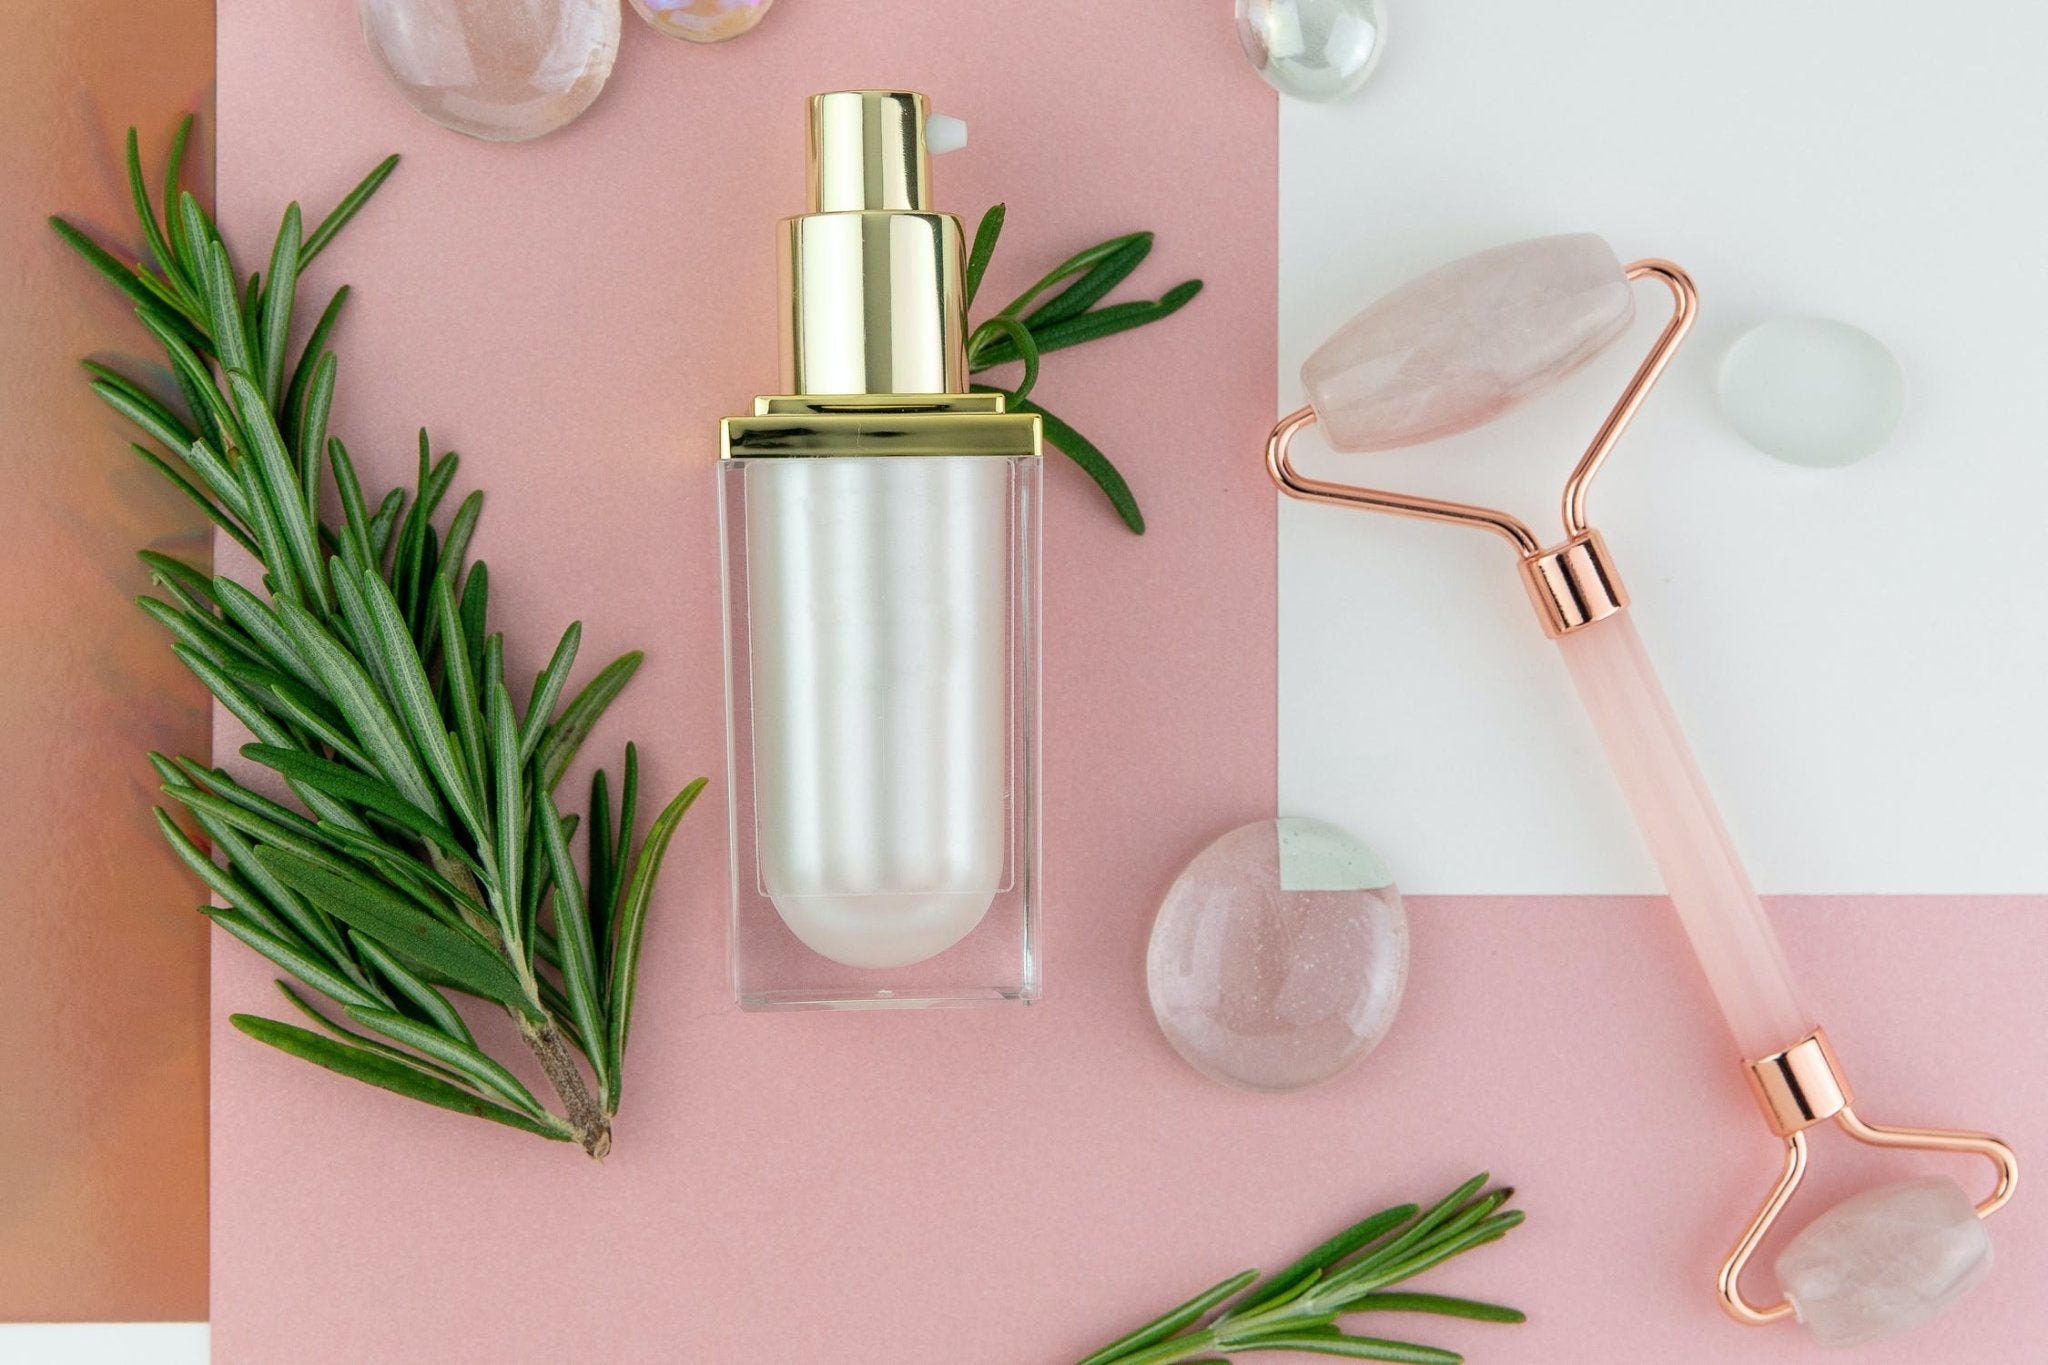
Take advantage of props:
If you photograph a beauty product infused with an herb or flower, you might want to look into using that as a prop. These props help give a little boost to your photograph.
Example: Dried herbs, lavender, lemons, glitter, or even fake eyelashes.
No, seriously, take advantage of props!:
Props could also be haze spray or a spritz of the product in the background. Use a solution of water and glycerin to create a neat water droplet effect on your products or the background of your photo. An actual lens cleaner solution from a bottle can also be used for a stimulating effect.
Obstacles You May Come Across
Reflections:
Certain products may have a reflective surface. To photograph these, you will need to direct light onto where it is reflecting light - not on the actual reflective surface. You will need that light to hit a sweet spot. Semi-transparent and white diffusers will help you accomplish the perfect look.
Matte:
This one isn't so much an obstacle, and remember to use just one light source.
Glossy:
Don't even touch this product without gloves. The streaks will drive you nuts! Glossy products will also create reflections, and you will want to use semi-transparent reflectors.
Post-Production Tips
The more effort you put in before the photo shoot and during, the less you will need during post-production. Although, there's no way to eliminate this step. Here are the main things you should focus on during this step:
Cropping:
Make sure you crop consistently.
Lighting & Exposure:
You can do some corrections, but there's no way to fix an over-exposed photograph. You can edit the shadows, highlights, and brightness.
Once you feel confident with these tips, get out and start experimenting. Playing around with your objects and lights will always give you the best results.
Related article: Makeup Product Photography
Related article: How to Make Your Photos Look How Your Eyes See
Related article: How to Photograph Shoes
Related article: How Much to Charge for Product Photography


