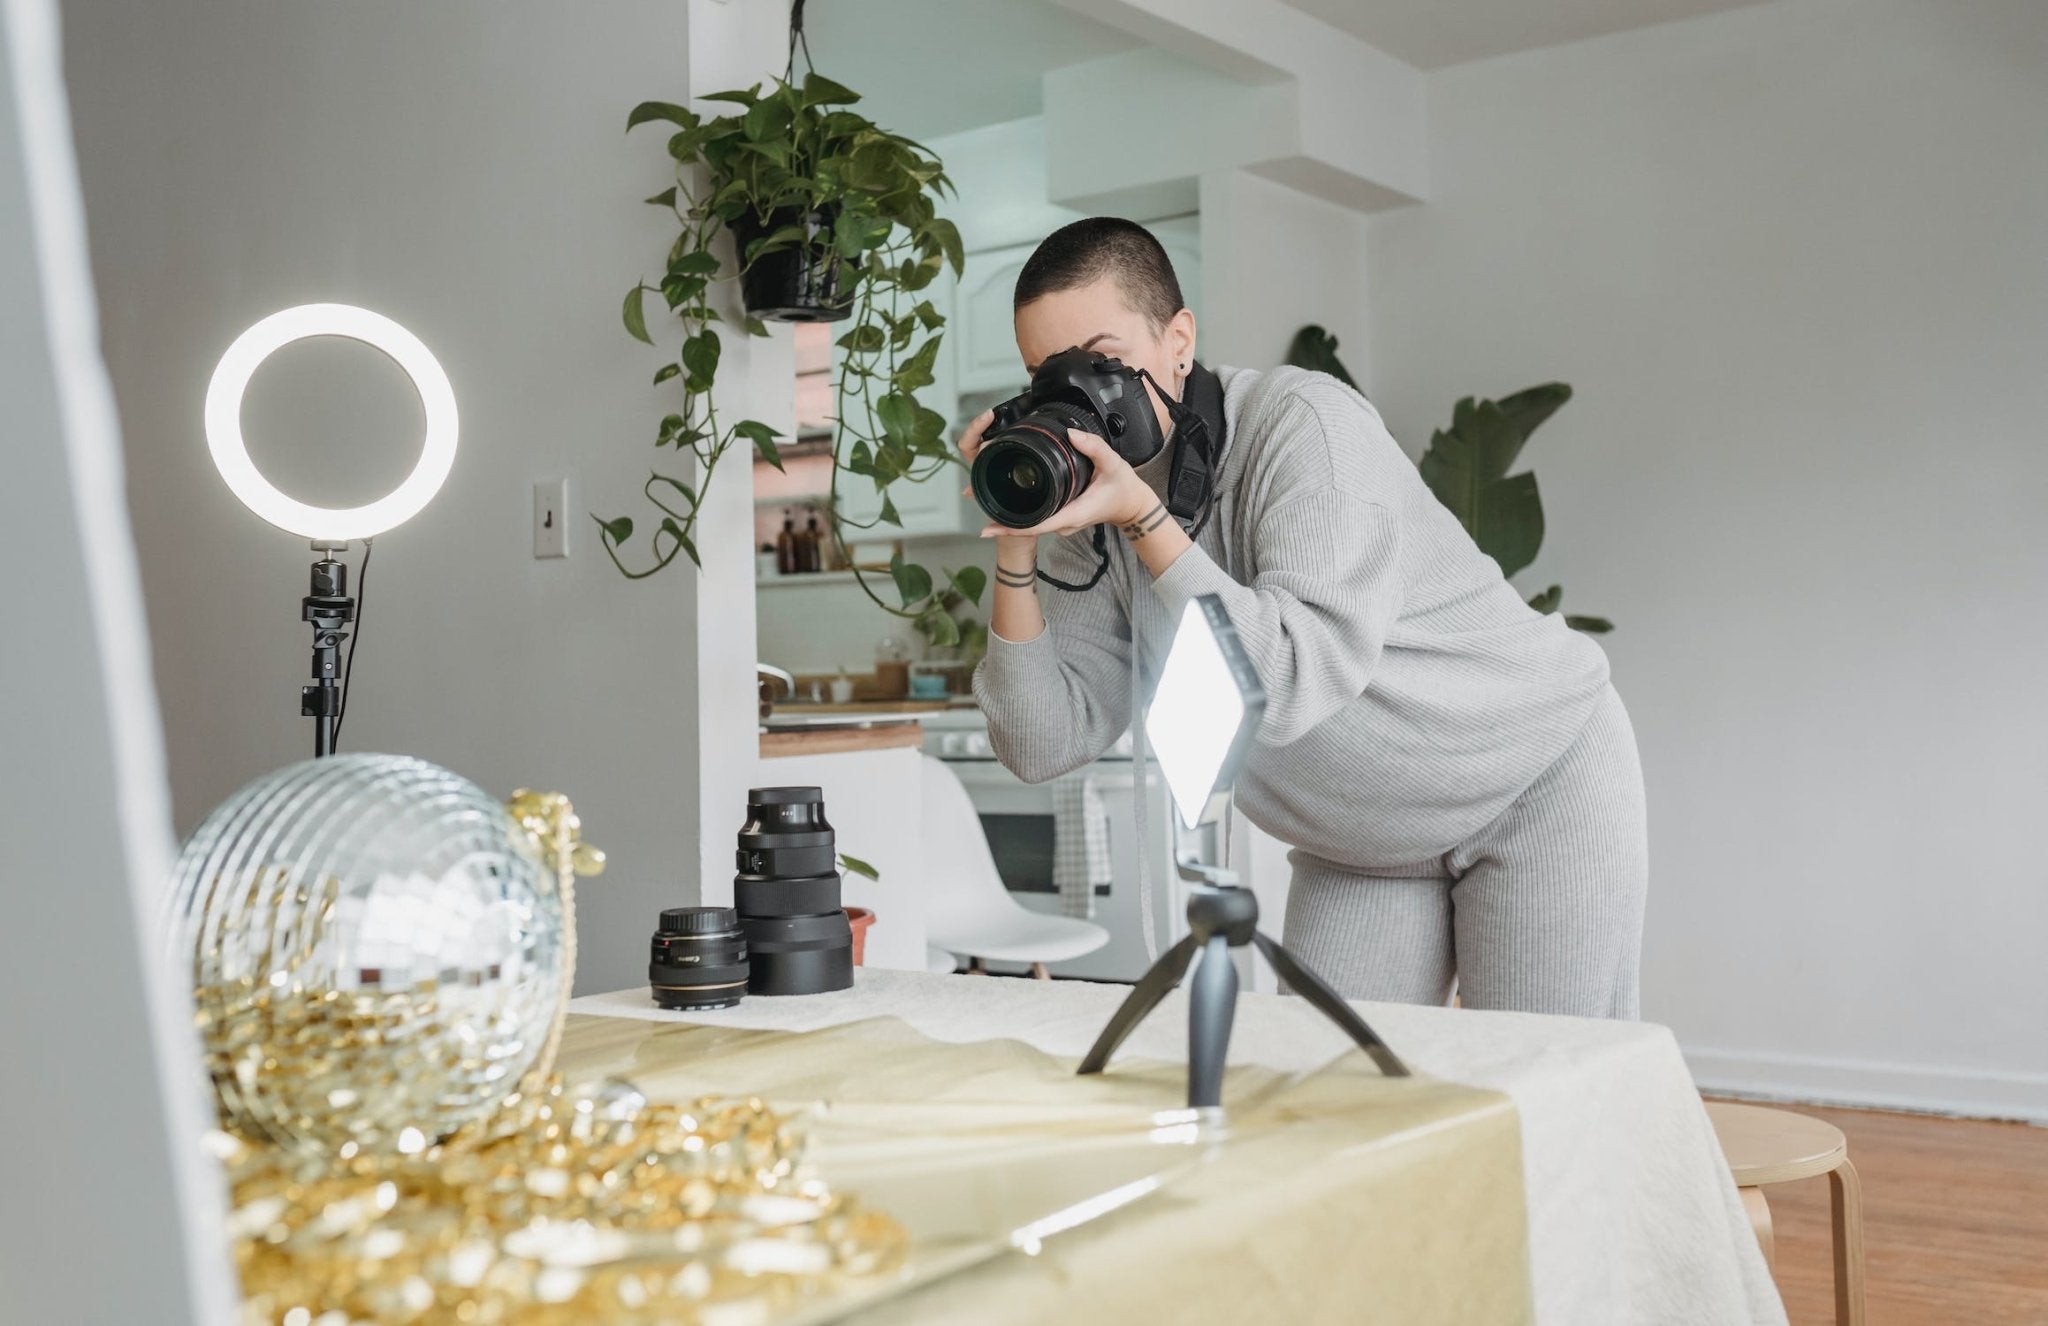
Ring lights are used by professional photographers for various effects, and they are one of the most essential pieces of equipment that photographers maintain in their studios. Products may appear flat, drab, unappealing to online buyers, and lack "pop" against a white background if they aren't adequately lit – positioned, angled, and dimmed correctly.
Here are seven tips for those who need a quick and easy guide to using ring lights for product photography. By following these steps, you'll be well to take amazing photos.
For Product Photography, Use the Ring Light as a Key Light
Utilizing proper product photography techniques is key to getting great photos of your products. These methods usually involve using a key light source, fill light source, and sometimes backlighting. Depending on the item you're trying to photograph, some objects will be more difficult than others. Luckily, tweaking the lighting setup is one way to make your job more accessible overall. As a general rule of thumb, ring lights work best as essential lighting when you need to take a head-on shot of an object.
A 10-inch ring light is large enough to shoot average-sized products for most photographers. Pro-quality studios commonly use three types of lighting to capture the perfect photo, and fill lighting should be placed away at a different angle than the key lighting.
Make Sure That CRI is High
Ring light with a high CRI (Color Rendering Index) provides the best conditions for product photography because it replicates full, natural sunlight. Professional photographers understand how crucial pictures reflect reality; otherwise, customers may feel disappointed or tricked into buying defective items.
Luckily for us buying the ring lights, the CRI rating will be printed directly on the box.
Beware Reflective Areas and Surfaces
A ring light is a photography tool that helps eliminate reflective surfaces in the photographed product. Many photographers rely on Photoshop to correct reflections, but this step can be avoided if the picture is appropriately taken from the start.
Reflections can make the subject look darker, and anything shiny (such as a diamond) will reflect more light, causing more shadows and reflecting light into the camera lens, producing an artifact that correction software will need to remove. Jewelry photos are a great illustration of how reflective surfaces may create glare in a digital photograph file.
They have the potential to easily produce glare and counteract the entire purpose of the product shoot: to make the product appear as lovely as possible. Remember how a ring light might reflect on your subject while lighting it so that you can position the light so that it doesn't appear in your photo.
Nail the Background
Although it's ideal for photographers to shoot against a white background, sometimes that isn't possible. In these cases, using a ring light gives you more flexibility in the shoot. Digital marketers often prefer shots with white backgrounds since it's much easier to cut out the product in post-production.
When shooting a white object on a black background, the best technique to use depends on your experience and skill with lighting setups - which often includes using a ring light.
Render Realistic Colors by Adjusting the Light Accordingly
Although digital photography is commonplace, it's continuously advancing. For example, ring lights are now more budget-friendly and have additional features such as dimmers.
Professional photographers understand that lighting is key to taking photos with true-to-life colors. That's why they frequently use ring lights for food photography, so the light evenly illuminates the subject from all sides. They steer clear of fluorescent and warm lights, though; these can make product photos appear more green and blue than they actually are.
Related article: How to Make Your Photos Look How Your Eyes See
Bounce Cards Help Fill in Unsightly Shadows
Angles are essential in product photography; angles can alter a photo's tone. All items have unusual angles and crevices that may produce tiny shadows in images. A ring light spreads light evenly across an object, allowing you to see where shadows lurk. Photographers might consider photographing a Barbie doll versus a Transformer toy as an example; each item casts shadows differently.
Related article: Photography Composition Techniques
Use a Reflective Bounce to Fill in These Shadows
One of the most significant advantages of ring light photography is it's very portable. Using a ring light for product photography is excellent, but natural lighting is still acceptable - but not enough for a professional shoot.
A portable ring light opens up more possibilities for photographers because it allows them to work anytime and anywhere they choose. The ring light equipment is rarely too heavy to carry from one shoot to the next, but some models are a little more challenging to relocate than others.
Regardless of which ring light photographers pick, they aim to creatively employ it while keeping the fundamentals of lighting, colors, and camera angles in mind.
Related article: How to Photograph Jewelry
Related article: Starting a Photography Business Checklist
Related article: Beauty Product Photography
Related article: How Much to Charge for Product Photography


