In high school, I took an Intro to Photography class and was told by the teacher to never use a flash. She said, "You should always have enough light near you to not need it." A few years later, my college photography class taught the exact opposite. Weird, right? Since then, I have been searching to understand how to properly use flash since I would avoid it like the plague for years. So, I dived deep to understand the best tips to use it because when you are in low light conditions, the flash is your saving grace!
How to Use a Flash: 9 Flash Photography Tips:
- Know your flash equipment
- Understand flash modes
- Master flash exposure compensation
- Bounce flash techniques
- Diffuse the light
- Use gels for creative effects
- Sync speed and high-speed sync (HSS)
- Off-camera flash techniques
- Fill flash in daylight

Know Your Flash Equipment
Don't ever go into a shoot blind with new equipment, ever. Understand your flash equipment.
Built-in camera flashes
These little pop-up wonders are convenient. Great for quick snaps and filling in some light, but beware, they can be a tad harsh and create unflattering shadows.
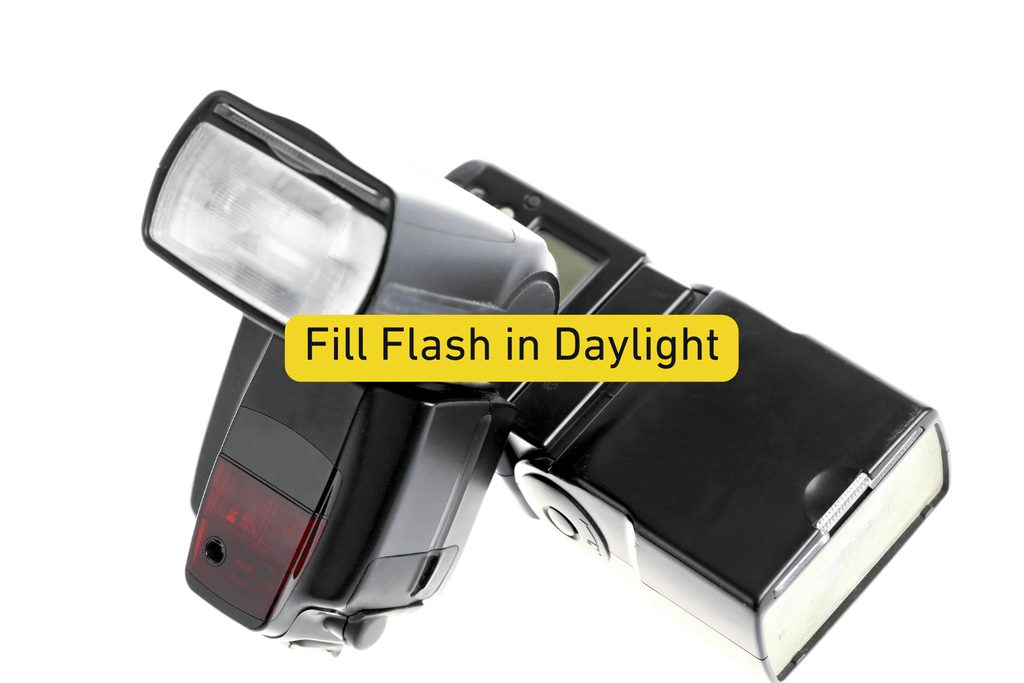
External speedlights
These can be mounted on your camera's hot shoe or off-camera for more creative control. They're portable and versatile. With adjustable power and swivel capabilities, you can bounce that light around for softer, more natural results.
Studio strobes
When you need something with more oomph, try a studio strobe! Usually used in a studio setup, they offer powerful lighting, ideal for portraits, product photography, or any time in challenging lighting conditions.
Related article: How to Set up a Portrait Studio at Home
Now, here's the lowdown on their strengths and limitations. Built-in camera flashes are like your pocket knife – handy but limited. External speedlights are versatile and ready for action. And studio strobes? They're perfect for controlled environments where you need that extra lighting push.

Understand Flash Modes
TTL (Through-The-Lens) Mode
Think of it as the "smart" mode – it calculates the perfect flash exposure based on your shooting scene. TTL measures the light as it bounces off your subject and adjusts the flash output accordingly.
Manual mode
This one gives you ultimate control. You get to set the power level manually, deciding just how much light you want to throw at your subject.
When should you use each mode? TTL is great for tricky lighting situations – indoors, outdoors, moving subjects, you name it!
Use manual mode when you want complete control. Let's say you're doing some fantastic portrait work in a studio setup, or maybe you're into product photography and need that consistency shot after shot.

Master Flash Exposure Compensation
If your flash is too strong, it might overpower beautiful sunsets, and your subject could look like a neon sign. No bueno!
That's where flash exposure compensation comes into play. You can adjust the flash's power output without messing with other settings. Find "Flash Exposure Compensation" or "FEC" in your camera settings. When you dial it up, your flash will shine a bit brighter; when you dial it down, it will be a little less light.

Bounce Flash Techniques
Picture this: you're indoors and have your camera set up for that perfect portrait. Instead of pointing your flash straight at your subject, aim it at a nearby wall or ceiling. Boom! The flash bounces off that surface like a trampoline, creating a soft, diffused light that wraps around your subject. Doing this gets rid of those harsh shadows! No more raccoon eyes or unflattering lines on the face. Instead, you get this gorgeous, even lighting around your subject.
Related article: Camera Settings for Indoor Portraits
If you're outside and the sun is chaotic, find yourself a reflector. They come in all shapes and sizes. Hold it up and bounce that sunlight back onto your subject's face. Voila!
Remember – not all surfaces are created equal. Some walls or ceilings might have funky colors that mess with your shot, so watch for that. And remember, practice makes perfect! Give it a few tries, and see what works best for you.

Diffuse the Light
Let's talk about taming that flash and turning it into a soft, dreamy ball of light. It's all about diffusion. When you're up close and personal with your subject, that flash can throw harsh light all over the place. Instead of blasting them with that direct flash, attach a diffuser or a softbox to your flash.
When you pop a diffuser or a softbox on your flash, the light has to pass through particular materials that work like whispering clouds. They disperse the light, making it softer and more flattering to your subject's face. And the results are fantastic!
Say goodbye to those yucky shadows and squinty eyes – you get this beautiful, natural-looking lighting instead.
Here's a little pro tip: if you're into close-up photography or doing portraits, diffusers and softboxes are your key to gorgeous shots!

Use Gels for Creative Effects
Gels are like tinted filters for your flash, and they come in a rainbow of colors – like blues, reds, greens, yellows, and everything in between. Placing a gel over your flash transforms that dull white light into an array of awesome hues.
How do they work exactly? Every light source, including your flash, has its own temperature, giving light its characteristic warm or cool tones. When you use a colored gel, it plays with the flash's color temperature, bathing your scene in that particular hue.
Related article: Kelvin Color Temperature - Color Temperature Chart
You're photographing an awesome new band in a dimly lit venue. Slap on a fiery red gel instead of just using plain white flash – boom! You've just turned the stage into a red-hot inferno, capturing the raw energy of the performance. Or how about trying a cool blue gel for a moody, mysterious vibe?
Related article: Best Camera Settings for Concert Photography
They're also perfect for creative portrait shoots, playful photo sessions with friends, or even just sprucing up everyday scenes. Experiment with different combinations, and let your imagination run wild! There are no rules here – just play with colors, have fun, and watch your photos come to life like never before.

Sync Speed and High-Speed Sync (HSS)
Your camera has a sync speed, which is like a limit on how fast it can sync with your flash. If you go beyond this limit, things can get pretty wonky – you might have dark bands or shadows in your photos.
HSS allows you to break that speed barrier, giving you the power to use flash even when you're shooting at crazy fast shutter speeds. That means you can freeze those speedy subjects in action, like a race car zooming by or a flying bird in mid-air!
Related article: How to Shoot Action Sports Photography with Freeze Motion?
Let's break it down. When you're shooting with normal sync speed, like 1/200 or 1/250 of a second, your camera's shutter opens and closes in a flash. But when you crank up the shutter speed, like 1/1000 or higher, the shutter has to work quickly, and things get tricky.
When you enable high-speed sync, your flash will start firing off rapid bursts of light through your super-fast shutter speed. That means no dark bands, no shadows – just beautifully lit shots, even in broad daylight!
If you're at a sports event and want to capture the action without any blur, but the sunlight is super harsh, then HSS will let you shoot at high speeds and still use your flash, giving you that balanced lighting and super sharp images.
The downside: HSS might drain your flash's power faster, so ensure you've got enough juice in those batteries.

Off-Camera Flash Techniques
We all love using our on-camera flash for quick snaps, but sometimes, it can fall flat. That's where off-camera flash works wonders!
You can detach your flash from the camera and place it anywhere you want – on a stand, on a shelf, or even have a friend hold it for you. This flexibility lets you control the direction and intensity of the light, resulting in captivating and dynamic photos.
When your flash is on-camera, the light comes from the same angle as your lens, and that's what causes that flat and uninteresting look. But off-camera flash lets you play with shadows, create depth, and sculpt your subject.

Fill Flash in Daylight
Bright sunlight can create harsh shadows on your subject's face, making them look like they're playing peek-a-boo with the sun. Not the most flattering look, right?
Well, don't worry, because fill flash can help! It adds extra light to your scene without overpowering the natural sunlight. The goal is to find the perfect balance between the two so your subject looks bright and vibrant while keeping the outdoor ambiance.
Related article: Camera Settings for Bright Sunlight
Here's how you can do it:
- Set your camera to either Manual Mode or Aperture Priority Mode.
- If your camera has a built-in flash, turn it on. If you use an external flash, mount it securely on your camera's hot shoe.
- On many cameras, a lightning bolt symbol represents the "Fill Flash" setting. It may also be labeled as "Flash On" or "Forced Flash."
- Some cameras allow you to adjust the flash output using flash exposure compensation. If your subject appears too bright or too dark, you can use this feature to fine-tune the flash intensity.
- Frame your subject where they are well-lit by the natural ambient light. Fill flash is best used when the background is brightly lit and your subject is partially in shadow or has harsh shadows on their face.
- Press the shutter button halfway to autofocus and meter the exposure. When you're ready to take the shot, press the shutter button fully, and the flash will fire to illuminate your subject and fill in the shadows.
The beauty of fill flash is that it keeps everything natural and balanced. You won't end up with overexposed, washed-out shots.
Charge up those camera batteries, grab your flash, and let your creativity shine! Embrace the challenges, celebrate the victories, and never stop exploring the endless possibilities that flash photography offers.
So, keep experimenting, keep practicing, and remember, the art of flash photography is in your hands – now go create your own photographic masterpiece!
Related article: How to Deal with Criticism as a Photographer
Related article: How to Take Great Photos of Your Food
Related article: What is Metering in Photography?
Related article: How to Use Leading Lines in Photography?
Related article: How to Make Cool Effects with Colored Gels


