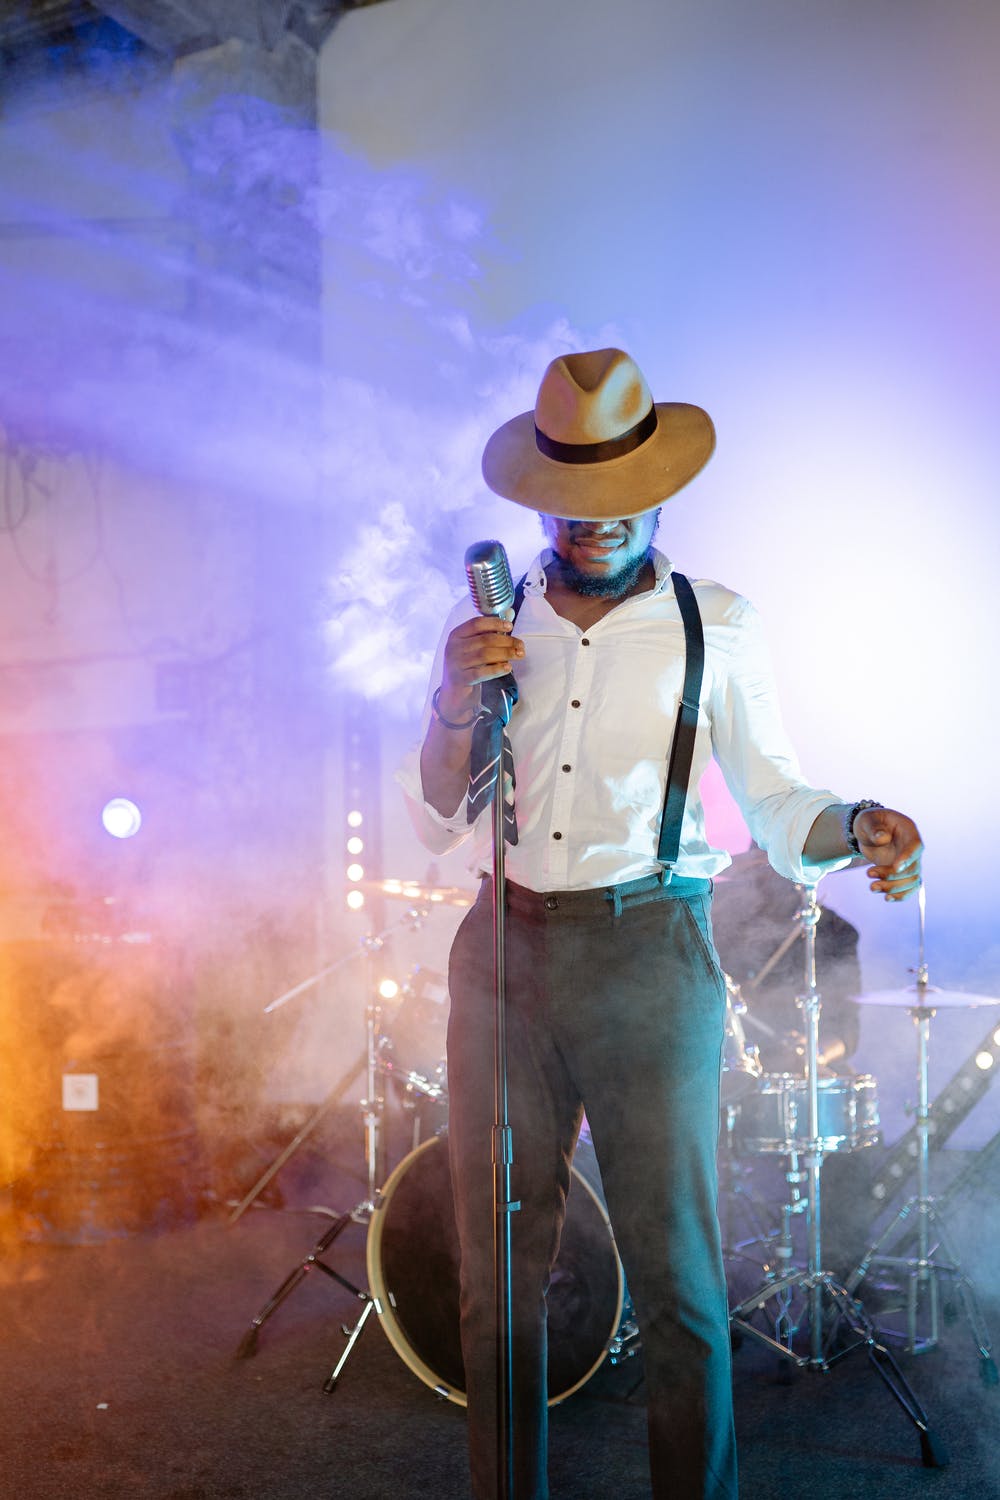
There’s no fast and easy way to photograph live events or concerts, but in this blog we will guide you on how to get better at taking concert photos and show you the best camera settings for concerts.
Trying to get snapshots of your favorite live act can often result in blurry, noisy, and downright underexposed images due to the quickly changing -- and performance-driven -- lighting, not to mention the constantly moving subjects who are your choice of Rock Gods for that particular evening.
Overall, the best concert photography settings are:
- Set your aperture as wide as possible f/1.2, f/1.4, f/1.8 f/2, f/2.8 etc.
- Select ISO of 1600 to 3200 or even higher (if needed)
- Set your Shutter speed to 1/200 or faster
- Select auto white balance, you can always change this in post if you shot in RAW
- Make sure continues focusing or burst mode is on
Many beginning photographers are drawn to concert photography because the subjects are both exciting and visually interesting -- and a bit more pulse-pounding than a landscape (sorry, Ansel)... But then they end up discouraged because out of 1,500 shots, there are only 3 that don’t have a light streak through the center of it.
Unfortunately, since every event is different, there’s no one checklist of camera presets carved in stone that will guarantee a perfect photo each time, BUT not to worry, because we’re going to quickly go over some tips that will at least get you started off on the right steel-toed foot.
Using your general knowledge of the photography principles, let’s zero in on the basics of setting up your camera for success in the dark venues where you’ll be immortalizing the next Las Vegas headliner.
We need to adjust Shutter Speed, Aperture, and ISO to expose correctly. During a live event, your biggest challenge is light. So when it comes to your exposure triangle, you’ll have to compensate above all else; a slower shutter speed, a faster f/stop (wider aperture), and a higher ISO.
If your shutter speed is TOO slow, your motion images will be blurry. If your aperture is too open and you’re too physically close to your subject, the critical elements of your picture will be out of focus. And if you crank up your ISO too high, your overall picture will be grainy.
The first thing to do is pick what you’re willing to sacrifice. Ten times out of ten, it’s going to be the ISO that’s getting pushed far beyond its “usable” limit. You always want to prioritize the crispness and sharpness of your photo.
With today’s technologies, post-editing can clean up a lot of in-camera ISO noise/grain. If done well, a certain level of grain can even give your images a “filmic” quality and texture -- something not uncommon in even the greatest of live event pictures.
Another tip: expose for the stage. Where your live acts are strutting their stuff is where the most light will be found. If you try to accommodate the light on the stage, you’ll end up with more properly exposed images more often, but, just remember, you’ll be sacrificing details in the crowd and surrounding venue.
If you can get very comfortable with your camera, you’ll be able to toggle settings quickly, adjusting for wherever you decide to point your lens.
- All this means you’ll be shooting in Manual mode, and no preset camera mode will be able to handle the shifts in light or action of a live event.
- Try to get your shutter speed up to 1/250 of a second and try to open your aperture to at least a 1.8.
- When it comes to White Balance, you can relax a bit because this is one of the few elements of concert photography that allows you to cruise in auto-mode.
- Click your camera into Drive Mode: Continuous and set your Metering to “Spot Metering.”
Once you’re ready to rock ‘n’ roll, just make sure you’re shooting your images in RAW. While this usually takes up a lot more space on your memory card, you’ll be absorbing all the data your camera is capable of. This is important, as post-editing is often pivotal to live event photography. You want as much to work with as possible when you’re refining your images long after the lights have come up and the band’s gone home.
The final tip is PRACTICE. No genre of photography is simple, but there’s even more incentive to go out and sharpen your skills with concert photography because you get to do two things you love simultaneously.
So, keep on snapping in the free world.


