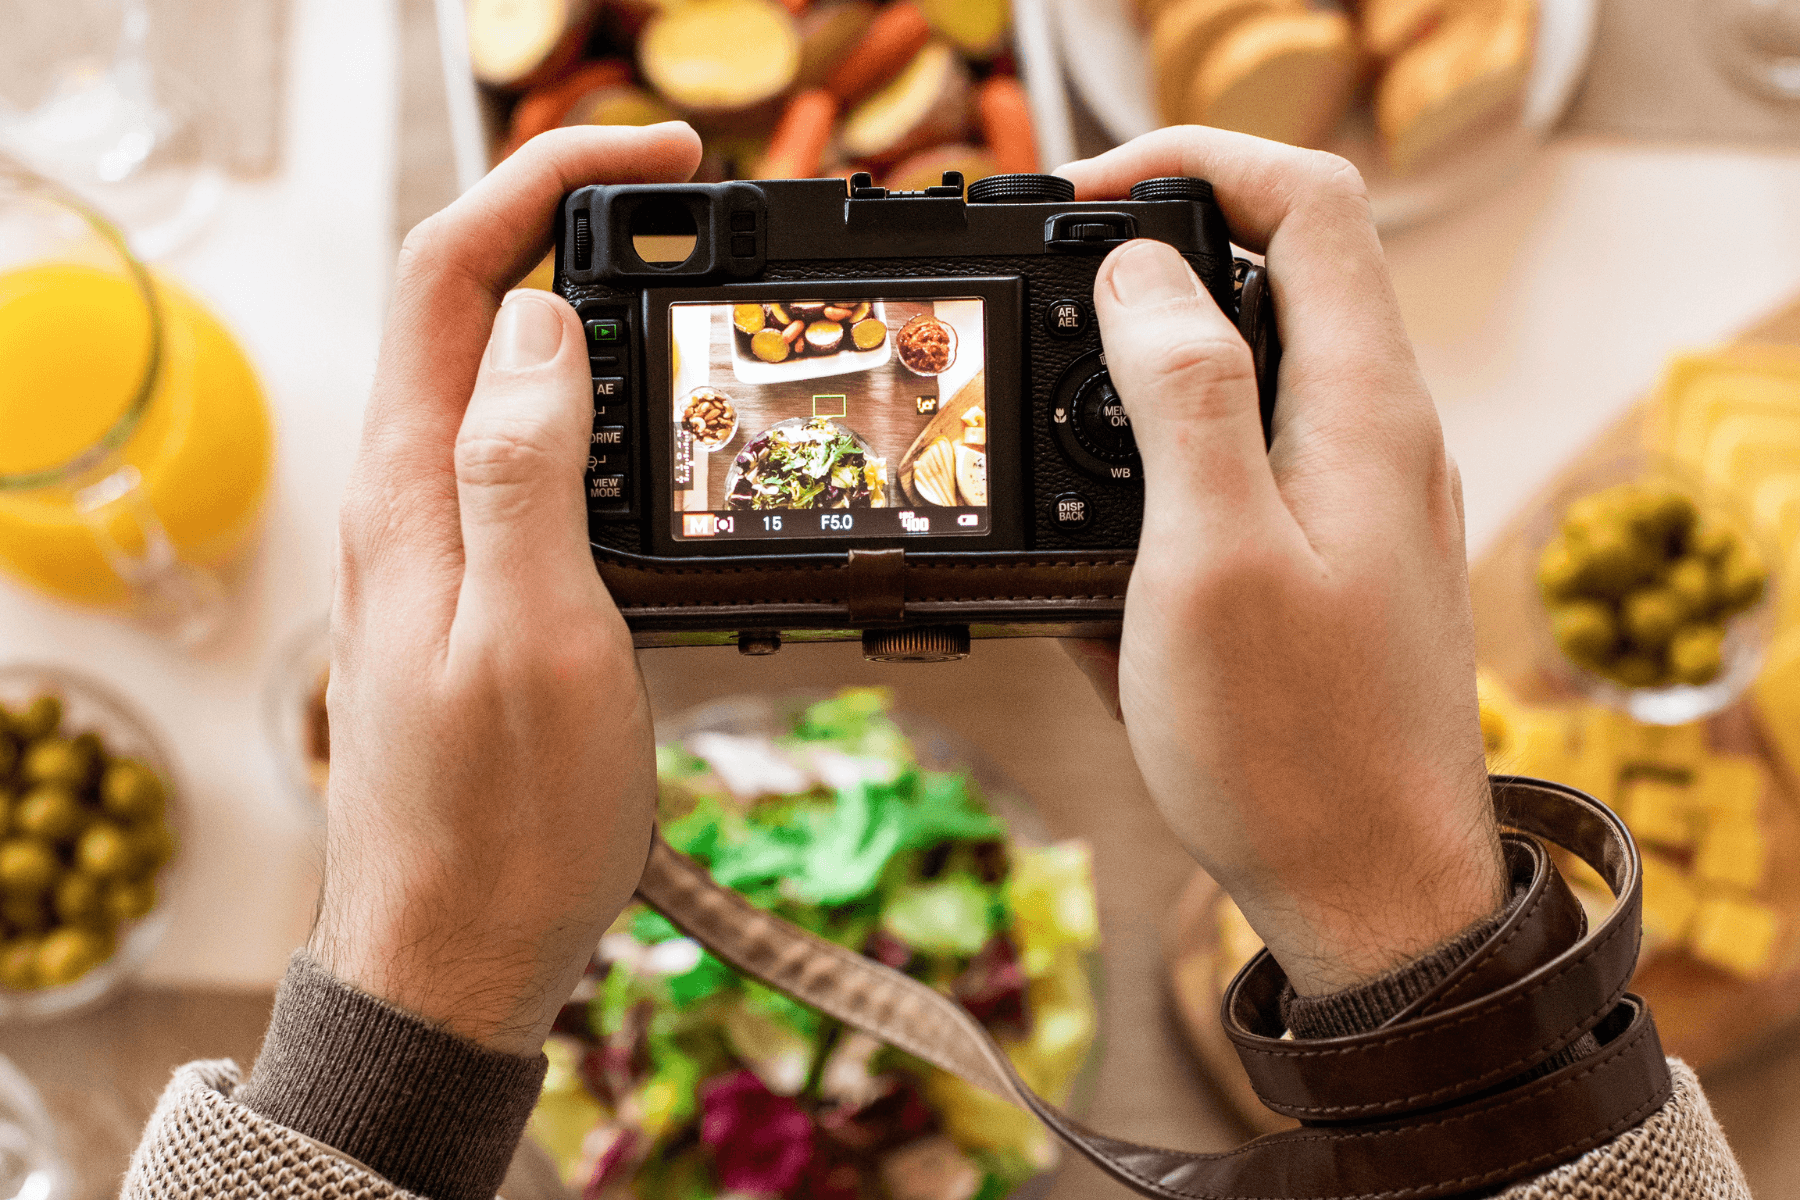
Imagine yourself on the verge of indulging in a delectable dish that appears too divine to devour. The vibrant hues, alluring textures, and detailed plating make it a feast for the palate and the eyes. But before you take that first bite, WAIT, why not seize the opportunity and capture this culinary masterpiece? Whether you aspire to be a renowned food blogger, seek to captivate your Instagram followers, or "wow" your friends with mouthwatering visuals, you need to know the ins and outs of food photography.
How to Take Great Photos of Your Food
- Understand lighting
- Know your camera settings
- Get creative with composition and styling
- Try different angles and perspectives
- Present the food in a mouthwatering way
- Use props and different backgrounds
- Capture details and textures
- Edit your photos

Understand Lighting
Natural light is like a food photographer's best friend. It's free, abundant (well, during the day), and can make your dishes look enticing. So, take advantage of that glorious sunshine streaming through the windows when possible. But hey, I understand that sometimes the lighting isn't on our side. That's when artificial light steps in. Just be wary of harsh shadows that could make your burger look like it's hiding in a dark alley. Soften those shadows and create a more flattering glow with diffusers or reflectors.
Related article: How to Use Natural Light?

Know Your Camera Settings
A wider aperture (smaller f-number) like f/1.8 will give you a shallow depth of field. That means your yummy dish will be in sharp focus while the background melts into a dreamy blur. It gives your food the spotlight it deserves!
Picture this: you capture a sizzling steak or a gooey cheese pull shot. You want to freeze that delicious moment in time, right? A faster shutter speed, like 1/250th of a second, will do the trick. It'll prevent any unwanted blur and keep your food looking tantalizingly crisp. If you aren't capturing any motion, a shutter speed of 1/40th is a great start.
ISO is what brightens up your photos, even in low-light situations. But be cautious, my friend. Too much ISO can introduce noise and make your food look grainy. Start with a low ISO (around 100 or 200) and gradually increase it if needed. It's all about finding the right balance of light without sacrificing quality.
Your white balance ensures that the colors in your photo are true to life. Adjust the white balance if your food looks too warm and yellowish or too cool and bluish. You can choose pre-set options like daylight, cloudy, or tungsten, or for full control, use the custom white balance feature to match the lighting conditions.
Keep an eye on the exposure meter in your camera's viewfinder or screen. Aim for a well-balanced exposure, not too dark and not too bright. You can use exposure compensation to fine-tune the brightness if needed. You want your food to look appetizing, not like it's hiding in a dark cave or sunburnt to a crisp.
Want more on camera settings for food photography? Check out this article that dive into what camera settings work best for food photography: Best Camera Settings for Food Photography

Get Creative with Composition and Styling
Treat your plate like a canvas and get artsy with it. Play around with different angles, heights, and arrangements. Stack those pancakes, drizzle that sauce, and sprinkle those herbs like a master chef. Remember, a little messiness can add character and make your food look more enticing. Just don't go overboard and turn it into a food explosion!
When it comes to composition, keep in mind the rule of thirds. Imagine dividing your frame into a grid of nine equal parts, like a tic-tac-toe board. Now, position your main subject along those lines or at the intersection points. This creates a visually pleasing balance and draws the viewer's eye to the right places.
Related article: How to Use the Rule of Thirds
Leading lines is another great technique. Use lines within your composition to guide the viewer's gaze. It could be the curve of a fork, the edge of a cutting board, or the pattern on a tablecloth. These lines create a sense of flow and movement, leading the eye to that delicious dish you want to showcase.
Related article: How to Use Leading Lines in Photography?
And don't forget about balance! Like a well-prepared meal, your composition should have a good balance of elements. Distribute the visual weight evenly across your frame. If you have a bold and colorful dish on one side, balance it out with a complementary prop or negative space on the other.

Try Different Angles and Perspectives
First, the overhead shot is the granddaddy of food photography angles. This angle is perfect for showcasing elaborate arrangements, capturing patterns, and giving your audience a full feast for the eyes.
Another angle to rely on is a close-up. A close-up shot allows you to reveal the tempting textures, the intricate details, and those tiny droplets of deliciousness.
Related article: Close up Photography: How to Take Stellar Close-Up Shots
You can also bring food to eye level. This technique helps you capture food as you would see it if you were sitting at the table, ready to eat. This perspective connects the viewer and the food, making it more relatable and inviting.
Now, let's not forget the playful low angle. This is when you get down on the food's level. It adds a sense of drama, making the food look larger than life. Imagine towering burgers, cascading chocolate, and towering sundaes. It's all about making your audience go, "Whoa, I want a piece of that!"
But hey, don't be afraid to break the rules and experiment with unconventional angles. You may want to capture a tray of cupcakes from the side, revealing their colorful swirls. Or perhaps you want to tilt your camera and go for an artsy, off-kilter shot.
Remember, each angle creates a unique visual impact and tells a different story. So, please don't be shy to mix it up.

Present the Food in a Mouthwatering Way
Presentation makes your food visually enticing and gets mouths watering before the first bite. Think about balance and symmetry. Arrange your ingredients with care, creating patterns or eye-catching arrangements.
Add a sprig of fresh herbs for a burst of color, scatter some toasted nuts for crunch, or drizzle a tantalizing sauce to create visual drama. Garnishes add personality and that extra "wow" factor.
Textures and layers help with food presentation. Imagine the contrast of a crispy exterior and a creamy interior or a smooth sauce gracefully flowing over a textured piece of meat. Play with different textures, build layers, and create mouthwatering depth.
Colors can make or break your food presentation game. Vibrant, fresh hues make a dish look appetizing and Instagram-worthy. Think of a colorful salad with a rainbow of veggies or a vibrant fruit platter.
Related article: How to Use Color Theory to Create Visually Pleasing Images?
Don't forget about negative space. Negative space gives your dish room to breathe. It adds elegance and draws attention to the food itself. So, don't overcrowd the plate and embrace the beauty of simplicity.

Use Props and Different Backgrounds
Regarding backgrounds, think about the story you want to tell. A rustic wooden table can add a cozy, homely vibe to your shot, like a family gathering for a hearty meal. If you're aiming for a modern and sleek look, a marble countertop or a clean white surface can do the trick, giving your food a touch of elegance and sophistication. Oh, and remember the good ol' trusty cutting board! Its natural texture adds charm and authenticity to any food scene.
Props are great sidekicks. Think about the theme and style of your dish. If you're shooting a tropical smoothie bowl, grab some vibrant fruits, a cute straw, or even a mini beach umbrella to transport your audience to a sunny paradise. For a cozy cup of coffee, bring in a cozy blanket, a book, or a pair of stylish sunglasses to create a relaxing ambiance. The key is to select props that complement the food and enhance the mood.
Don't be afraid to mix and match different backgrounds and props. Play with colors, textures, and styles. A splash of vibrant flowers adds a fresh touch or a confetti sprinkle brings a festive vibe.
A quick tip: always make sure your backgrounds and props don't steal the spotlight from the food. They should complement and enhance the dish, not overpower it. Balance is key!

Capture Details and Textures
Take a moment to appreciate the small things that make your food special. Whether it's the crispy crust of freshly baked bread, the velvety smoothness of a chocolate mousse, or the crackling caramel on a crème brûlée, textures can make your audience feel like they're right there, ready to take a bite.
Another trick is to focus on the details. Think about the unique elements that make your dish stand out. Is it the vibrant colors of a rainbow salad, the delicate patterns on a sushi roll, or the steam rising from a piping hot bowl of soup? These details tell a story and create intrigue.
Related article: Close up Photography: How to Take Stellar Close-Up Shots

Edit Your Photos
Exposure
Exposure adjustments can help your photos dazzle. Brighten up those shadows, fine-tune the highlights, and make those colors pop. Many popular editing tools offer simple sliders to adjust exposure.
Color Balance
Sometimes our camera's automatic settings can play tricks on us, making our food look slightly off-color. Adjust the color temperature to warm up or cool down your shot, and fine-tune the tint to get those colors just right.
Sharpen
Sharpening editing software tools can enhance your dish's fine details, making every sprinkle and garnish shine. But be gentle - don't go overboard with the sharpening, or you'll end up with a plate full of jagged edges.
Cropping
Crop in closer to showcase the intricate textures, or experiment with different compositions by cropping from different angles.
Keep experimenting, keep learning, and keep pushing the boundaries of your creativity. Each click of the shutter is an opportunity to capture a masterpiece that will leave people craving more.
Now, it's time to pick up your camera, embark on new culinary adventures, and unleash your inner food photography rockstar. Bon appétit and happy snapping!
Related article: Best Camera Settings for Food Photography
Related article: The Most Delicious Settings for Food Photography
Related article: Close up Photography: How to Take Stellar Close-Up Shots
Related article: How to Take a Photo With a Blurred Background?
Related article: Water Splash Photography: How to Shoot High-Speed Photography of Splashing Liquids?


