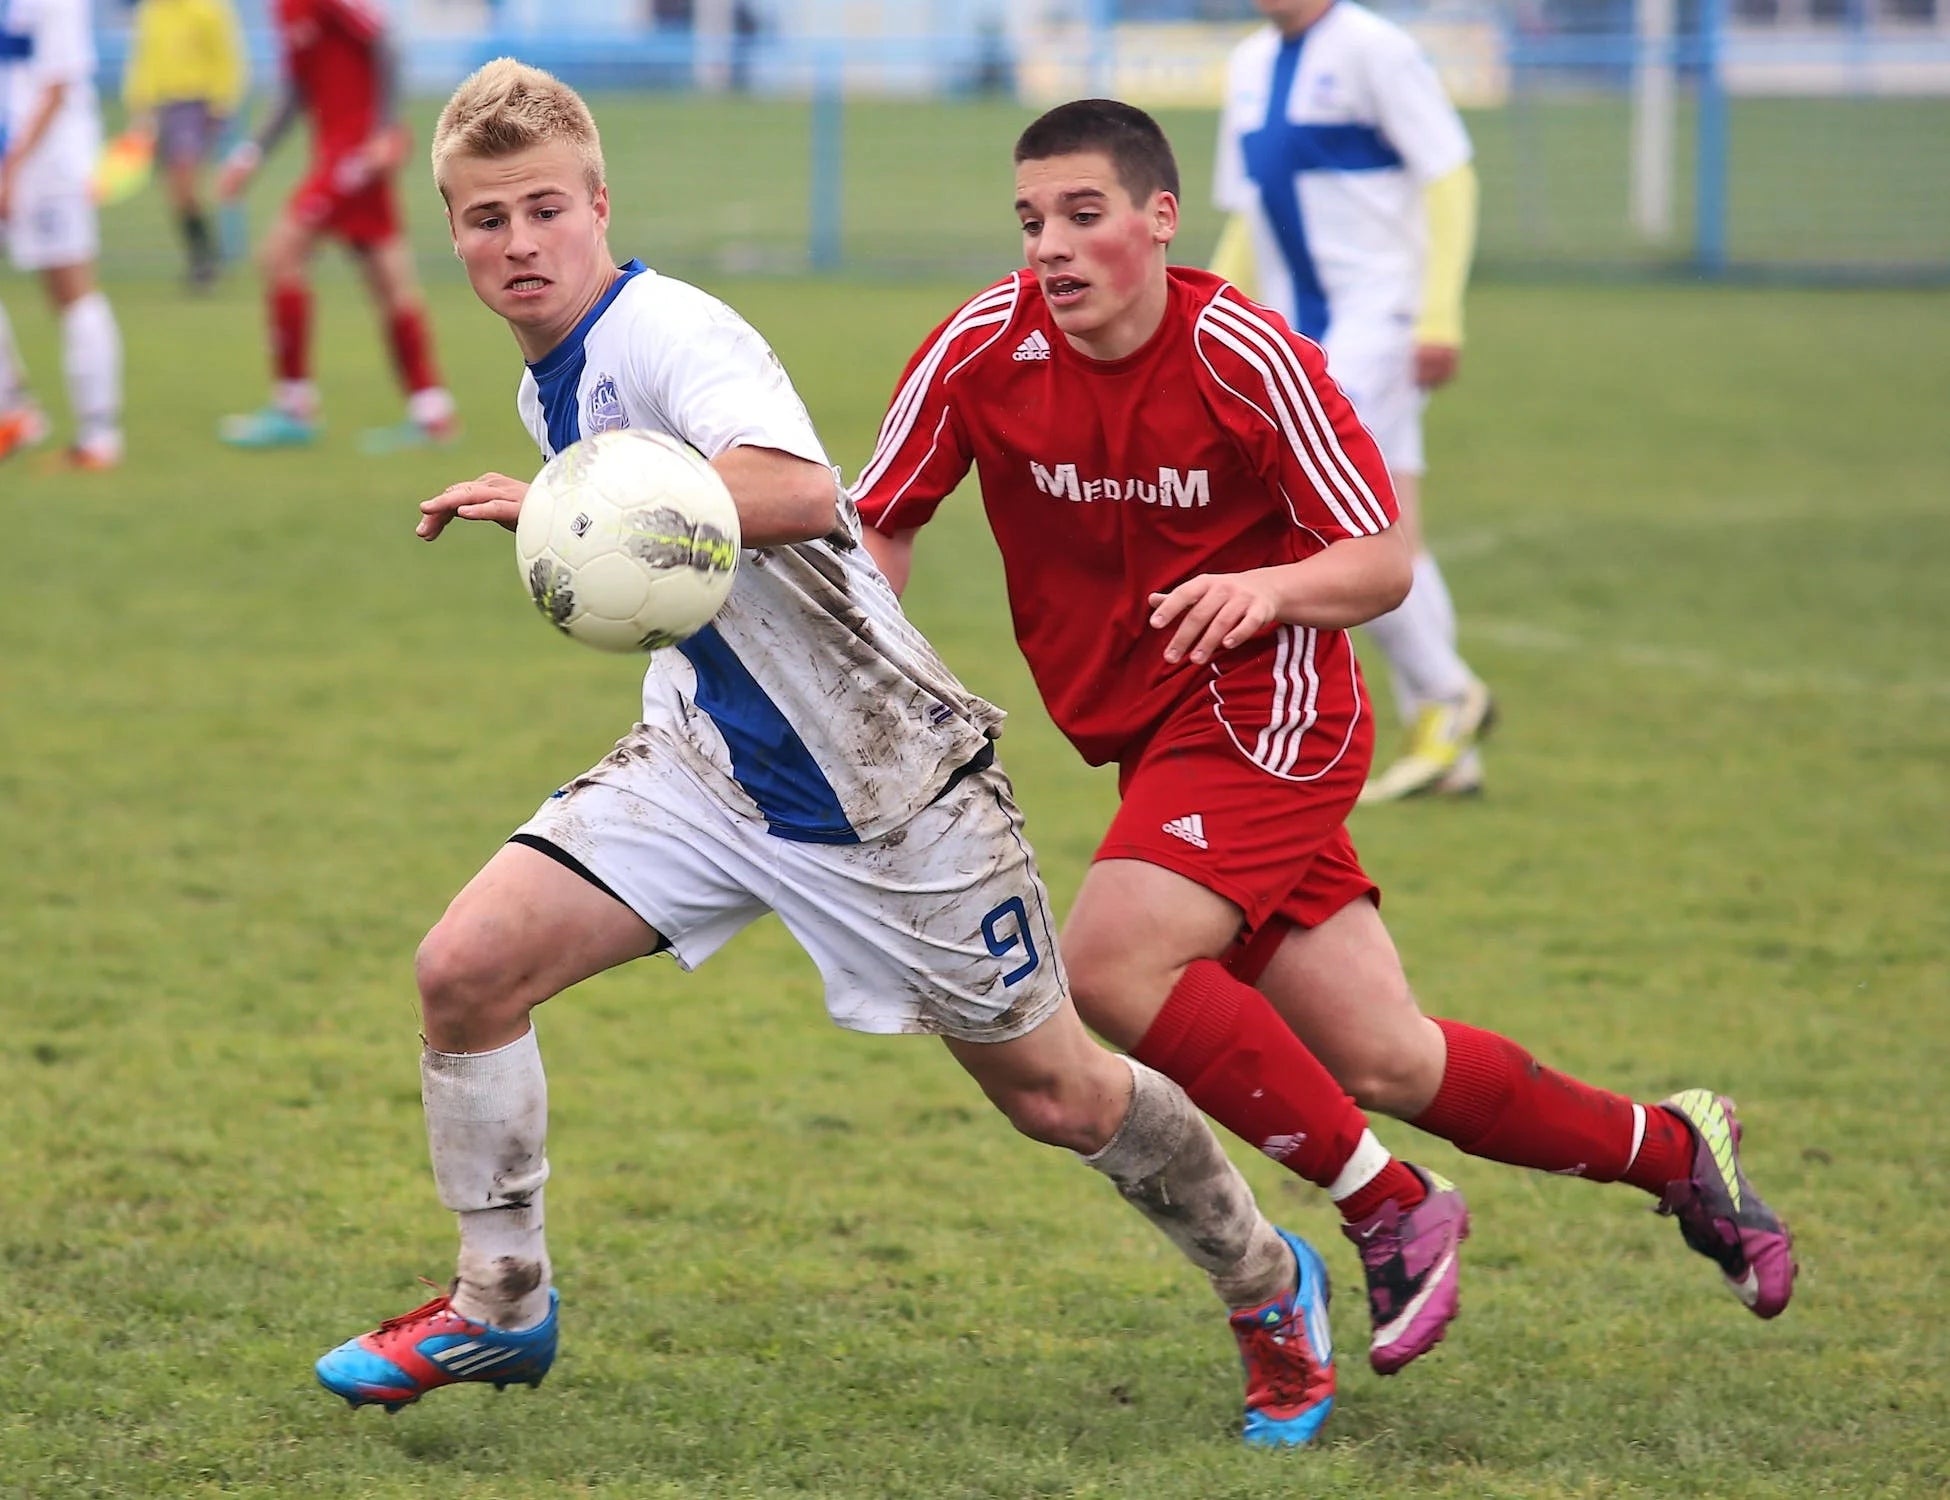
Capturing the action of a thrilling sports event, whether it is football, rugby league, soccer, tennis, and everything in between, is a beautiful feeling for all involved. But how can we get those shots we see in magazines and newspapers?
These are my top 10 tips on sports photography that even beginners can follow to drastically improve their photos!
What do you need and some tips to get started. Here are 10 sports photography tips for beginners:
- Get Yourself a Telephoto Lens
- Avoid Full-auto Mode
- Crank up Your Shutter Speed
- Use "Aperture Priority" Mode
- Keep an Eye on Your ISO
- Fall Back on Shutter Priority Mode if the Aperture Option is Unavailable
- Use Burst Mode and a Fast Auto-Focus Mode
- Educate Yourself on the Sport You're Shooting and Position Yourself for the Action
- Snap Away!
- Aim Low and Use a Monopod
For excellent sports photos, you will want to use a mirrorless camera, a DSLR camera, or one that can adjust the shutter speed. If neither of these is an option for you, then it's unlikely that your pictures will turn out well.
Before taking any photographs at an event--especially kids' sporting events--make sure to get permission first. Once everything is cleared, we can start shooting!
1. Get Yourself a Telephoto Lens
If you want to get close to the action without zooming in, a focal length greater than 200mm is ideal. Two lenses that are popular among beginners are the Tamron 150-600mm or the Sigma 150-600mm.
2. Avoid Full-auto Mode
This is something that many novice photographers need to do better. They'll often set their camera to fully automatic or one of the pre-programmed modes like "sports" or "action." It might be alright sometimes, but if you want to elevate your photography skills, you should use a semi-manual mode instead.
3. Crank up Your Shutter Speed
To photograph moving athletes without a blur, make sure the shutter speed on your camera is no slower than 1/500th of a second. Any faster will also work, but this should be the minimum you shoot for.
4. Use "Aperture Priority" Mode
The modes on a typical mirrorless camera are Automatic, Program Automatic, Shutter Priority, Aperture Priority, and Manual. The aperture is displayed by the letter A on a Nikon camera and AV on a Canon. It's our f/stop number that determines how much light is taken into the camera's sensor. If you aren't using a digital SLR camera, don't worry about setting an aperture. You will focus on shutter speed instead, which we'll talk more about in just a minute.
In aperture priority mode, we let the camera choose the shutter speed while determining the aperture. This is usually best on sunny days. Often, professionals who take sports photos use this setting to have a large aperture—a small f-stop number like f/2.8 or f/4. By doing this, more light enters, telling the camera to have a fast shutter speed for optimal exposure.
5. Keep an Eye on Your ISO
Depending on the mode you shoot in, for example, aperture or shutter priority, you will have to set the ISO yourself based on the surroundings of your event. If it's a sunny day and plenty of light is available, then a low ISO like 400 would work great. However, if conditions are duller with not as much light, we need to communicate this to our camera by changing the ISO accordingly. On darker days, you might have to increase your ISO settings anywhere from 800-1200.
6. Fall Back on Shutter Priority Mode if the Aperture Option is Unavailable
With shutter priority mode, we get to choose the speed of our camera's shutter rather than telling the camera how much light to let in. The camera will automatically decide on an aperture - or f/stop number it should use. 1/500th of a second is generally the minimum amount needed.
7. Use Burst Mode and a Fast Auto-Focus Mode
For the camera to keep up with fast movements, set it to continually focus on the subject rather than locking it onto one spot. In addition, set the camera to take multiple images per second, usually referred to as "frames per second" or "burst mode." Locate these features on your camera and ensure they are turned ON when shooting sports photos.
8. Educate Yourself on the Sport You're Shooting and Position Yourself for the Action
When taking pictures of athletes in motion, standing with the sun at your back is best so that more light hits the subject. You can also "freeze" action by using fast shutter speeds. Furthermore, it helps to be familiar with the sport you're photographing. Knowing where the ball or other objects are likely to go, you can get better shots. Also, follow the action while zooming in close enough so that the player fills most of what is visible in the frame.
9. Snap Away!
Thanks to burst mode, you can now take advantage of having your subject in the frame by half-holding down the shutter button to focus and then firing away as many photos per second as possible. In our digital age, we're lucky enough to get results instantaneously, so there's no need to worry about filling up your camera with 2000 images from one event!
10. Aim Low and Use a Monopod
When you shoot from your knees, not only are you able to get a more dynamic angle but also a clearer background. More professionals use this technique as the low perspective provides greater depth in the photo. Another tip is to buy a monopod - it only matters if your camera and lens are light. The monopod keeps them steady and balanced when shooting from different angles, which is especially handy when kneeling.
These tips will ensure that your photos are next-level. Now, "play ball!"


