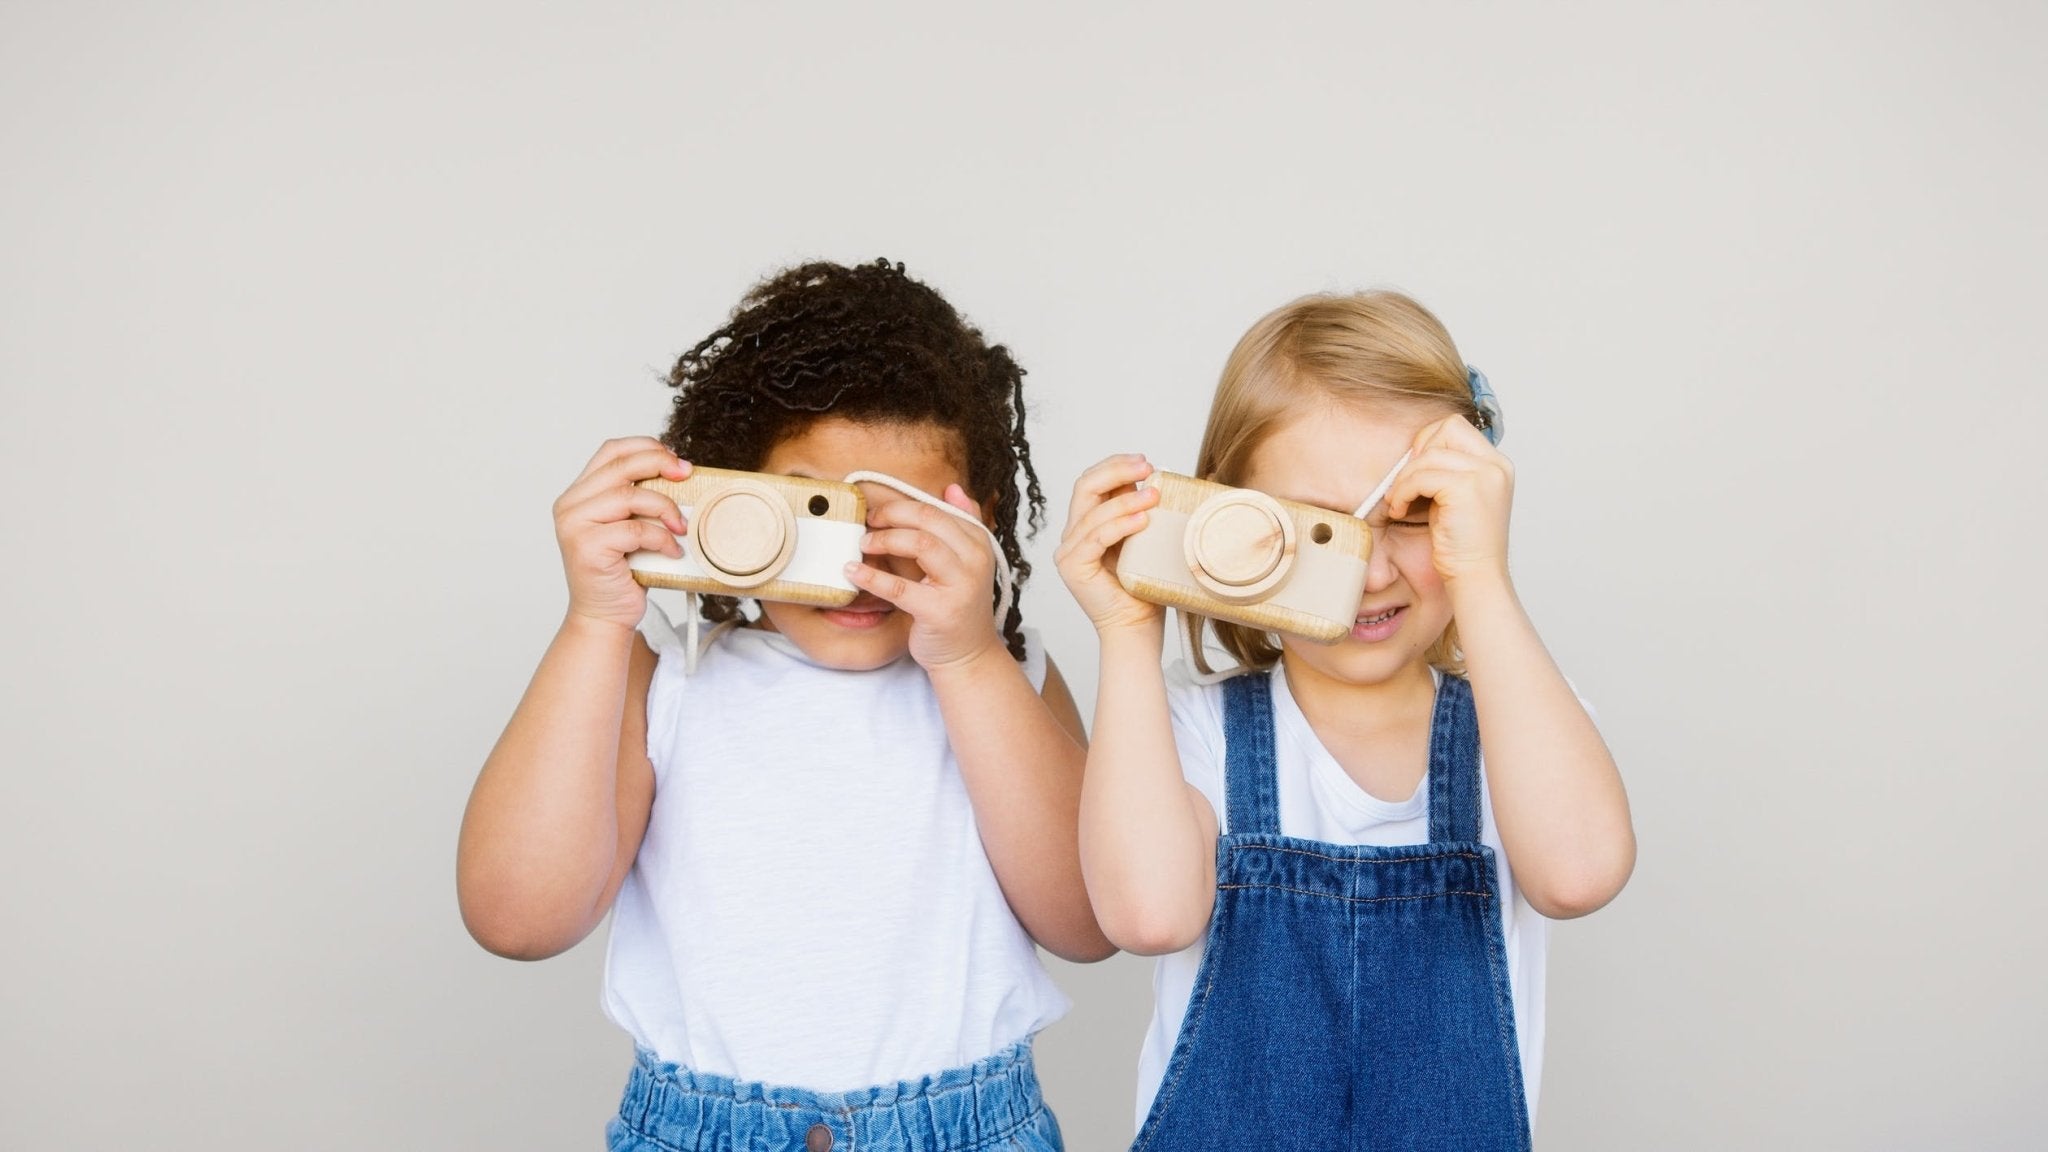
Try pinhole photography if you've fallen into a photography rut. It's entertaining and easy to do, making it an excellent method to get your creative juices flowing. If you're bored of your current photo style, why not try something new or learn a skill?
Pinhole photography may be a good fit for those looking to break away from the same-old-same-old routine.
Pinhole photography is the act of photographing using the crudest camera imaginable: a light-proof box with a tiny hole in one side. The pinhole, which lacks any lens, functions as a small aperture through which an image may be captured on to light-sensitive film or a camera sensor. For centuries, pinhole cameras known as "camera obscura" have been utilized for art, and they're also used to observe solar eclipses safely.
Wouldn't it be great to jumpstart your creativity with a new activity? Pinhole photography is easy and fun, perfect for anyone feeling stuck in their creative process. Here's everything you need to know about getting started.
Make Your Own Pinhole Camera
Today, the pinhole camera is frequently used in photography courses as a simple starting point for beginners to photography fundamentals. It's a fantastic method to learn (or relearn!) the fundamentals of picture making and film processing in the darkroom.
Here's a simple way on how to build a pinhole camera:
- Get a shoebox and paint the inside black so it won't reflect light.
- Use a needle to puncture a hole in the center of one side of the box.
- Cover the hole with a movable piece of paper or cardboard to create a shutter.
- Attach a piece of photo paper to the inside of the box opposite the hole. This should be done in a light-free area.
How to Take a Photo with a Pinhole Camera?
The small aperture of pinhole photography necessitates longer exposure times to take your picture. Consequently, pinhole photography presents the perfect occasion to focus on composition, experimentation, and patience. For example:
When selecting your subject, remember that you'll need a long exposure because of the tiny aperture, so it's best if your subject is not moving and is well lit.
- Secure the film or photographic paper to the box wall on the other side of the pinhole. Make sure you do this in a dimly-lit area. If you're using photographic paper, you'll need to let more time elapse than if you're using film.
- Make sure your camera is studied.
- Depending on the conditions, open your shutter for anywhere from a few seconds to half an hour.
- Experiment and be patient to get your desired results. Develop your negative image. Whether you use film or photo paper, your initial picture will be an inverted negative representation.
- Develop your photograph using the negative you just made.
Pinhole photography is a delightful pastime that anyone can enjoy. By experimenting with diverse cameras and subjects, you will surprise yourself with your own artistry.
Related article: How to Develop Film
Related article: Film Photography Tips
Related article: Film Photography Project
Related article: Best Film for Canon AE-1


