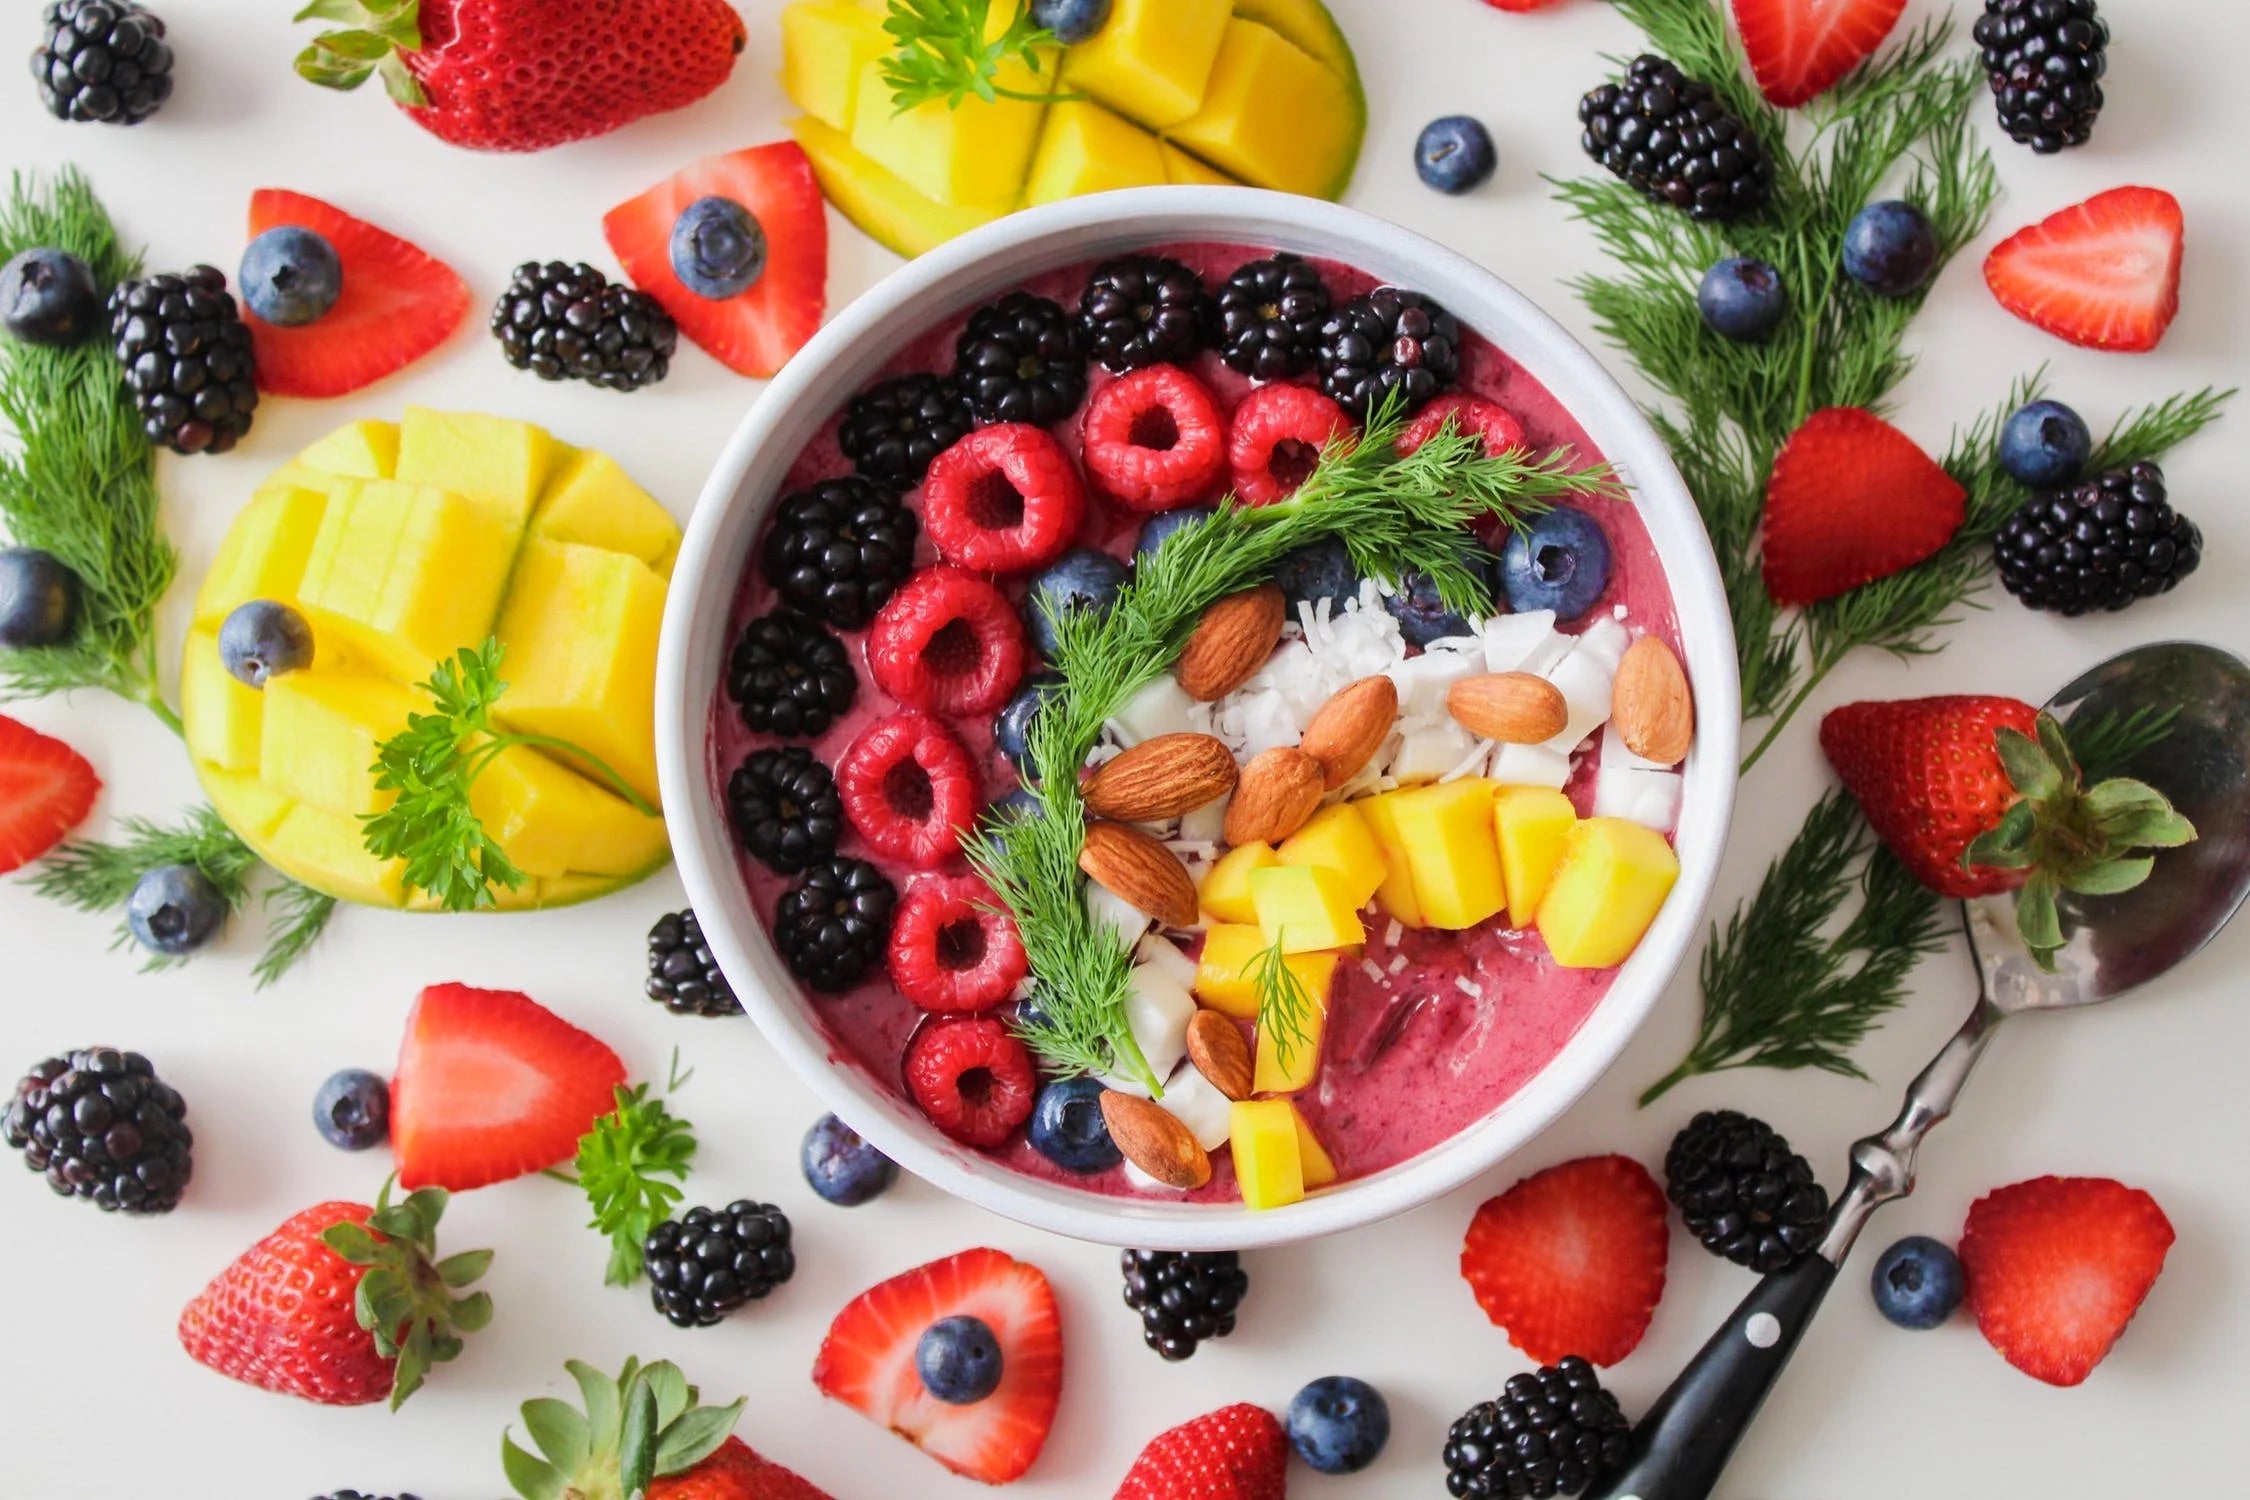
There's no autopilot for cooking, so start using your camera in manual mode for food photography.
Lighting
Light is everything when it comes to photography.There are three settings on your camera that influence the amount of light that reaches the sensor – since, in fact, the exposure of a shot is determined by the amount of light allowed to hit the camera's sensor. An image that has been overexposed looks pale and washed-out, whereas an image with been under-exposed appears dark. You want to tweak those three settings to balance your overall exposure.
Aperture
The aperture may be expanded or narrowed, similar to the pupil of your eye. When you increase the aperture setting, the amount of light reaching the camera doubles. The amount of light that enters a camera is doubled every time you move the aperture setting up. However, f/stop numbers run in reverse: The higher the number, the smaller the aperture – the lower the number? You guessed it, the larger the iris.
The number of f/stops in a lens does not double with each setting, even though the amount of light entering the camera does. F/stops can range from f/1.4 to f/32, depending on the lens type. It's important to understand that when talking about "aperture," you're actually describing it via the f/stop measurement.
The second thing to remember about apertures is that a large aperture (i.e., a low f/stop number) allows you to have selective or differential focus (where part of the image is in sharp focus and part of the image is in soft focus). A small aperture (i.e., a high f/stop number) provides a deep depth of field (a sharper, clear background)
When photographing food side-on or at an angle, I like to maintain the aperture as large as possible because a clear subject and blurred ambient background look fantastic in this sort of image. A smaller aperture is preferable for overhead or flat-lay pictures since it keeps the entire arrangement sharp.
Shutter Speed
The shutter speed is like your eyelid if the aperture is comparable to your eye's pupils. They operate as a pair of blinds that rapidly open and shut. The longer (or slower) the shutter speed, the more light enters, and the quicker (or faster) it closes (or opens).
Shutter speed is considerably easier to understand than aperture: the setting might be expressed as "1/250" or "1/60", which implies that the shutter is open for 1 250th of a second or 1 60th of a second. You just have to recall that this is what the numerical value represents, and the speed is always compared to one second.
The shutter speed determines the length of time that light is allowed to pass through a lens before being completely blocked. A faster shutter speed allows less light, which means you'll get a darker image. Low light: In low light, an image will be excessively dark because a fast shutter speed blocks all incoming rays for such a lengthy duration.
Slow shutter speeds (for example, 1/25) allow in more light. For instance, slow shutter speeds (for Insta-shooting, for example) can help create motion blur when shooting in low light. However, keep in mind that the longer the shutter speed, the more likely you will get a blurry photo by shaking the camera – even from hand-holding it.
I shoot using a shutter speed of 1/250, depending on the amount of light. Because I like to shoot handheld rather than on a tripod, I can be more flexible and try different angles. My preferred shutter speed is 1/250, but I'll go down to 1/200 or 1/125 before giving up and grabbing my three-legged friend.
When photographing a drink or moving liquid, a slower shutter speed (3.2 seconds) results in 'motion blur,' while a faster shutter speed (1 500th of a second) captures the subject's 'freeze action' shot. Neither is right or wrong, and it totally depends on the feeling you want your viewer to experience.
ISO
ISO is a measurement of how light-sensitive the camera's sensor is. A lower ISO indicates that your camera is less sensitive to light (so the photo will appear darker), while a higher ISO indicates that it is more sensitive to light (so the image will appear more washed out). As with aperture, as the ISO setting increases, the amount of light permitted to hit the sensor increases.Adjust your ISO to match the amount of light you have in any room (or kitchen). The lower you can set your ISO (and still get a decent photo), the better, as a high ISO might produce 'noise' or grain in the picture.
As a (very) rough rule of thumb:
- 100-200 for outdoors or in daylight
- 400-800 indoors or in the evening
- 1600 at night
So, what are the best camera settings for photographing food?
There's no exact set of perfect settings because things change based on your light environment. Still, if you get comfortable with the three settings above, you'll be able to accommodate any situation on the fly and get a delicious picture of what you're about to serve up for family and friends.
Related article: Best Camera Settings for Food Photography
Related article: How Much to Charge for Product Photography
Related article: The 3 Most Important Camera Settings
Related article: What is Value in Photography


