Although our cameras are mighty, there are times when light won't portray the colors we see correctly, primarily white. Fluorescent light, the shade, and even incandescent lights can make white look blue, yellow, or just downright funky. But, how do you fix this? The answer is in your camera's white balance setting. So, what is white balance?
Let me start by explaining the white balance camera setting.
Your white balance photography setting will determine how cool or warm the colors develop in your scene. When your whites look like different colors because of the source of light, it is called a color cast.
• Whites turn into yellows/oranges/reds in warmer colors and scenes like a sunny day.
• Whites turn into blues when the colors are cool-colored scenes like a cloudy day.
What is color temperature?
This information will tie into the section above. When you are in various lights, you will have many color temperatures. Kelvin degrees is how color temperatures are measured. If you want to learn more about the Kelvin color scale, check out this article: Kelvin Color Temperature - Color Temperature Chart
Here are the most common light situations and what Kelvin number you should use:
- Candlelight: 1900
- Incandescent light: 2700
- Sunrise/golden hour: 2800 to 3000
- Halogen lamps: 3000
- Moonlight: 4100
- White LEDs: 4500
- Mid-day: 5000 to 5500
- Flash: 5500
- Overcast/cloudy: 6500 to 7500
- Shade: 8000
- Heavy cloud cover: 9000 to 10000
- Blue sky: 10000
If you notice, the cooler the light gets, the number is higher. The warmer the light gets, the number is lower.
If you aren't comfortable with manually adjusting, don't worry. Auto White Balance is to the rescue.
Your camera will most likely default to the auto white balance setting. Although manually adjusting your settings will always allow you to have complete control, sometimes using automatic settings will be helpful to you. Using the auto white balance will choose the color temperature for you and take out the guessing game.
The auto setting will have a hard time working and will result in a color cast if your photograph:
a. Is lacking the color white, or even a color close to white.
b. The majority of your scene is one color (like a sky).
c. Various color temperatures are in one photo.
White Balance Presets will help tremendously.
When in doubt, turn to white balance presets. These presets will set your white balance based on usual lighting conditions by veiling it with a cool or warm preset.
Image courtesy: Canon USA
To use this setting, you will go into your camera's menu or, some cameras have a WB button you will need to hold down. You will usually see the following:
• Lightbulb Icon: represents incandescent lighting
• Fluorescent Tube: represents fluorescent lighting
• Sun: represents the daylight
• Jagged Arrow: represents flash
• Cloud: represents a cloudy day
If you have multiple lighting sources in one shot, presets might not be the best option.
 Image courtesy: Manfrotto
Manually set your white balance for complete control.
Unfortunately, you can't rely on automatic settings when there are various light sources. When this happens, you will need to manually adjust your settings. Manually setting your white balance will give you ultimate control in creating a gorgeous photograph. You will achieve colors in their most accurate form by doing this.
Here is a step by step guide on doing this:
First: Take a picture of a gray card lit by your light source (just like a picture above). Make sure whatever you take a picture of fills most of the frame.
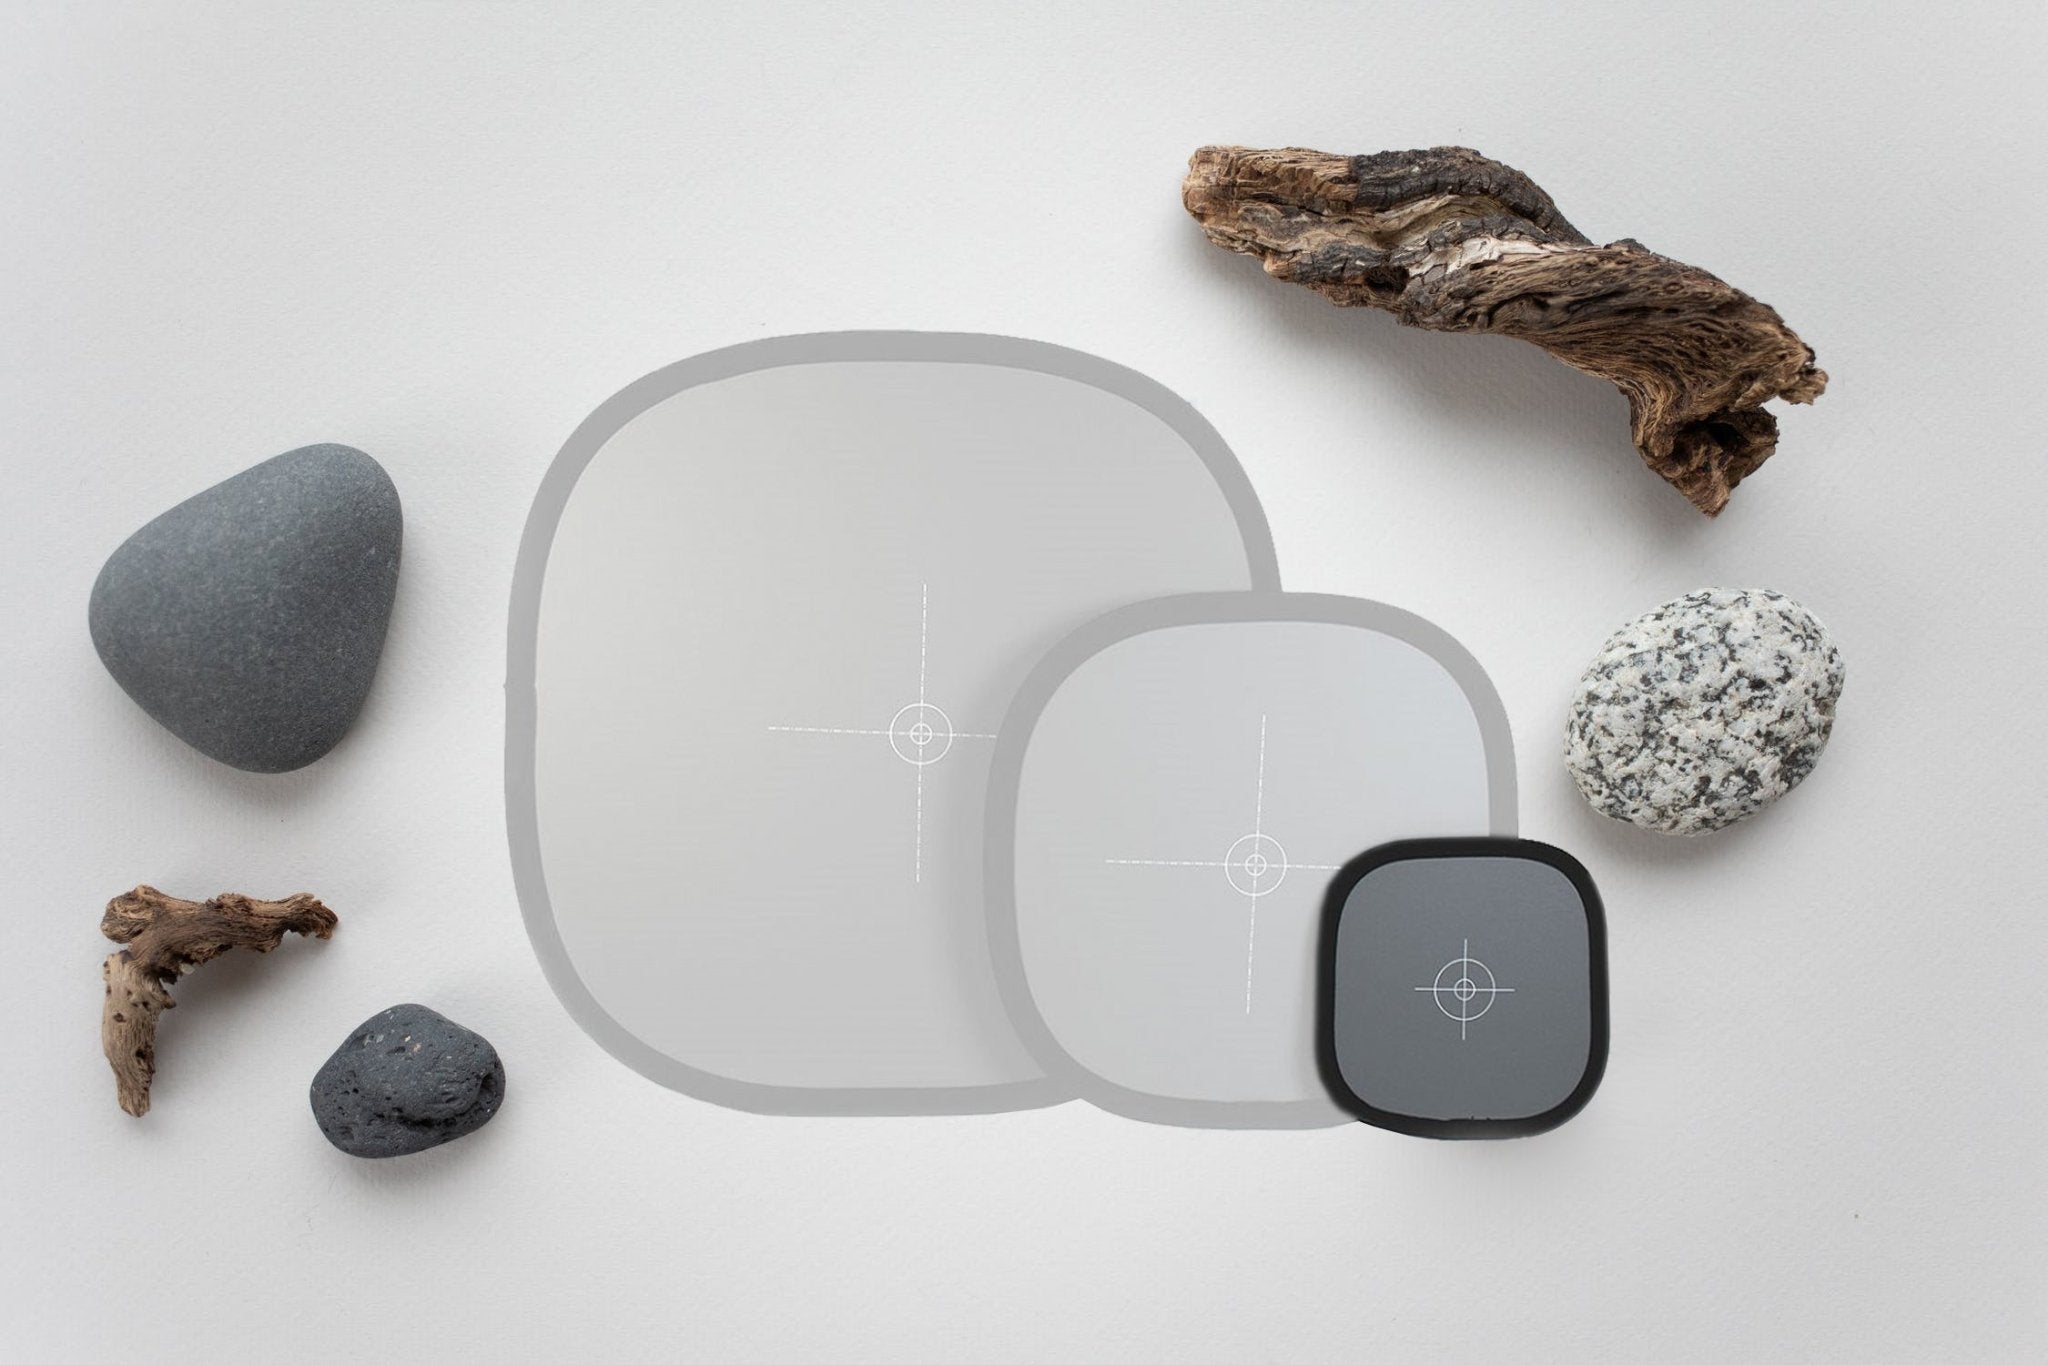
Recommended product: Lastolite EzyBalance Gray Card
Second: Now, click the WB button and turn the dial to the Custom White Balance icon. If you don't have a WB button, you can access this feature through your camera's settings.
Third: You will need to assign a photo for your camera to use as a reference photo. You will use the image you just took, and now you will need to set it to this photo. Once this is done, your camera will use that picture to understand how white is portrayed with the current light conditions.
Many cameras will allow you to pick the actual color temperature you want to use from the Kelvin scale. If your camera is capable of this, you will have precise control of how your whites will look.
Hopefully, this article helped you fully grasp white balance settings and how it works in photography. If you want to learn even more about your camera's capabilities, check out our related articles on settings and guides.


