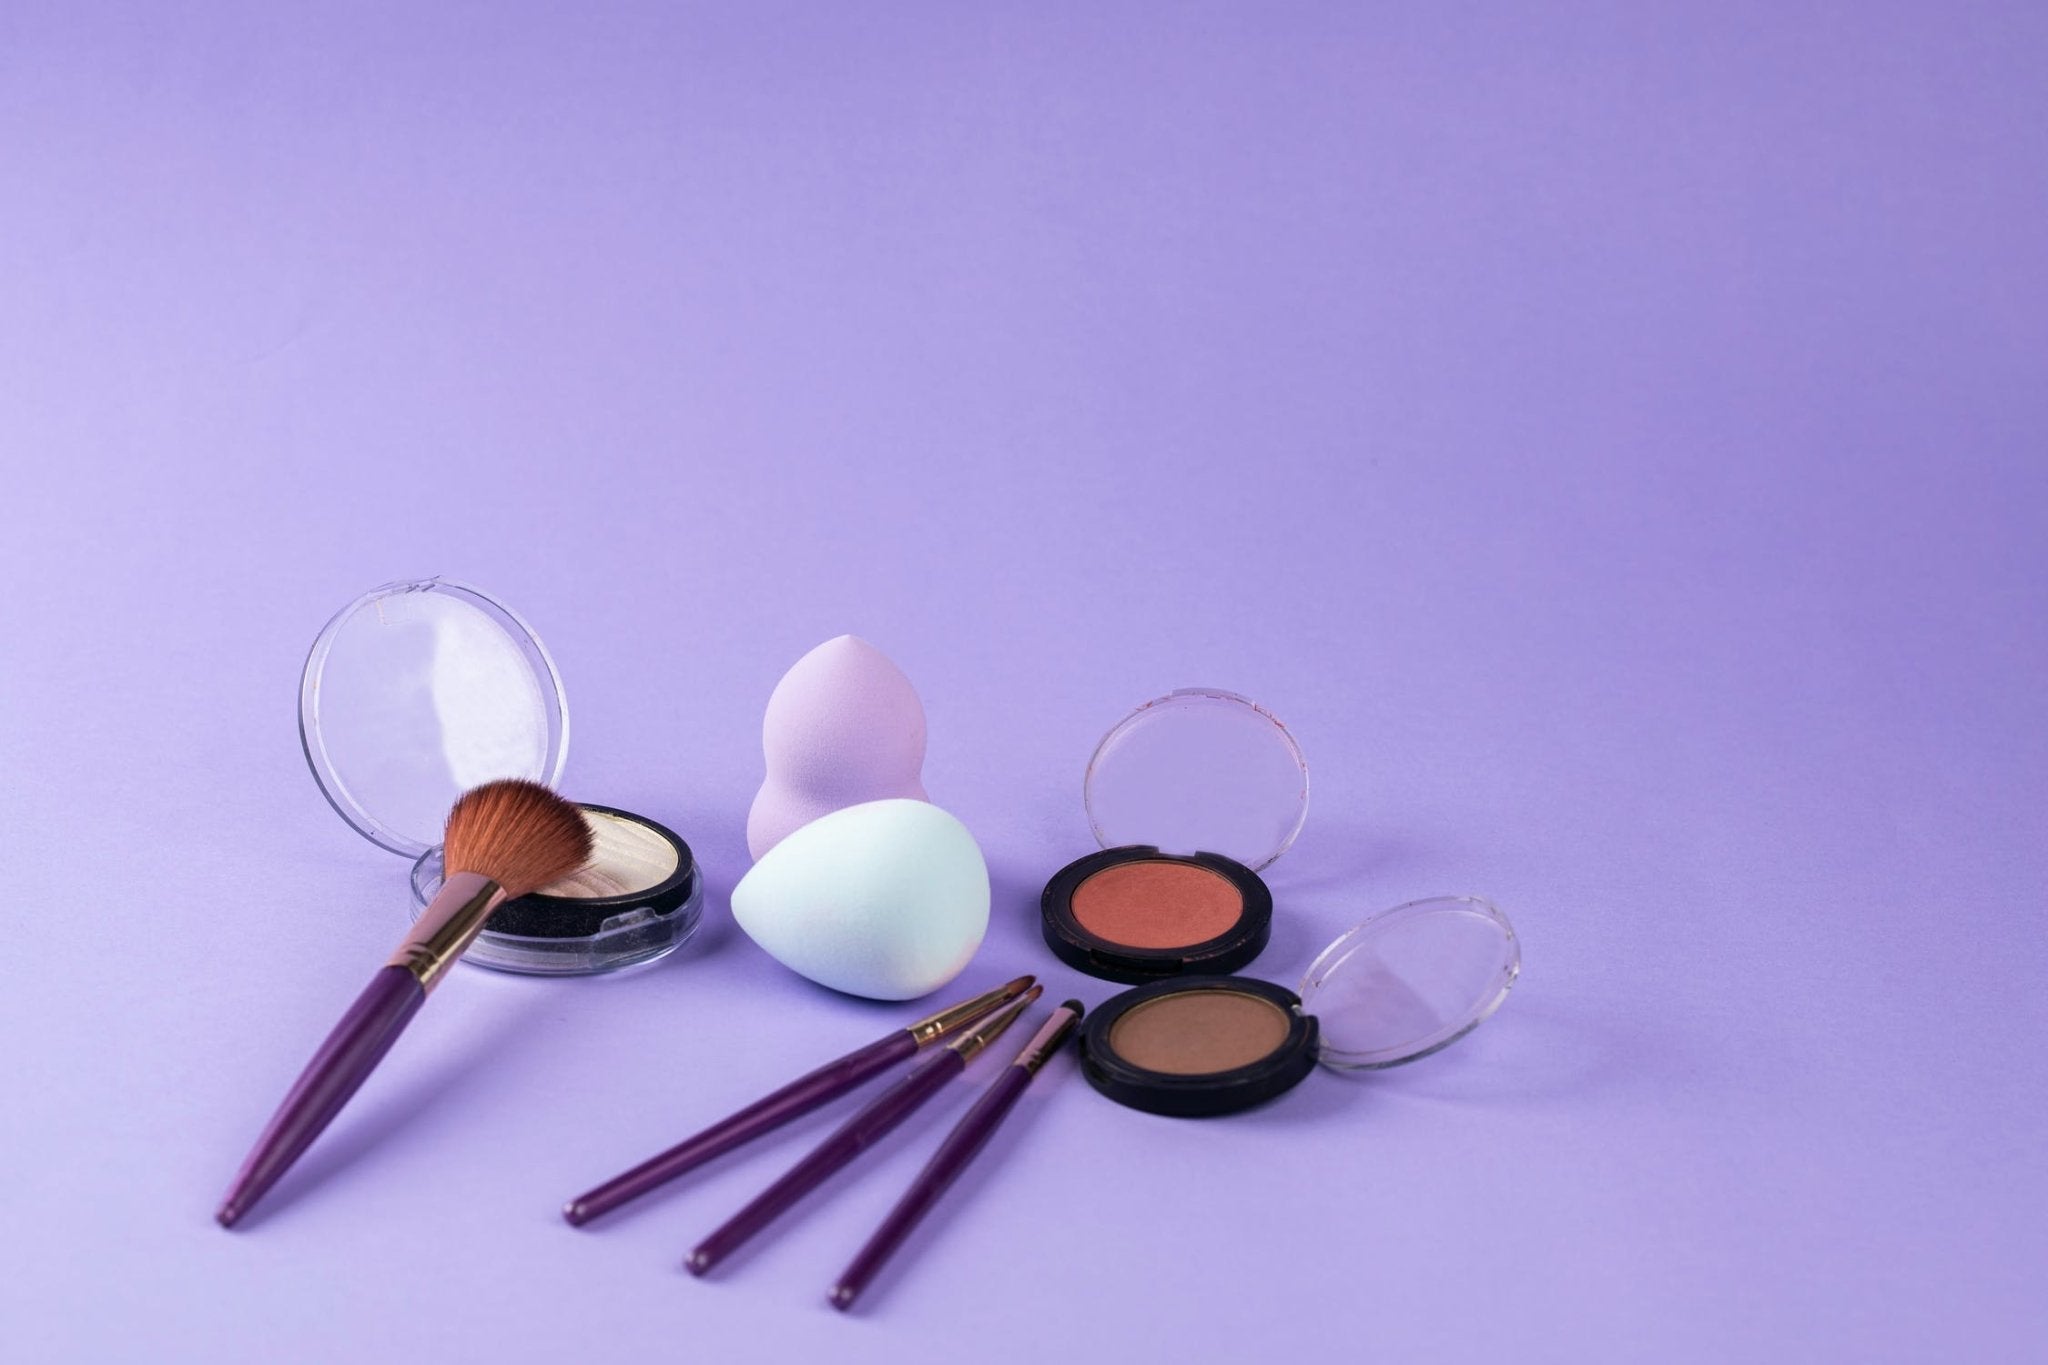
Makeup has always been fascinating. Through the years, it has captivated people by completely transforming looks. Makeup advertisements, tutorials, and tips have become increasingly popular on social media. Gone are the days of young girls having mismatched foundations and poorly applied eyeliner (Ahem...me at 15).
You may be a product photographer or even a makeup artist trying to learn how to take makeup pictures - I am here to help! I have tips to help you improve your photographs to make your client proud or wrangle more followers to your social media site.
Makeup Product Photography Tips:
- Always start with a clean slate
- Pick-out a complimentary background
- Position your product
- Get creative with composition
- Use a macro lens
- Setup gradient lighting
- Choose a deep depth of field
- Edit your images
Always start with a clean slate
If you photograph the product itself, give it a good wipe. When promoting a product, you want it to look presentable and desirable. Clean it of any fingerprints, dirt, dust, and makeup residue. If you take a picture of a product that even has dust, your result will be a lot of Photoshop work. You can clean the product off with cleaning wipes or a damp cloth. And of course, dry it before you start snappin'!
Don't forget your background!
Your background is just as important as the product itself. If you are photographing for a client, they might already have a background picked out for your photoshoot. If not, make a wise decision. You want to ensure the background isn't too distracting when it takes the focal point off the product, and it should still appeal to the eye. The best options are acrylic sheets, MDF boards, or canvas.
Position your product
Be strategic with your product placement. The most commonly used placement for product photography is from below, and this causes the product to look almost dominating. If you want to try this out, you must position your product on a pedestal to make it appear higher. You want to ensure the product is clear and easily recognizable, and there is no need to get super creative with the position.
You can get a bit creative with composition
There are a few composition techniques you can adopt while photographing makeup products. One of the most popular techniques is the rule of thirds, and this is seen in all types of art because it is so appealing to the eye. Other techniques you could use are juxtaposing colors, leading lines, color contrast, and framing. I have an article that discusses composition techniques and gives a description for each one.
Check it out: Photography Composition Techniques
These composition techniques work great to capture your viewer's eye while giving an attractive photograph.
You'll need a little help capturing tiny products
Makeup products aren't always big. Some are pretty tiny. A small eyeshadow pot, eyelash extensions, and more can almost be too little. A great way to photograph these items is by using a macro lens. A dedicated macro lens works almost like a magnifying glass, and it is a great way to capture something small without losing focus. The downside is that macro lenses do come with a high price tag. If you can't get your hands on a macro lens, you can look into using extension tubes. Extension tubes are a great alternative with a smaller price tag. These help you focus on small subjects by attaching to the end of your lens and almost zooming in.
Gradient lighting will go a long way
There are a few types of lighting that you can use to help illuminate your products. You will need some help from gradient lighting. This type of lighting works best when taking photos of makeup with reflective surfaces or are glossy. When taking pictures of lip gloss, you will want to highlight the gloss! To do this, use a piece of diffusion over your light to soften the reflections. Avoid using softboxes since they can result in harsh reflections and glares.
Think about your depth of field
You might need to tone your creative juices when taking product photographs. Usually, a shallow depth of field is desirable. Not in this case. You want your entire product to be in focus. Usually, a shallow depth of field can cause parts of your product to be out of focus with the background. Use an f stop of f/16 to get maximum depth of field. For smaller products that are hard to get entirely focused on, you may need to try the focus stacking technique. You will shoot a series of your product with different focal points. Then, once you start the editing process, you stack all of the images to create one in focus product.
Now it is time to fine-tune your image
And just like I usually say, don't over-edit! Especially when photographing products, you never want to falsely advertise what you are trying to show off. When you are in the editing phase, try to focus on readjusting colors, brightness, shadows, and highlights. The only other reason you should edit is to remove dust or fingerprints. Just don't over-edit.
Now that you have these tips, you should be able to perfectly capture makeup products! Check out these other articles for more information on composition techniques and different camera accessories:
Related article: Macro Eye Photography
Related article: Lash Photography for Lash Artists
Related article: What is Commercial Photography
Related article: How Much to Charge for Product Photography


