If you are a product photographer, you will need a stacked portfolio to show your range. Knowing how to photograph different products will only increase your resume and chances of being hired. And today, our focus will be on taking photographs of shoes!
You will need to master photographing all types of products, and it is best to focus on one at a time. You need to be able to prove to every client that you know the best ways to photograph different products to highlight their best qualities. Especially if this is your livelihood or something you hope to pursue full-time.
How to Photograph Shoes:
- Your Footwear Should Always be Flat
- Keep a Clean Frame
- Make Sure You Are Using Flattering Light
- Don't Get Creative With Your Focus
- Keep a Great Perspective
- Don't Forget About Post-Production
So, when taking pictures of shoes and/or footwear, what are the best ways to highlight their qualities? What are the do's and don't's to capture shoes perfectly? Let's dive in.
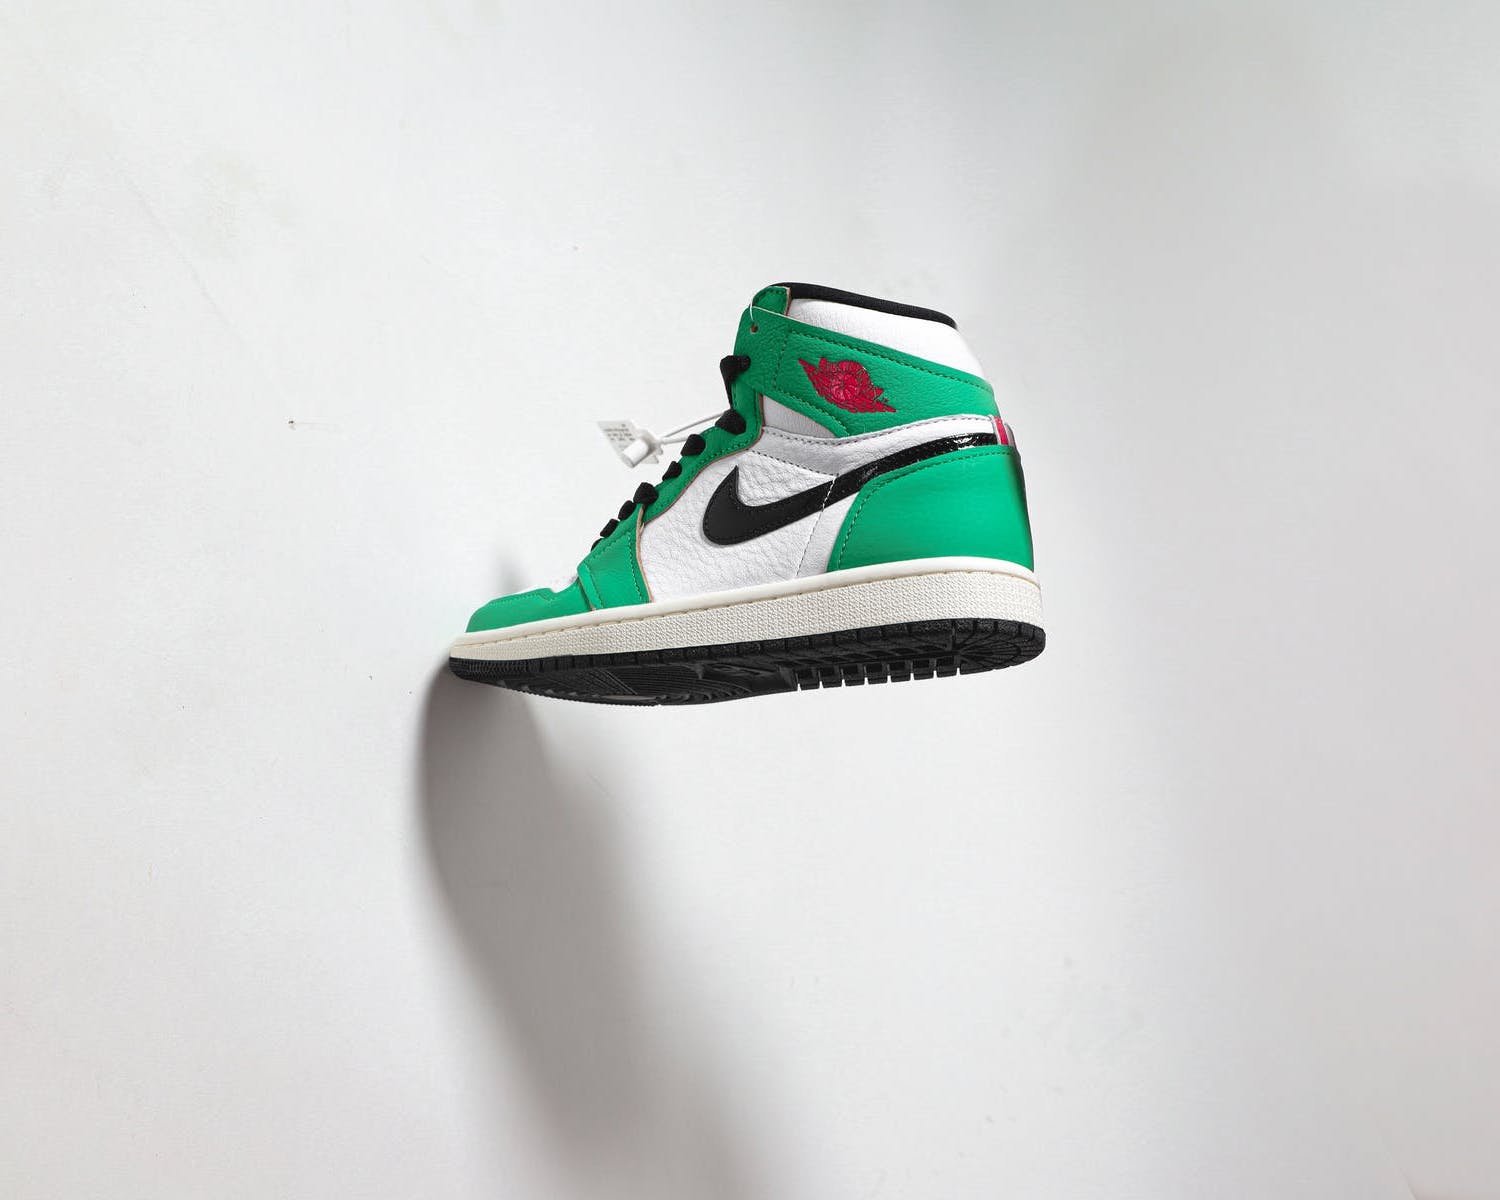
Your Footwear Should Always be Flat
You need to show the structure of the shoe. The best way to accomplish this is always to lay it flat. The viewer should be able to envision how their foot would look in the shoe. It would help if you also kept the shoe upright and not limp. Remember, when someone is at the store looking for shoes to purchase, they always see them standing upright on tables.
An easy way to give your shoe structure and the illusion that someone is wearing it is by stuffing it. You can fill the shoe with crumpled paper or use a fishing wire (dental floss works, too!) to hold up the shoe straps to a frame that can be cropped out. During post-production, you can remove the fishing wire or dental floss.
Another option is to use a model to help show the shoes off. Again, doing this encourages the viewer to envision themselves wearing the shoes.
Keep a Clean Frame
Your background should be clean and clear of clutter. All product photography should be shot on clean backgrounds, especially with a color that compliments the shoes you photograph, unless your client wants it to have a lifestyle feel. If you are trying to take a photo of the shoe out and about, ensure the background scenery is clean and not too busy. You don't want the viewer more consumed with what is going on in the background than the shoes.
Make Sure You Are Using Flattering Light
Choosing the right light is crucial to producing an appealing photograph! Stay as far away as possible from harsh lighting. If you use poor lighting, it can result in improper colors and unwanted shadows. Try to keep your light natural and soft. If you have a window nearby, take advantage of the natural light that can poor in. If you don't have access to a window, invest in a softbox!
If you are shooting outdoors, try to shoot during an overcast or when the sun is not at its brightest. You might even get lucky and find a nice shaded area.
Don't Get Creative With Your Focus
A shallow depth of field isn't something you want to aim for. When you softly focus, parts of the shoe will get lost. This makes it difficult for the viewer to see the product. Keep your aperture high, around f/11, to get the shoe in focus. Another great way to keep your camera very still and in focus is to use a tripod. Using a tripod will eliminate camera shake and prevent blurry photos.
Keep a Great Perspective
Give your client several shots of the footwear to show off the product. Get every angle you can think of. You would rather have more options than less. Try to think like the consumer. You look at it from every angle when you purchase shoes or anything. And remember, all angles should be flattering!
Here is a list of all the angles and perspectives of the shoe you need to capture:
- Both pairs of shoes at an angle.
- Take a picture of the left side and right side of the shoe. Both of these shots should be head-on.
- An angled shot of the left side and right side.
- The front of the shoe.
- The back of the shoe.
- An aerial shot of the shoe.
- And lastly, ensure you get a shot of the shoe's detail. Especially if it has a pattern or a unique texture. You want the viewer to fully
Don't Forget About Post-Production
When you are in post-production, you can start with cropping your images. If there is anything in your frame that is unwanted or too much negative space, crop it out. And when you do crop, make sure you follow guidelines, so your images are all consistent with each other. Consistency is crucial in showing professionalism and that all of your photos belong together. Use guidelines to help you with cropping to ensure the bottom and top of the shoe all align.
And, when you give the final product to your client, ensure that the photos will be compatible with web standards.
Product photography is a great way to make side cash or create a full-time career. With the tips above, you can master photographing shoes! For more tips on product photography, check out these related articles:
Related article: Makeup Product Photography
Related article: How Much to Charge for Product Photography
Related article: Starting a Photography Business Checklist


