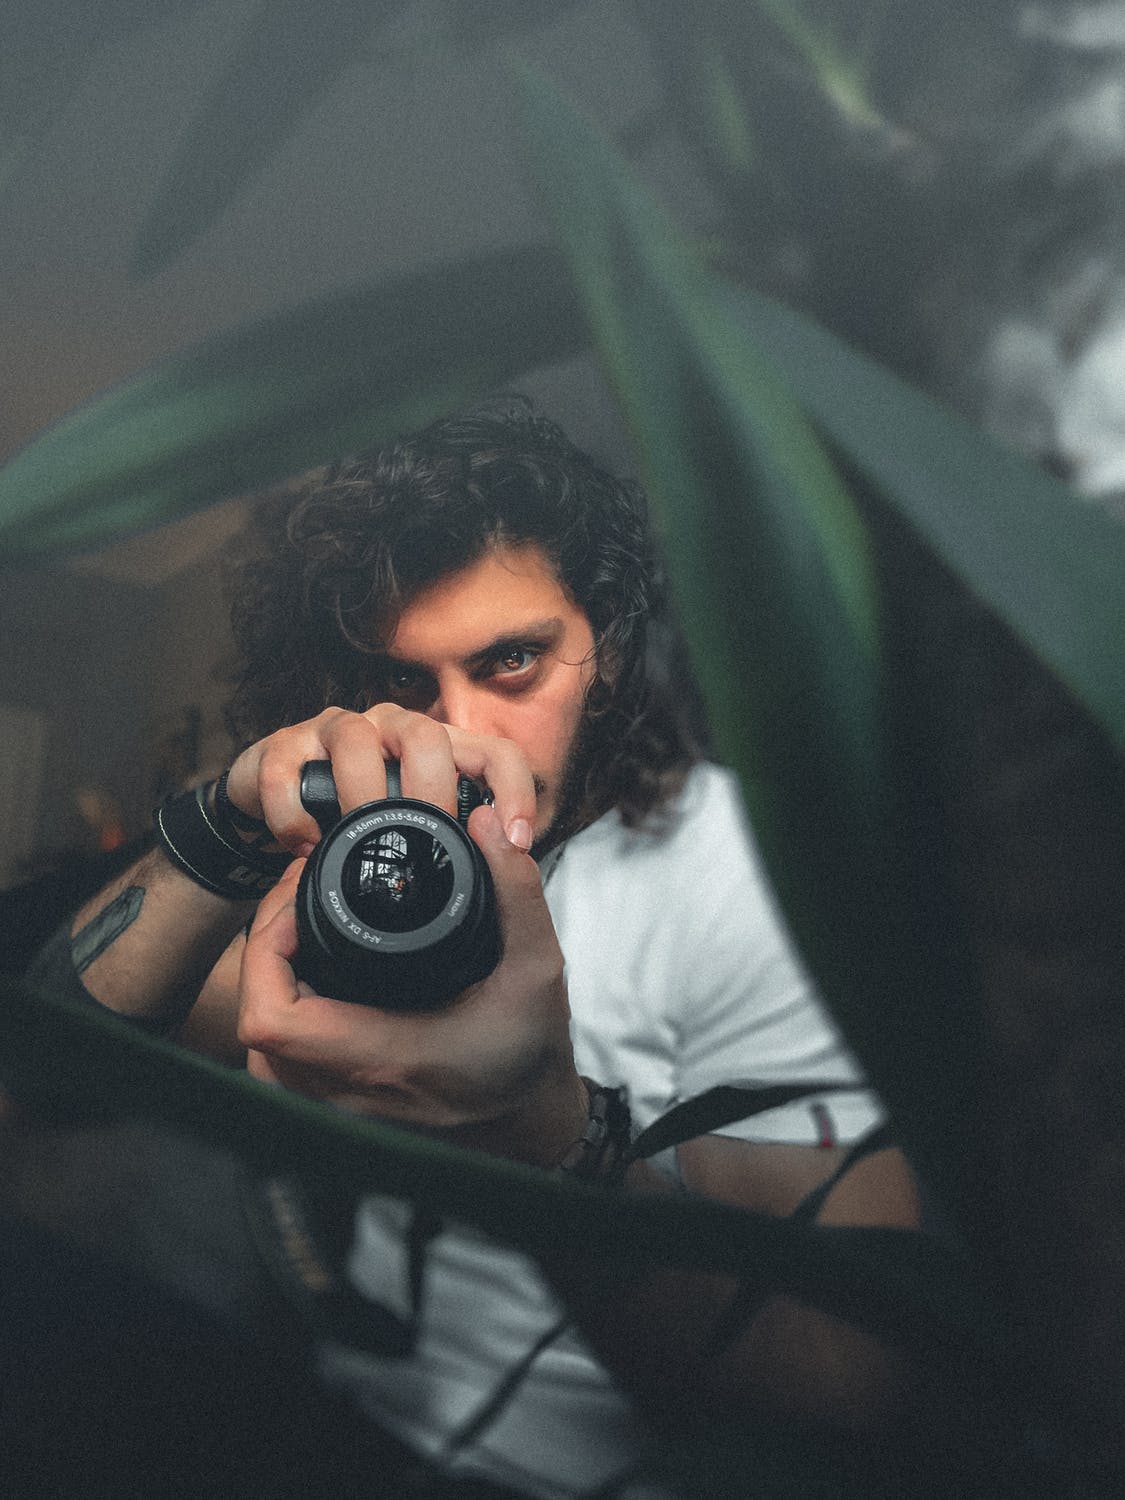
Even if you're relatively new to identifying yourself as a photographer or videographer, you're probably already familiar with the power that comes with capturing images to tell a story, bottle a memory, or preserve the moment.
With the advent of the smartphone camera, we snap pictures every day without thinking twice. But now you're here, which means you're ready to think twice -- maybe even three times -- and get a handle on the know-how and equipment needed to advance as a dedicated amateur, a semi-pro, or even a professional.
Whether you're trying to take your vacation pics to the next level, planning on becoming the next big social media influencer, or you're a parent looking to document your kid's journey into terrible-teendom. It's time to really understand the inner workings of the pastime that so many of us use but fewer of us have mastered.
In this article, we will go over a comprehensive breakdown of photography for beginners tips & tricks.
The Camera Fundamentals
It's always a great idea to know how to throw a hammer before building the house. The same is valid for photography, which translates to: get to know your camera - whether it's a smartphone, a simple point-and-shoot, or some heavy-duty professional gear.
Feeling good about adjusting camera settings - such as aperture, shutter speed, and ISO - knowing how to set the automatic flash, being able to toggle between display settings, and getting your mind around the zoom mechanism, are all key elements to making sure you are your best self when behind the viewfinder.
Let's run through some camera aspects, many of which you should get to know on a first-name basis.
Your Viewfinder, the LCD, and the ever-helpful "Grid Mode"
The first thought to think about is how to compose your shot. Where is the action or subject of the photograph, and is it placed to make your image the most effective and/or visually satisfying it can be?
Looking through your camera's viewer, or using the Live View mode on the back LCD screen, gives you a basic frame to get your composition started off on the right foot. For some extra help, switch on the "grid mode," which will put a digital grid over the LCD screen. This helps you make sure you're sticking to the grammatical rules of composition (see 'Rule of Thirds' from our other blog, "How to take good pictures - 5 steps").
Your Camera's Zoom
It's best to leave no stone unturned when it comes to the functions of your equipment. Customarily, it's better to physically move closer or further away from a subject instead of using the camera's digital or even optical zoom, as zooming will lower your image quality. BUT -- cameras still come with this function, and if you've invested in some high-quality glass, you can get away with some excellent -- and essential -- zooming action.
Your Camera's Ability Color Balance
If I've said it once, I've said it a hundred times: cameras and lenses are a lot like the relationship between the human brain and eyes. What our minds do automatically, we have to adjust manually on our cameras. This has never been truer than when we're talking about lights. See, every light throws a different color temperature, visually seen as "color." Sometimes they're warm (orange). Sometimes they're cool (blue-ish). Sometimes they're vivid, and sometimes they're dim. If you don't correct these variations, the different color temperatures will mess up your camera's ability to see what your eyes are seeing in any given environment. Use the baseline color "white" as your starting point. If you can adjust your camera so that the whites in your photo appear truly white -- despite the light/color temperature -- all of the other colors will fall in line.
Your Exposure Triangle
To get your exposure just right, start by selecting a shutter speed, adjusting your lens' aperture, and set your ISO setting (usually the lower, the better). Out of the box, your camera will come with dedicated dials, wheels & buttons for these three essential functions. Locate where they are, and then it's as easy as...well, pushing a button.
Your Camera's Flash
Most cameras come with built-in flash units, though, nowadays, most photographers prefer external flashes. If your camera still has an onboard flash, make sure you know how to toggle it on and off. The primary mode dial on the top of your camera usually gives you quick flash settings, and auto modes will take it there.
Your Camera's Modes
Dial "M" for "Manual." The goal should be to get your camera mode button set to the M. This way, you're in complete control of the camera settings, having to adjust shutter speed, aperture, and ISO all by your lonesome. But if you're new to photography, don't be afraid to utilize the other mode settings, such as A (aperture priory), S (shutter priority), and P (programmed automatic). When in A (aperture priory), you control the lens' aperture while the rest of the camera functions in Auto-mode. It's the same thing for S, except you're controlling the camera's shutter speed. These modes allow you to focus on one aspect of the Exposure Triangle at a time, getting very comfortable with how they affect your image in the process. P is essentially Auto, but it won't use your on-camera flash, and it allows you more flexibility with ISO settings. Once you've mastered A, S, and P, you can switch that dial to M and begin seeing how each point of the Exposure Triangle works together to give you the photo you set out to capture.
If you're happy with how you're turning on your camera and getting it ready to shoot, let's talk about some support equipment that can be helpful right out of the gate.
Lenses
In addition to being the clearest quality upgrade when it comes to gear, lenses are also the most artistic aspect of how you're going to communicate with the viewers of your photograph. The lens's focal length, aperture variability, color temperature, and compression & distortion have psychological effects baked into your final result. A wide lens can irregularly elongate things such as the human face or a long hallway while also accurately capturing the vastness of a landscape. A lower f-stop can add emphasis and drama to a person's portrait. A long shot can give us a sense of location, while a close-up can exude emotion. Each lens is a choice, so embrace the creative side of your photography ambitions.
Tripods
More practical than creative (though varying widely in terms of functionality based on what type of photographer you are), it's virtually a must to get yourself a reliable tripod. They will be especially crucial when you're working in low-light, slowing down shutter speeds, and doing long exposures. Sometimes your hands simply aren't steady enough to get the kind of rock-solid stillness you need, so get yourself a tripod and explore the possibilities.
Lights
Photography is nothing without light, and often what's coming into conflict with your creative vision is the amount of light you have on hand. Many photographers rely only on natural light, which can provide beautiful results and come fraught with limitations. Because lights are so often synonymous with the atmosphere or "feeling" of your photo, adding it can feel a bit intimidating. Still, I'd recommend diving in early, even if it's only in the shallow end of the pool. Get yourself an external flash (or speedlite), which is far superior to the on-camera flash unit. Then experiment with modifying the flash or bouncing it off a reflector or even a white wall. Once you see that light isn't all that scary, you can look for more sophisticated forms of external light.
Memory/Media
A bit less flashy than lights or lenses, but equally important is the type of memory card you're using to capture your photos & video. Newer cameras are capable of an incredible amount of "data collection" -- data being the stuff that makes up the digital files where your creativity resides. Just make sure you're investing a few extra bucks into the proper memory cards, ones that are complimentary with your camera's specifications. When in doubt, go big, go fast, and go weather-resistant.
Batteries
You never want to be about to get the shot of a lifetime and see that small, red, blinking light in the corner of your eye. Spring for the extra batteries. This is especially important when shooting mirrorless or doing a video of any kind -- methods notorious for draining batteries quickly.
Bags & Cleaning Supplies
So, you've got a camera, a few lenses, an external flash, a tripod, at least two memory cards, and maybe even three extra batteries… where are you going to put it all? Try shopping for a bag that fits your style and fulfills your needs. That way, you can travel comfortably when hunting for an iconic image. Also, think about picking up some cleaning supplies. If your windows get dirty, so will your lenses. Make sure to keep your equipment clean and in good shape. They'll last longer and never stop you from catching the moment.
And finally, some last-minute tips for a rainy (or sunny) day:
Practice makes perfect. Once you're bitten by the photography bug, you won't have to force yourself to get out there and shoot, but if you find that your gear is collecting dust, go and have some fun.
- Try to find even lighting so you're not facing exposure extremes.
- Get closer to your subjects for that "shallow depth-of-field" look. Pay attention to how your eyes interact with subjects near and far. The same principles apply.
- Check your gear and charge your batteries the night before... For obvious reasons.
- Wait for Golden Hour -- when the sun is rising or setting. Beautiful, rich light for great, dynamic photos.
- Use your grammatical rules like "Rule of Thirds."
- Practice with objects that are moving, adjusting your camera settings accordingly.
- STAY ORGANIZED; while in the field or editing your photos. You can quickly fire off a thousand pictures (or more) in an afternoon, thanks to digital photography. Come up with a system that works for you and keep all of your creativity in check (and in several computer folders)
We hope all this information helps you to either continue shooting or -- maybe even -- pick up a camera for the very first time. Remember, regrets are the things you didn't do. So what are you waiting for?
Related article: Best Film for Canon AE-1
Related article: Best Cameras for Beginners
Related article: Starting a Photography Business Checklist
Related article: How to Start a Photography Business with no Experience


