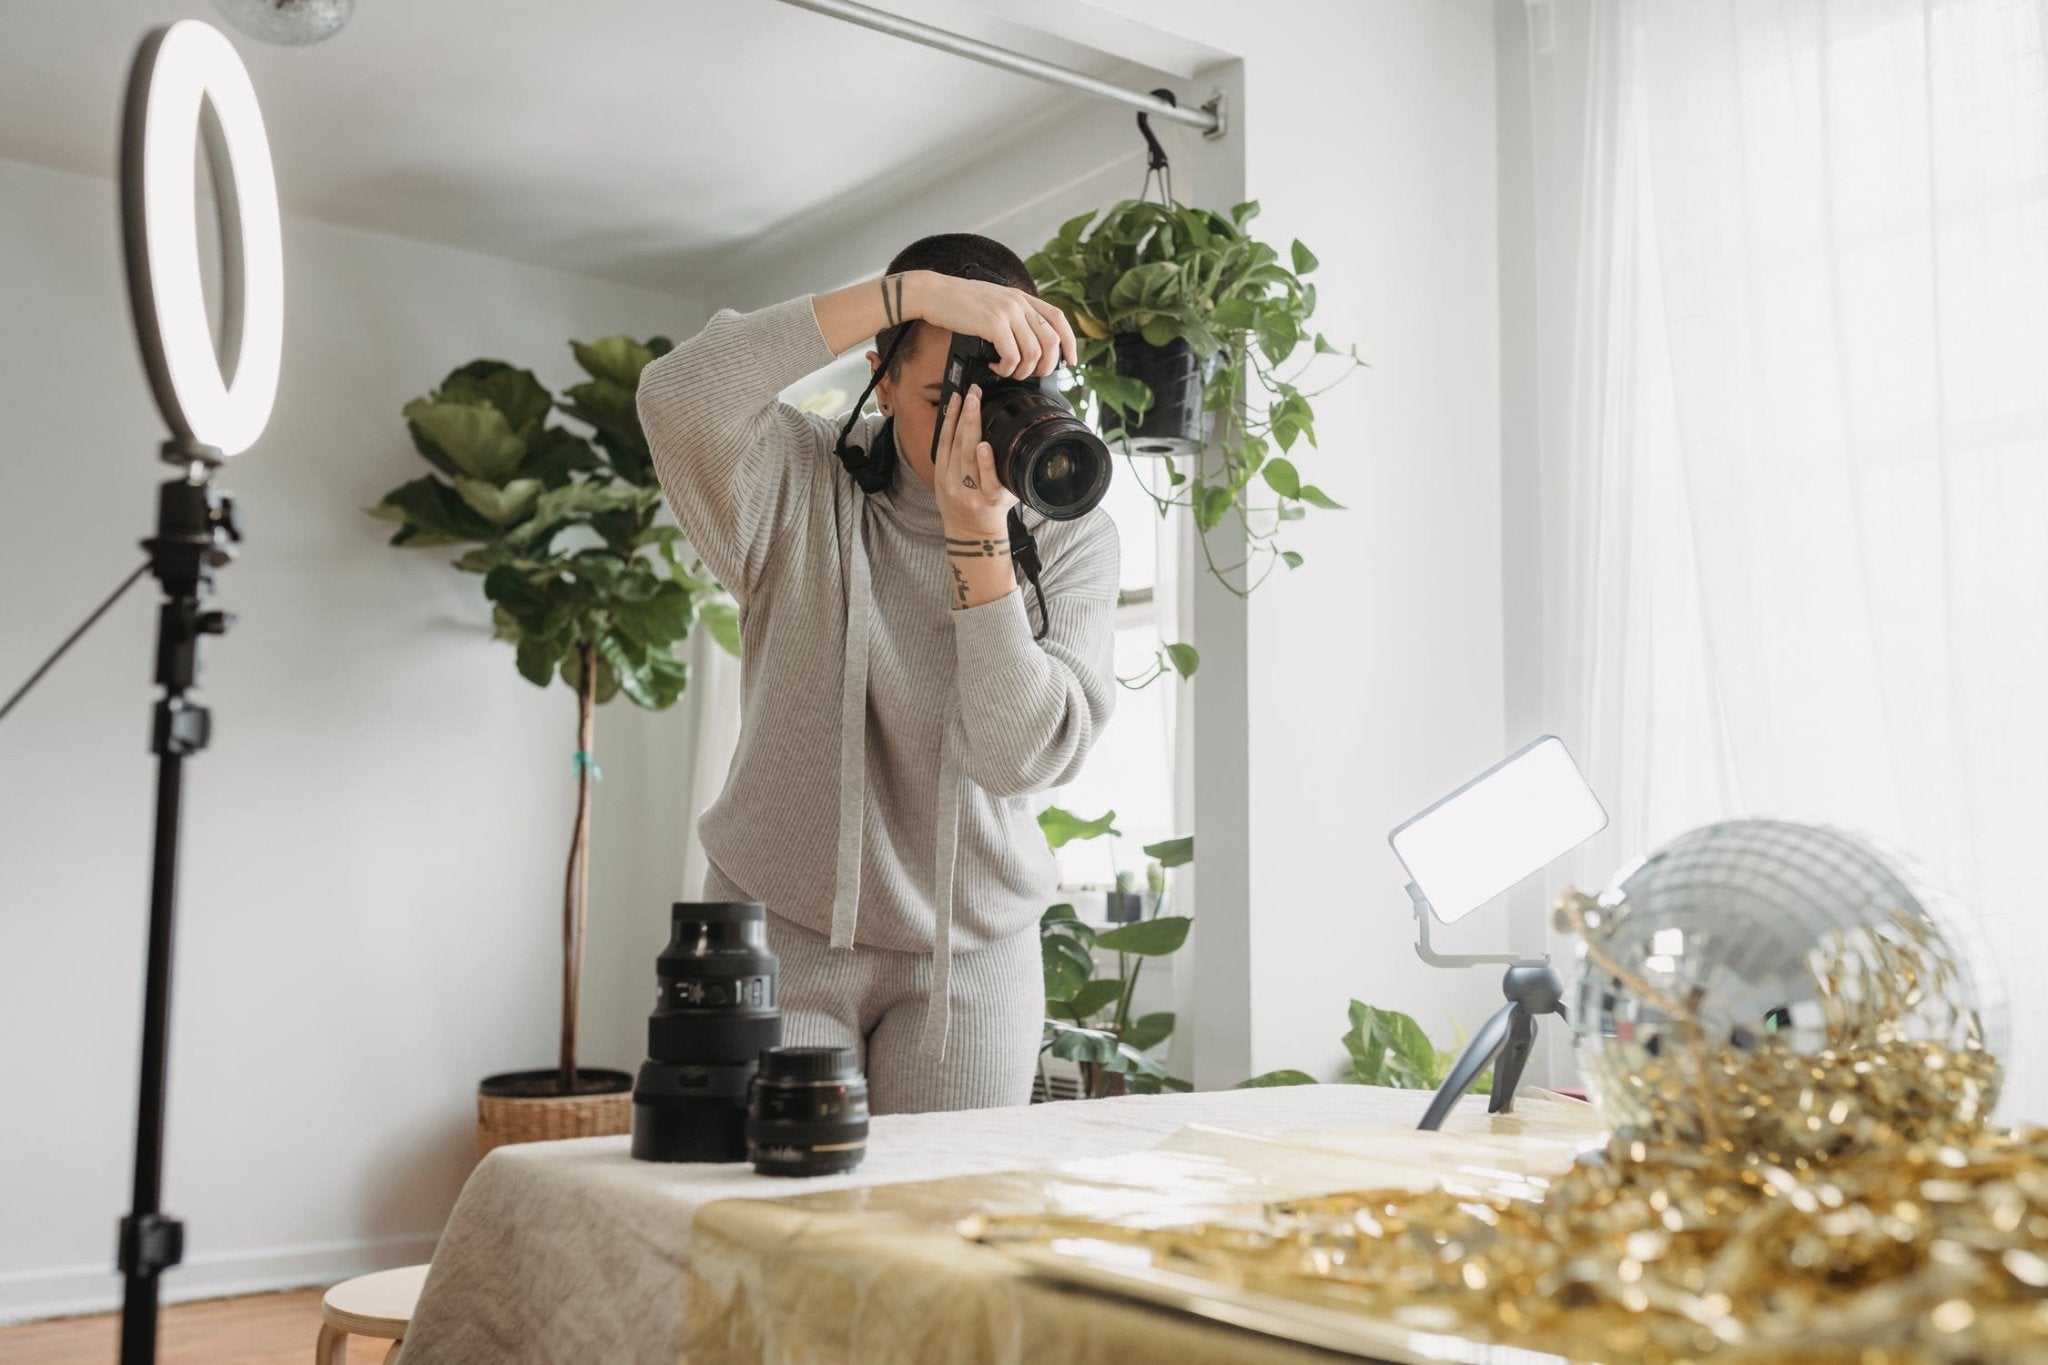
When you are just starting your photography adventure, there will be some crucial camera settings you will need to know. Understanding the 3 most important camera settings: aperture, shutter speed, and ISO for proper exposure will take you far in your photography game.
Understanding Exposure
Your exposure will play a role in all of your photographs. Exposure is how light or dark the photo turns out. Ultimately, this relies on your aperture, shutter speed, and ISO settings.
Having so many buttons and options on your camera can be confusing, but understanding how they work will make the process so much easier.
Knowing exactly how to expose your photograph comes with finding the right amount of your aperture, shutter speed and, ISO. Hopefully, after reading this article, you will understand how it all works; and achieve brightness and detail in your highlights and shadows.
Aperture
The aperture is the size of the hole of your lens where light enters to expose the photograph. Aperture is measured by something called f/stops and, it shows by numbers like 1.2, 1.4, 2, 2.8, 4, 5.6, 8, 11, and 16. The lower the f/stop, the larger the aperture. Always experiment with your apertures to see what each f/stop will produce. Having a visual of what this can do will help you in the long run.
Pro Tip: Did you take a photograph that is too bright? Switch your aperture to something smaller!
The aperture will also affect the depth of field, not just the brightness. Depth of field is the clarity of the background in your photograph. If you are using a high f/stop, you will be allowing more into your photo to create a clear background. If you're using a low f/stop, it will result in a blurrier background.
Shutter Speed
The shutter speed is how much time the opening has to allow light in for exposure. When you hit the button to photograph, the shutter will act as a small door and open to bring in light. Since more light is coming in, your photo will become brighter, and you will have a dark image when less light can come in.
The shutter speed is gauged by fractions of a second. For example, 1/2 second allows more light into the sensor, giving you a brighter photo, and a shutter speed of 1/200 will produce a darker image.
Another neat feature, shutter speed, has created dramatic effects like freezing or blurring a subject in motion. If your shutter speed is slow, that means the little door is open for longer, and doing this will result in motion blur. When using a quick shutter speed, your subject will be clear and eliminate the blur.
ISO
ISO stands for International Organization for Standardization. The ISO is how sensitive the camera sensor is towards the light. A high ISO will result in more sensitivity and, low ISO results in less. When you keep raising your ISO, you will end up with grainy photographs that give a washed-out appearance. For darker photographers, you will need to lower the ISO.
When photographing in low light conditions, you will need a higher ISO. If you are in bright light, switch to a lower ISO.
Here is a quick guide:
ISO 100 is best for bright and sunny days.
ISO 400 works well when indoors and, you have plenty of natural light or on cloudy days if shooting outdoors.
ISO 800 is best indoors without external light sources.
ISO 1600 or higher is perfect at night or when you're indoors.
Exposure Recommendations
Although there is no right or wrong answer when finding the perfect exposure for your photographs, there are a few recommendations for everyone to begin with. Once you start with these, you will learn to adjust them with your personal preferences.
Daytime Landscape Photography
• Always use a tripod to prevent a shaky camera.
• For full-frame cameras, set your aperture to f/8 unless you are looking for more depth of field. If you want more depth, switch over to f/11 or f/16.
• Set your shutter speed between 1/10th of a second and three seconds.
• Set your ISO between 64 and 400.
Non-flash Portrait Photography
• It is preferred to use a tripod but, you can also shoot handheld.
• Start with aperture-priority mode. Then, choose something between f/2.8 and f/1.4. Experiment to see what works best for the look you want.
• Set your shutter speed at 1/200 of a second and work your way from there. If you have too much motion blur, the shutter speed is too long.
• Your ISO should be below to start.
Sports and Wildlife Photography
• Use a monopod or shoot handheld.
• Start with aperture-priority or shutter-priority mode. Use f/2.8 or f/4 for a larger aperture.
• Start with a fast shutter speed like 1/500 or 1/1000. Using a fast shutter speed will help capture fast-moving subjects.
• Your ISO should be high to start with fast shutter speeds.
Finding a Balance
The answer to creating a captivating photo is finding a balance between these three components of photography. You can start with the suggestions above. Many people are visual learners and need to start shooting. When you first begin to experiment, try a low ISO with a high shutter speed to start.
If you aren't ready to control these settings manually, many point-and-shoot cameras will automatically control this. However, if you want to take your photography hobby seriously, having all of the control of these settings will result in better photographs.
Related article: How to Photograph Birds
Related article: What is Bracketing in Photography
Related article: White Balance Photography: What is White Balance


