Mmmmm....cookies. I am a sucker for a good cookie photo or video. I can quickly scroll through my IG feed, and the minute a cookie appears, it stops me in my tracks. Who doesn't love cookies? And, if you are a baker, you know the importance of conveying your cookie through a photograph.
This photo can be a make-or-break deal. If the cookie doesn't look good and yummy, no one will want to use the recipe or purchase the cookie. A pretty cookie is what everyone wants! So, if you are an amateur photographer, you may be wondering how you get the perfect cookie photo.
How to Photograph Cookies:
- Choose a creative background.
- Use a mirrorless camera or a DSLR.
- Manually adjust your ISO, shutter speed, and aperture.
- Use external led lights.
- Get creative with your composition.
- Don't over edit your images.
Use this simple guide on how to step up your food photography.
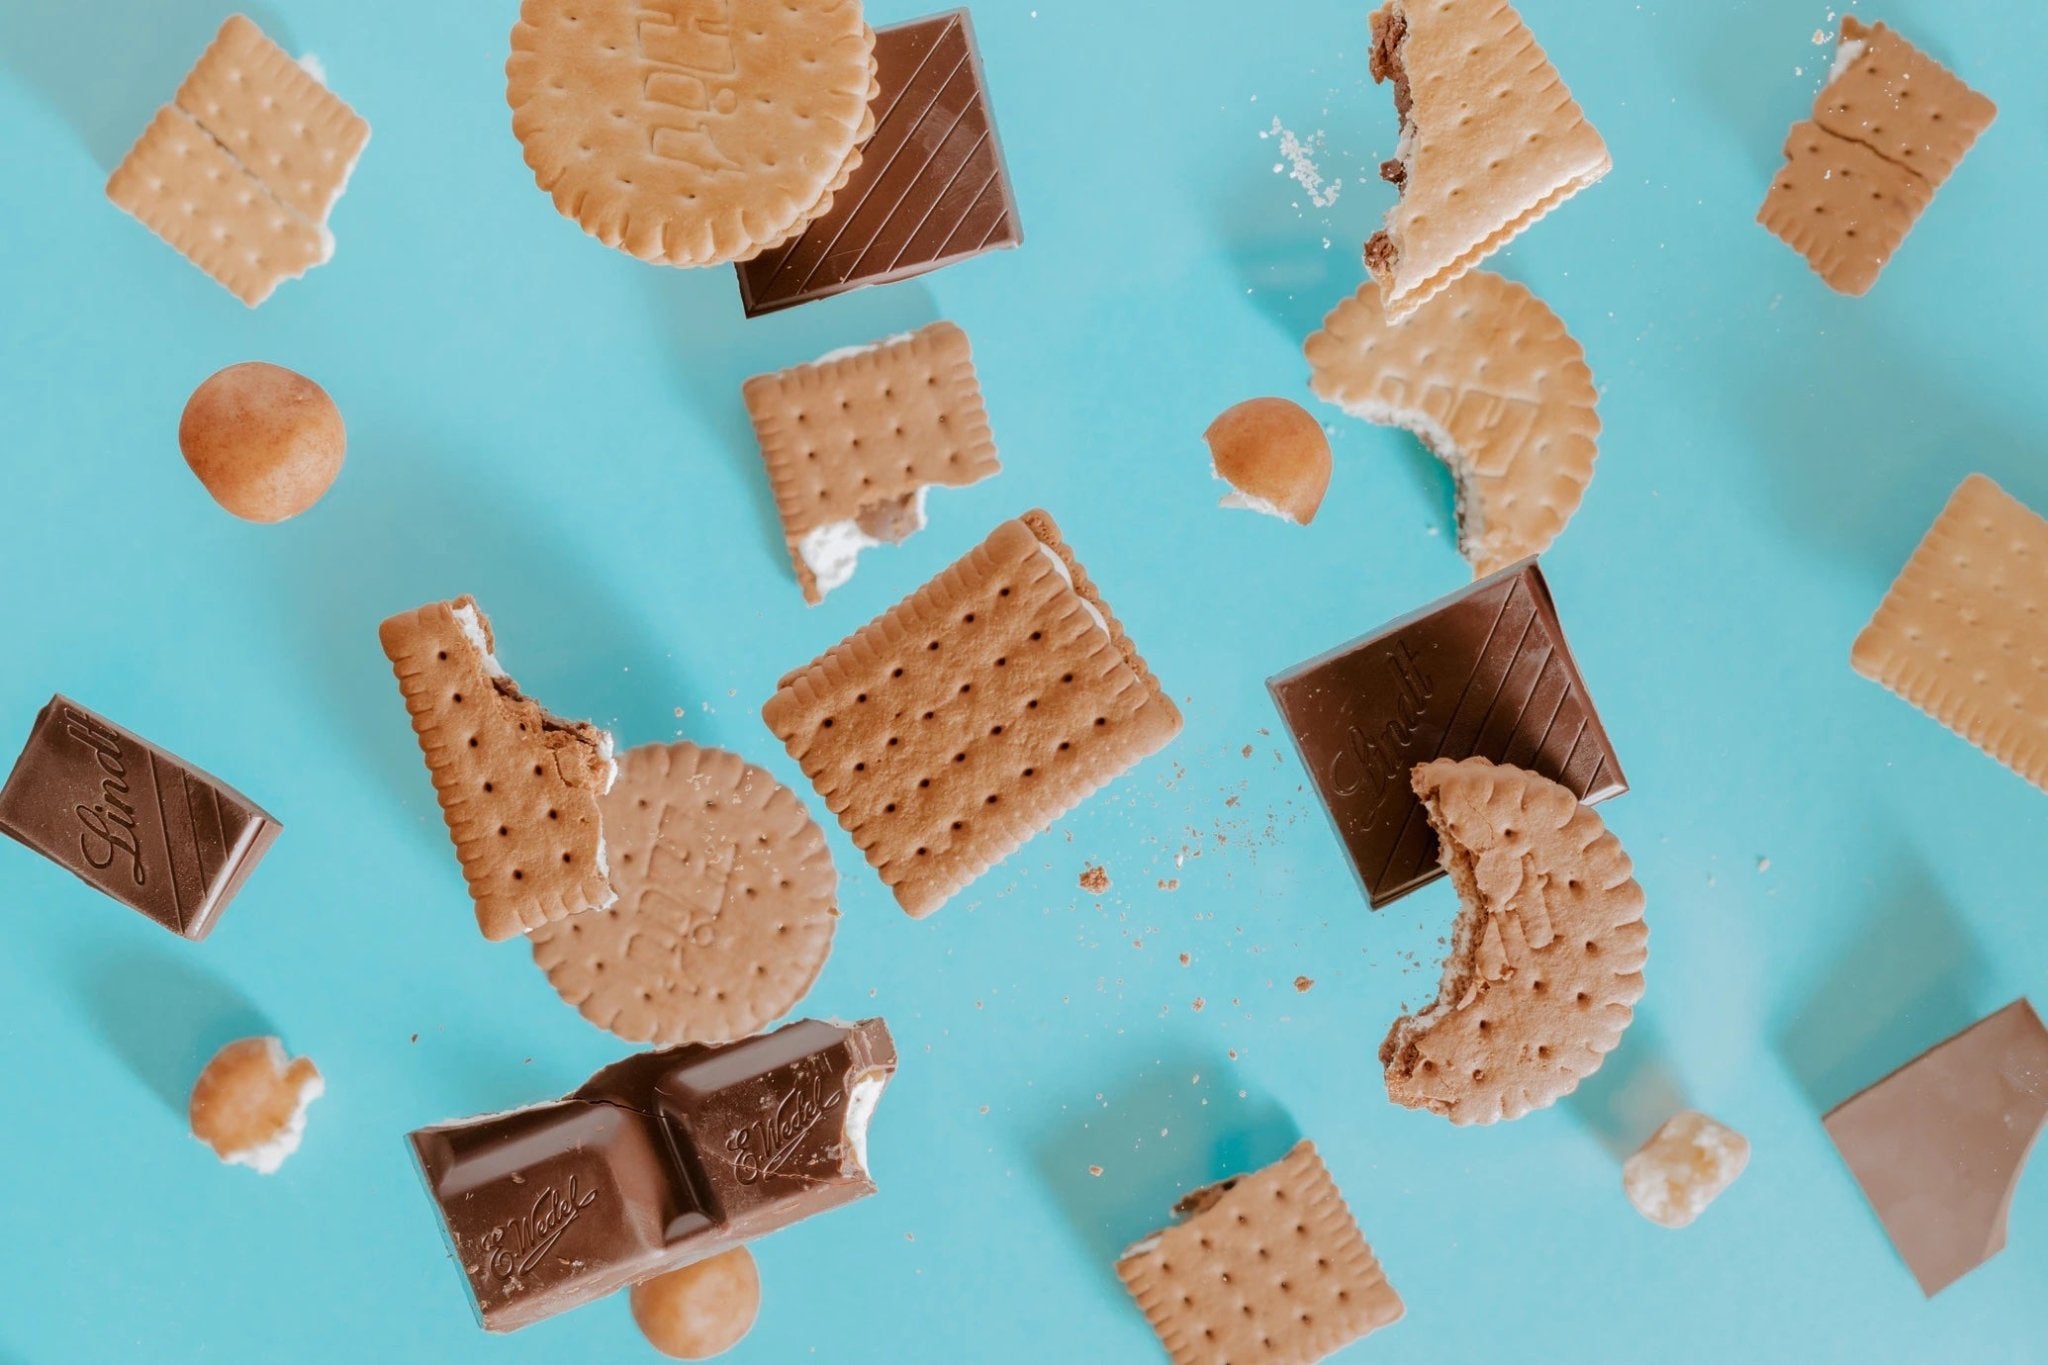
Your cookie is the star - but don't forget your background!
Yes, your cookie is the star of this photoshoot, but this doesn't mean you can forget about your background. Your background is just as crucial as the cookie itself. Presentation is everything! Try using a decorative platter or just a plain white background. You can also add a few extra elements, like supporting cast members! You can have your cookies arranged on a white background but include some of your tools, like piping bags, (neatly) in the frame. Another cute idea is adding a cup of sugar off the side - you can even have that slightly out of focus.
Please, don't use your phone's camera.
Ugh, I know. There is something so effortless about just whipping your phone and hitting the camera icon. However, I highly suggest investing in a professional camera. Having a good camera will really set your photography apart from others. Whether you run a cooking blog or promote your bakery, you will be taking plenty of photos. Invest in a camera and learn its functions. Don't let that scare you - I believe you can learn how to use a mirrorless camera or a DSLR camera. Cameras like these have more capabilities than a smartphone.
Get acquainted with your settings.
This is where trial and error will really happen. You will want to learn more about your camera's settings like ISO, shutter speed, and aperture - the holy trinity of camera settings. These settings will alter the appearance of your photographs, and sometimes the best thing to do is just play around with your dials to see the outcome.
The Holy Trinity of Camera Settings in a Nutshell:
ISO: Your ISO determines how sensitive your camera will be to light. Low ISO values equal less sensitivity to light, and the higher ISO values equal more sensitivity. For cookie photography, try starting with an ISO of 400 or less. Never go higher than 1600.
Shutter Speed: This one is simple - shutter speed is how fast your shutter stays open when you click the button that takes the picture! If you aren't using a tripod, you will need a fast shutter speed like 1/40th of a second. If you have a tripod, you can go slower. Slower shutter speeds without a tripod result in blurry photos.
Aperture: Aperture measures how wide the opening of your lens can get. Which will also result in more light coming in. You measure aperture by f/stops. Stick with an aperture of f/2.8
Related article: The 3 Most Important Camera Settings
Settings are a lot to digest. For a more in-depth look at your camera's settings, check out this related article: Camera Settings Guide – Best Camera Settings in Photography
Lighting is always important.
Your light will dictate whether or not you get a good shot. Simple as that. Lighting is so important! If you aren't taking your photos in natural light, you will want to invest in a light kit.
Get creative with your composition.
Just because you need to focus entirely on your cookie doesn't mean you can't get a little creative with your composition. Try taking your photographs at different angles to capture new perspectives. You don't have to only take head-on shots of your cookies; you can go to the side to try and show the depth from a different angle of the cookie's detail. Typically, food photography is taken from 90 degrees, 45 degrees, or straight-on. 45-degree angle shots are popular because that is how we actually see our food. Close-up shots are also essential to highlight the texture of your cookie.
Never over-edit your images.
Don't over-edit unless you are trying some artsy image for something other than actually selling your cookie. Almost always, NEVER over-edit. You want your cookie to look natural, not an imposter. Use Adobe Photoshop for color correction and adjusting highlights, shadows, brightness, and contrast. And sometimes, you just need a little crop, and you are good to go!
These recommendations will help you build your cookie photography portfolio. Start snapping away today so you can also put an instant halt to people quick scrolling through social media to drool over your cookie creations!
Related article: Best Camera Settings for Food Photography
Related article: The Most Delicious Settings for Food Photography
Related article: What is Commercial Photography
Related article: How to Make a Milk Bath for Photography
Related article: What is Value in Photography


