Without light, photography would be impossible. Different types of light produce different results. For portraits, you can use natural light from the sun or traditional strobe lights. But you can also use constant LED lights, which are becoming increasingly popular. Here are a few tips to get the most out of your LED.
Modify (Even the Sun)
When shooting photos, it's best to use modified light. This goes for sunlight, too - diffuse it on a cloudy day or by using a diffuser. Direct bright sunlight creates harsh shadows and lighting, whereas clouds spread the light over a larger area, making it softer. If you're on a bright cloudless day, taking pictures in open shade will reduce the severity of the lighting while still capitalizing on natural light. To make use of any bounced natural light, try shooting near reflective surfaces located in shadows. Ultimately, these techniques all serve to change already existing forms of light into something more favorable for photography.
Related article: Camera Settings for Cloudy Day
Modifiers for artificial light are more prominent. Many choices exist, such as soft boxes, diffusers, reflectors, foam cores panels, umbrellas, and flags.
Just like other types of lights, LED lights need modifiers to get a softer and more beautiful light. Regardless of the brightness intensity, it is essential to modify LEDs to get a better quality of light.
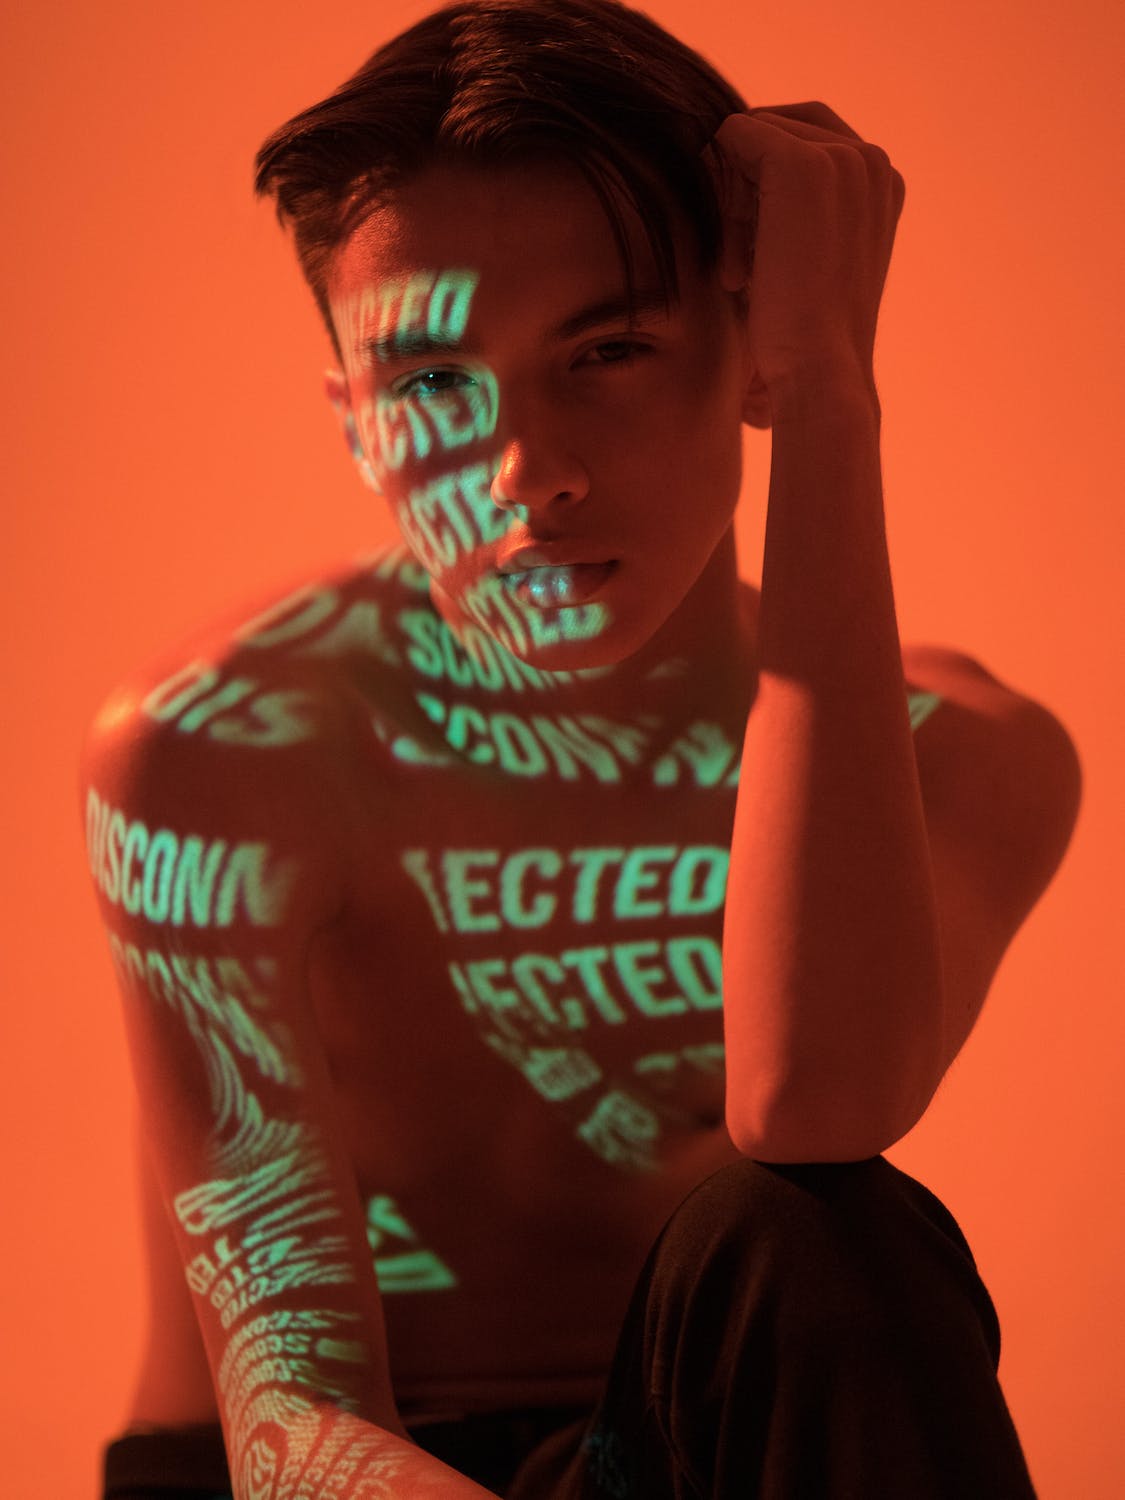
Create Contrast by Positioning Your Lights Properly
Place the main light at a 45-degree angle to the subject, high above, to suggest light streaming in from a tall window. Use a diffusion panel or a sheer cloth instead of a diffusion screen. The less opaque the garment, the more diffuse your illumination will be. After I've attached the diffuser, I hold up a 5-in-1 reflector's diffusion (translucent part) panel in front of the main light. The lights' strength is reduced when these two diffusers are used together, but their quality is considerably softened.
The second light is an LED, a small video positioned to the camera's right at 45 degrees. But instead of using a diffuser, you can angle it away from the subject and use a reflector to bounce the light back onto them. By doing this, shadows will be filled in, and your subject will be illuminated more evenly by soft light.
Darkened Your Background
Using the same light configuration mentioned above, I used a darkened background with a darker pattern. This allowed for the subject to really pop. The background also absorbed light instead of bouncing it back, so a more controlled lighting environment was achieved.
I hope these 3 easy steps inspired you to experiment with a new LED light set!
Related article: Photography Smoke Bombs Tips
Related article: How to Make Your Photos Look How Your Eyes See
Related article: Tips for Shooting Midday Photos
Related article: How to Make Cool Effects with Colored Gels


