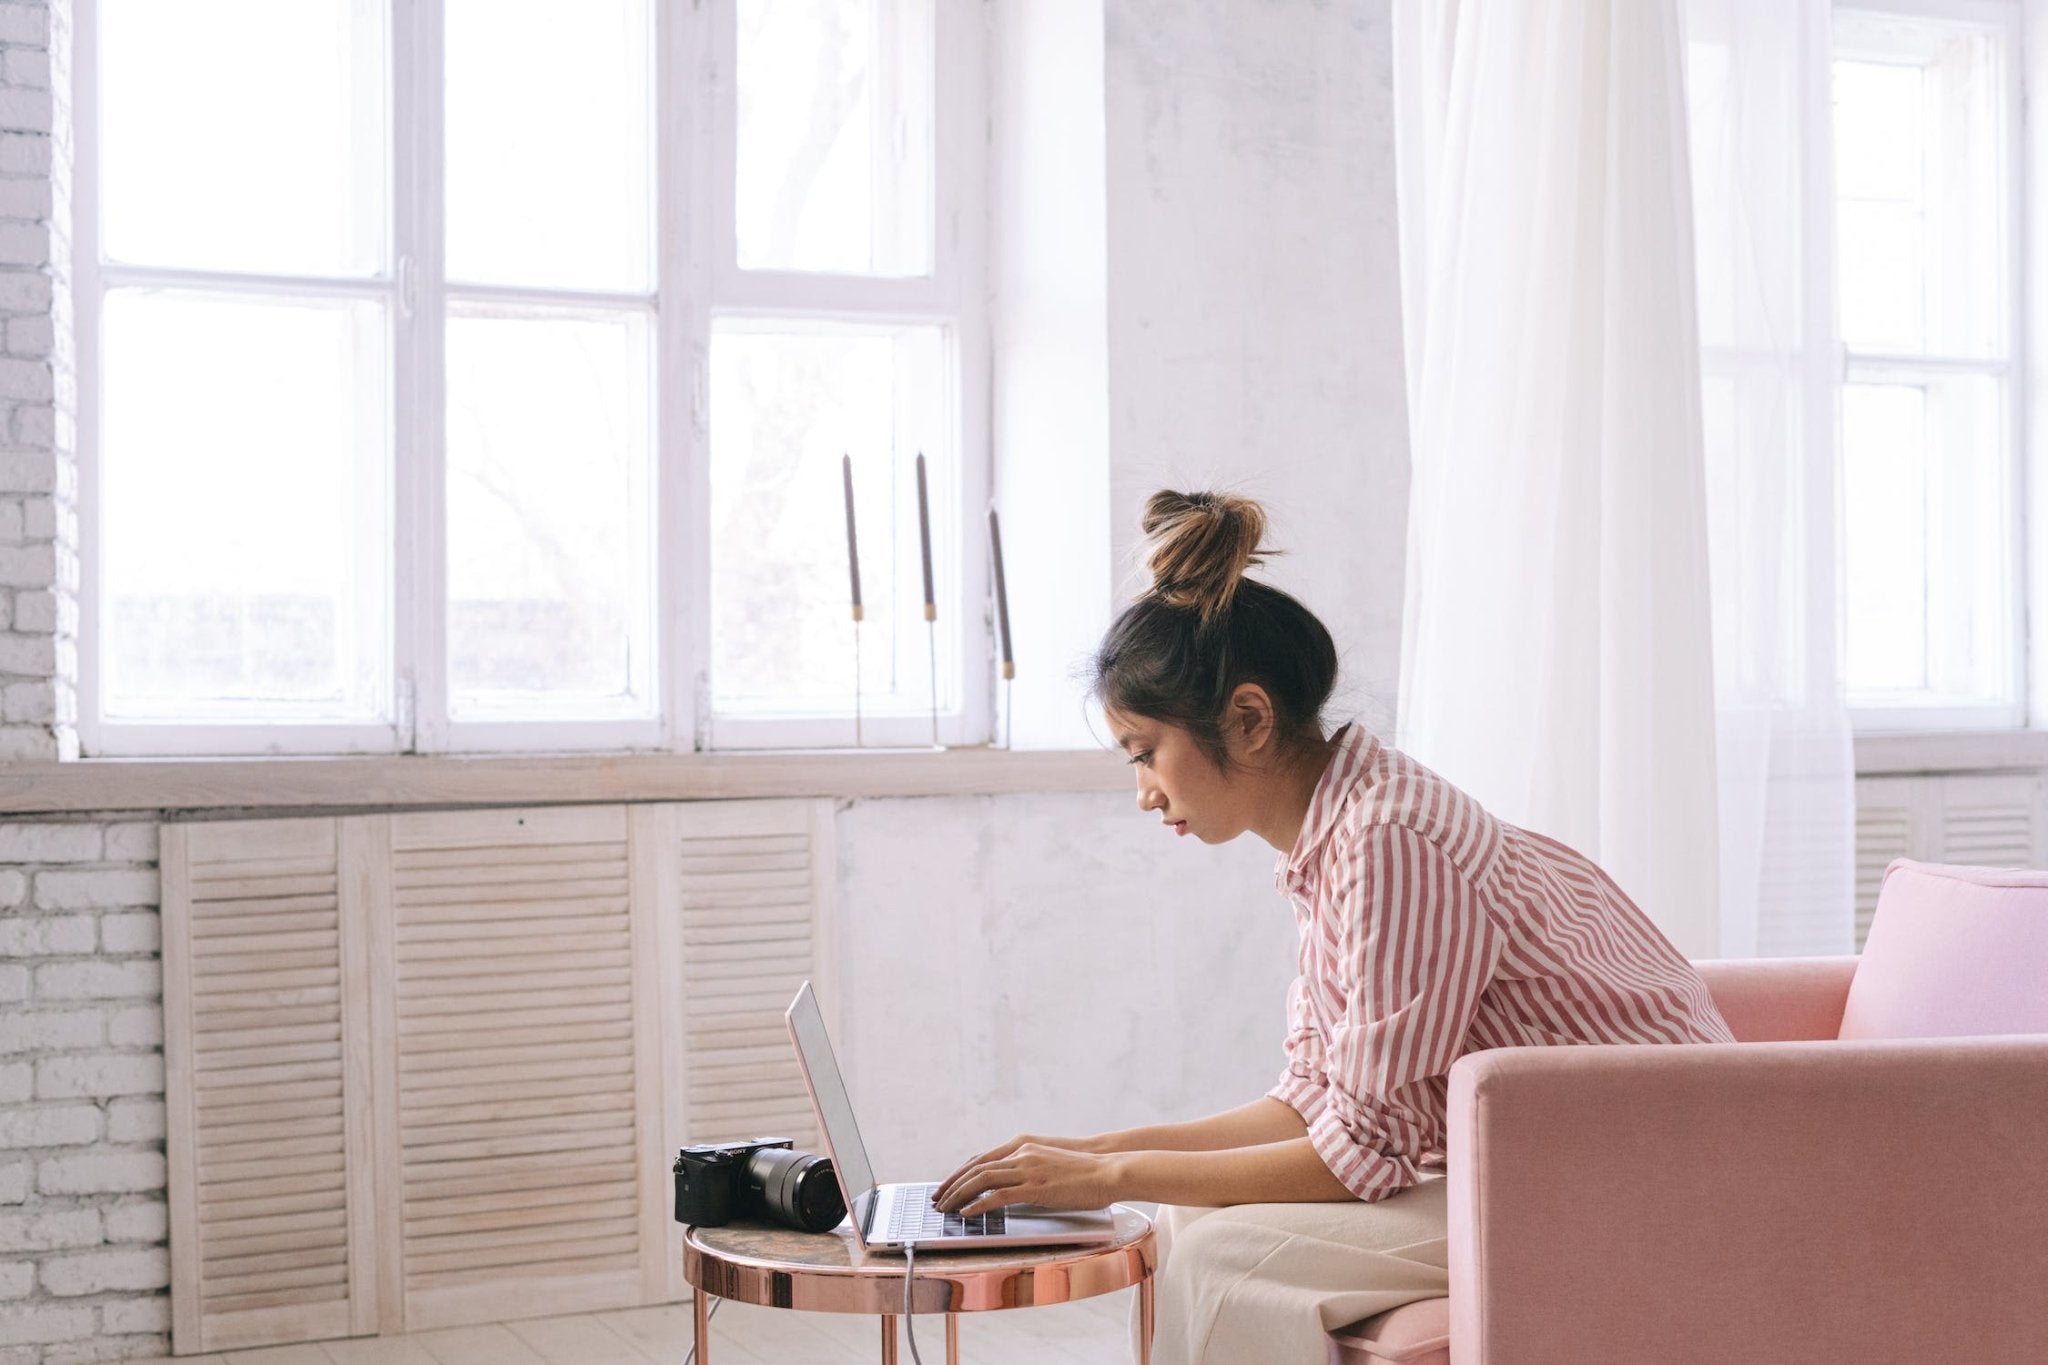
Taking photographs indoors can come with a few snags. You won't have the luxury of gorgeous natural light from the sun pouring on you. Knowing your camera settings is the best way to achieve beautiful photos each time.
The holy trinity of settings - aperture, shutter speed, and ISO - are the key to perfecting your images. I'm gonna give you the low down on what aperture setting works well indoors, the shutter speed you should rely on, and what to do with your ISO.
It all starts with the light...
Light is the rise and fall for all photographers. You can have the best subject, but if your light works against you, then it will all fail. Understand what light you have to work with.
Artificial Lights: If you use an artificial light source, ensure you position it near your subject and behind you.
Speedlights: Invest in speedlights! Speedlights will give your photograph powerful luminosity to brighten up your frame. Let that light drape over your subject.
Natural Light: If you're lucky, you will have a large window nearby. Natural light is a godsend and will help.
Let's get back into the settings...
Aperture
First, let's understand how your aperture works. The aperture setting acts like a curtain, and the more you open your curtain, the more light you bring in. Since you will have limited light indoors, you will need a wide aperture to let in as much light as possible. Regardless, if you use artificial light, speedlights, or natural light, you need your aperture setting to work with you. Experiment with your aperture by starting at a wide.
Aperture is measured by f-stops - for example, f/4, f5, f/6, and more. The smaller the f-stop, the wider your aperture setting will be. And, if your aperture is wide, you will help brighten your frame! Start at f/2.8 and work your way up.
Related article: Best Aperture for Portraits
Shutter Speed
Like the aperture setting example, I used - think of your shutter speed as a curtain. If you keep your curtain open long enough, you will continuously be bringing in light. If you open your curtain and close it fast, minimal light pours in. Make sense? So, when you take photographs indoors, you want to have a longer shutter speed. Shutter speed is measured in seconds. So a shutter speed of one second will be longer than a shutter speed of 1/1000.
However, with a longer shutter speed comes great responsibility. The longer you keep your shutter speed open, the more chance you have of getting a blurred shot. I highly suggest using a tripod, so your camera is as still as possible and eliminates the shake!
So choose a shutter speed that isn't open for too long but long enough to get light in. Something around 1/80 of a second is a great place to start. One of the best ways to know what the safest starting point is for shutter speed is - to use your lens focal length as a guide. If you shoot with a 100mm, then choose a shutter speed of 1/100s. What about a 50mm? Opt for 1/50s.
Related article: Best Shutter Speed for Portraits
ISO
Your ISO is another way to determine how bright your photos turn out. The downside to increasing your ISO is getting a noisy image. Noisy images have speckles all over them, and it is unflattering. So the puzzling part to this is figuring out what to choose so you can brighten dark rooms and keep noise away?
This one may be the trickiest of the holy trinity of settings. Knowing your camera will go a long way when selecting an ISO. You should experiment to determine what ISO settings work best in terribly lit environments. One way to test is by trying several ISO settings. After that, check them out on your computer and zoom in. When looking at your results, you will know which ISO is pleasant to your eyes. And, if you are in the perfect scenario, you will have ample natural light pouring through a window. Then you can get away with a lower ISO setting.
Related article: Best ISO for Portraits
To manually focus, or not...That is the question.
Manually focusing on your subject is almost always the best decision. Autofocus isn't a terrible idea, really. Most current cameras are pretty well-equipped with an excellent autofocus system. But maybe it's the old-school gal in me. I don't think anything beats manually focusing. Especially when you are in low-lit conditions. Manually focusing will give you the ultimate control over how crisp and in-focus your photographs are. If you aren't confident in your focusing abilities, then practice practice, and practice some more. Eventually, manually focusing will be quick and painless.
With the tips above, you should be able to capture gorgeous photographs indoors. You should have a better understanding of aperture, shutter speed, ISO, and how you should focus.
For more tips and recommendations, check out these other articles:
Related article: Camera Settings for Indoor Portraits
Related article: How to Clean Camera Lens
Related article: Create Moody Portraits with LED Lights
Related article: Best Lens for Landscape Photography


