Imagine this: you're out and about, chasing the perfect shot of a breathtaking sunset. But when you review the image on your camera display, it falls disappointingly short of capturing the true beauty before your eyes. Don't despair - I've got just the trick to turn your lackluster photos into works of art. Welcome to the enchanting realm of HDR photography, where vibrant colors, mesmerizing details, and an awe-inspiring dynamic range come together to create images that will leave your friends wondering, "Did you really take that?"
HDR stands for "High Dynamic Range," and what it does is combine multiple shots of the same scene taken at different exposures.
What is HDR Photography?
HDR photography is like having a magical superpower for your camera. You know how sometimes you take a photo, and the bright parts are totally blown out, or the dark areas are just a murky mess? HDR can help! HDR stands for "High Dynamic Range," and what it does is combine multiple shots of the same scene taken at different exposures. It's like taking the best parts from each shot and mashing them together, creating an image that captures all the beautiful details in the bright and dark areas. HDR lets you snap photos that look more like what your eyes see in real life, with all the rich colors and contrast.
Related article: How to Make Your Photos Look How Your Eyes See
Gather all your tools!
You'll need a few tools and the right software to create HDR photographs. Here's a rundown of what you'll need:
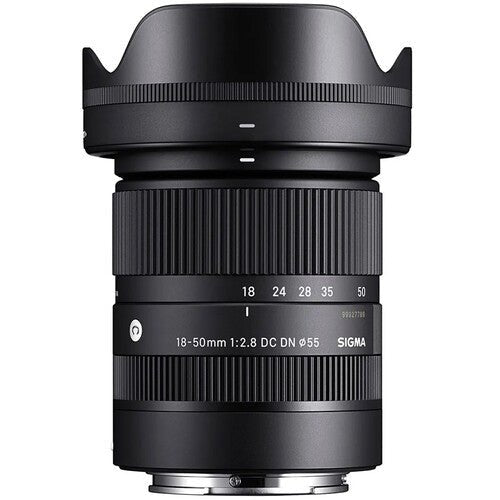
- Camera: First and foremost, you'll need a digital camera that lets you manually adjust exposure settings.
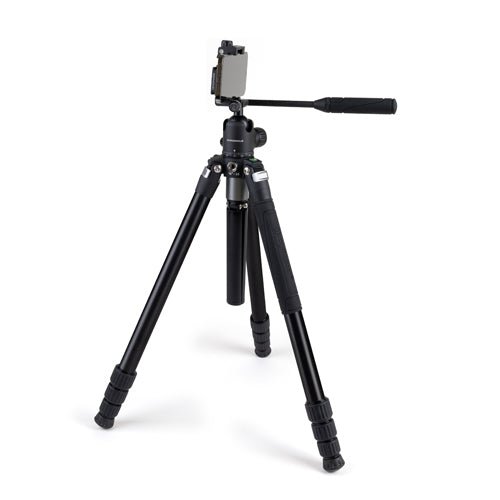
- Tripod: To ensure alignment and avoid blurry photos, you need a sturdy tripod. It keeps your camera steady and consistent between shots.
- HDR Software: Once you've captured your series of bracketed shots (a range of exposures), you'll need software to merge them into a single HDR image. Photomatix Pro is a popular HDR software option, or you can use Adobe Photoshop.
- Post-Processing Software: After merging your bracketed shots, you can further fine-tune your HDR image to adjust the color, contrast, and other parameters to achieve the desired final result.
Time to Bracket
Now the fun begins. Get out there and start shooting! Try bracketing to perfect your HDR photographs.
What is Bracketing? Bracketing in photography is a technique where you take a series of shots of the same scene at different exposure levels. You need multiple exposures that cover the full dynamic range of a scene - including both the highlight and shadow areas.
Bracketing can be done manually by adjusting the exposure settings between shots or using the auto-bracketing feature available on many cameras. Auto-bracketing simplifies the process by automatically capturing a series of shots with pre-defined exposure variations, usually in increments of one-third or one-half stops.
I wrote an entire article dedicated to bracketing techniques, you can read it here: What is Bracketing in Photography?

How to Create HDR Images in Photomatix
Open the Photomatix software on your computer. Then click on "Load Bracketed Photos" or go to File > Load Bracketed Photos. Browse and select the series of bracketed shots (typically in RAW format) you captured for your HDR image.
If your bracketed shots aren't perfectly aligned because of slight camera movements, check the option for "Align Source Images." Photomatix will align the shots for you.
Photomatix offers various HDR methods or presets to process your bracketed shots. You can choose from options like "Exposure Fusion," "Tone Mapping," or "Details Enhancer." Each method produces a different effect, so experiment with them to find the one that suits your desired look.
Once you've selected a method, you'll have a range of settings to fine-tune your HDR image. These settings include adjusting the strength, detail contrast, saturation, and more. Play around with the sliders until you achieve the desired effect.
Photomatix will generate a preview of the HDR image based on your settings. Take a moment to review it and make adjustments until you're satisfied with the overall look.
If you're using the "Tone Mapping" method, you can further adjust the tone mapping settings to refine the dynamic range and contrast.
Once you're happy with the preview and settings, it's time to save or process the HDR image. Click on "Process" or "Save" to finalize the HDR image according to your preferred file format (such as JPEG). Choose a destination folder on your computer and give the image a name.

How to create HDR photographs in Adobe Photoshop
Like above, open Photoshop and go to File > Automate > Merge to HDR Pro. Click the "Browse" button and select the bracketed shots you want to merge into an HDR image. Click "OK."
You can also align your images in Photoshop if ya need it! Ensure the "Attempt to Automatically Align Source Images" box is checked. This step is crucial to avoid any misalignment caused by camera movement.
After Photoshop analyzes and aligns the images, the Merge to HDR Pro dialog box will appear. Here, you can adjust various settings to fine-tune your image. Play with the "Mode" dropdown menu to experiment with different HDR methods and choose the one that suits your desired look.
Again, like Photomatix, use the available sliders and options to adjust the tone and detail settings. You can modify the exposure, gamma, and color adjustments to get your HDR image's desired dynamic range and overall look.
So, the perk to Photoshop? You can remove ghosts (if needed). Not the ghosts you see in horror films. You might pick up moving objects that create ghosting when bracketing and Photoshop allows removing them. Enable the "Remove Ghosts" checkbox and select the appropriate method to handle any ghosting artifacts.
Now you can save!
Whether you chose Photomatix or Photoshop, it's time to start post-processing! Check out this recent article on how to edit like a pro!
Here Are a Few More Pointers:
- Mind the Scene: Look for scenes with high contrast, where you have both bright and dark areas. It could be a sunset, a cityscape with bright lights, or even an interior with a window pouring in sunlight. These scenes shine with HDR techniques.
- Steady as She Goes: I can't say this enough, use a sturdy tripod to keep your camera rock steady!
- Go Manual: Switch your camera to manual mode so you can have complete control over the exposure settings. This way, you can set the aperture, shutter speed, and ISO to get the desired effects for each shot in the bracketed series.
- Embrace RAW: Shoot in RAW format. RAW files retain more image data, giving you greater flexibility during post-processing. This can be especially useful when working with HDR images, as you'll have more latitude to fine-tune the exposure and tone mapping.
- Tone it Down (or Up): When merging your bracketed shots in HDR software, avoid going overboard with extreme tonal adjustments. While HDR allows for increased dynamic range, strive for a natural look that preserves details without creating an unrealistic or "overcooked" effect. It's all about finding a balance that enhances the scene without making it look like a psychedelic dream.
Final Thoughts: Practice
HDR photography is an art that gets better with practice. Experiment with different scenes, exposure brackets, and software settings. Learn from your results, try new techniques, and develop your style over time!


