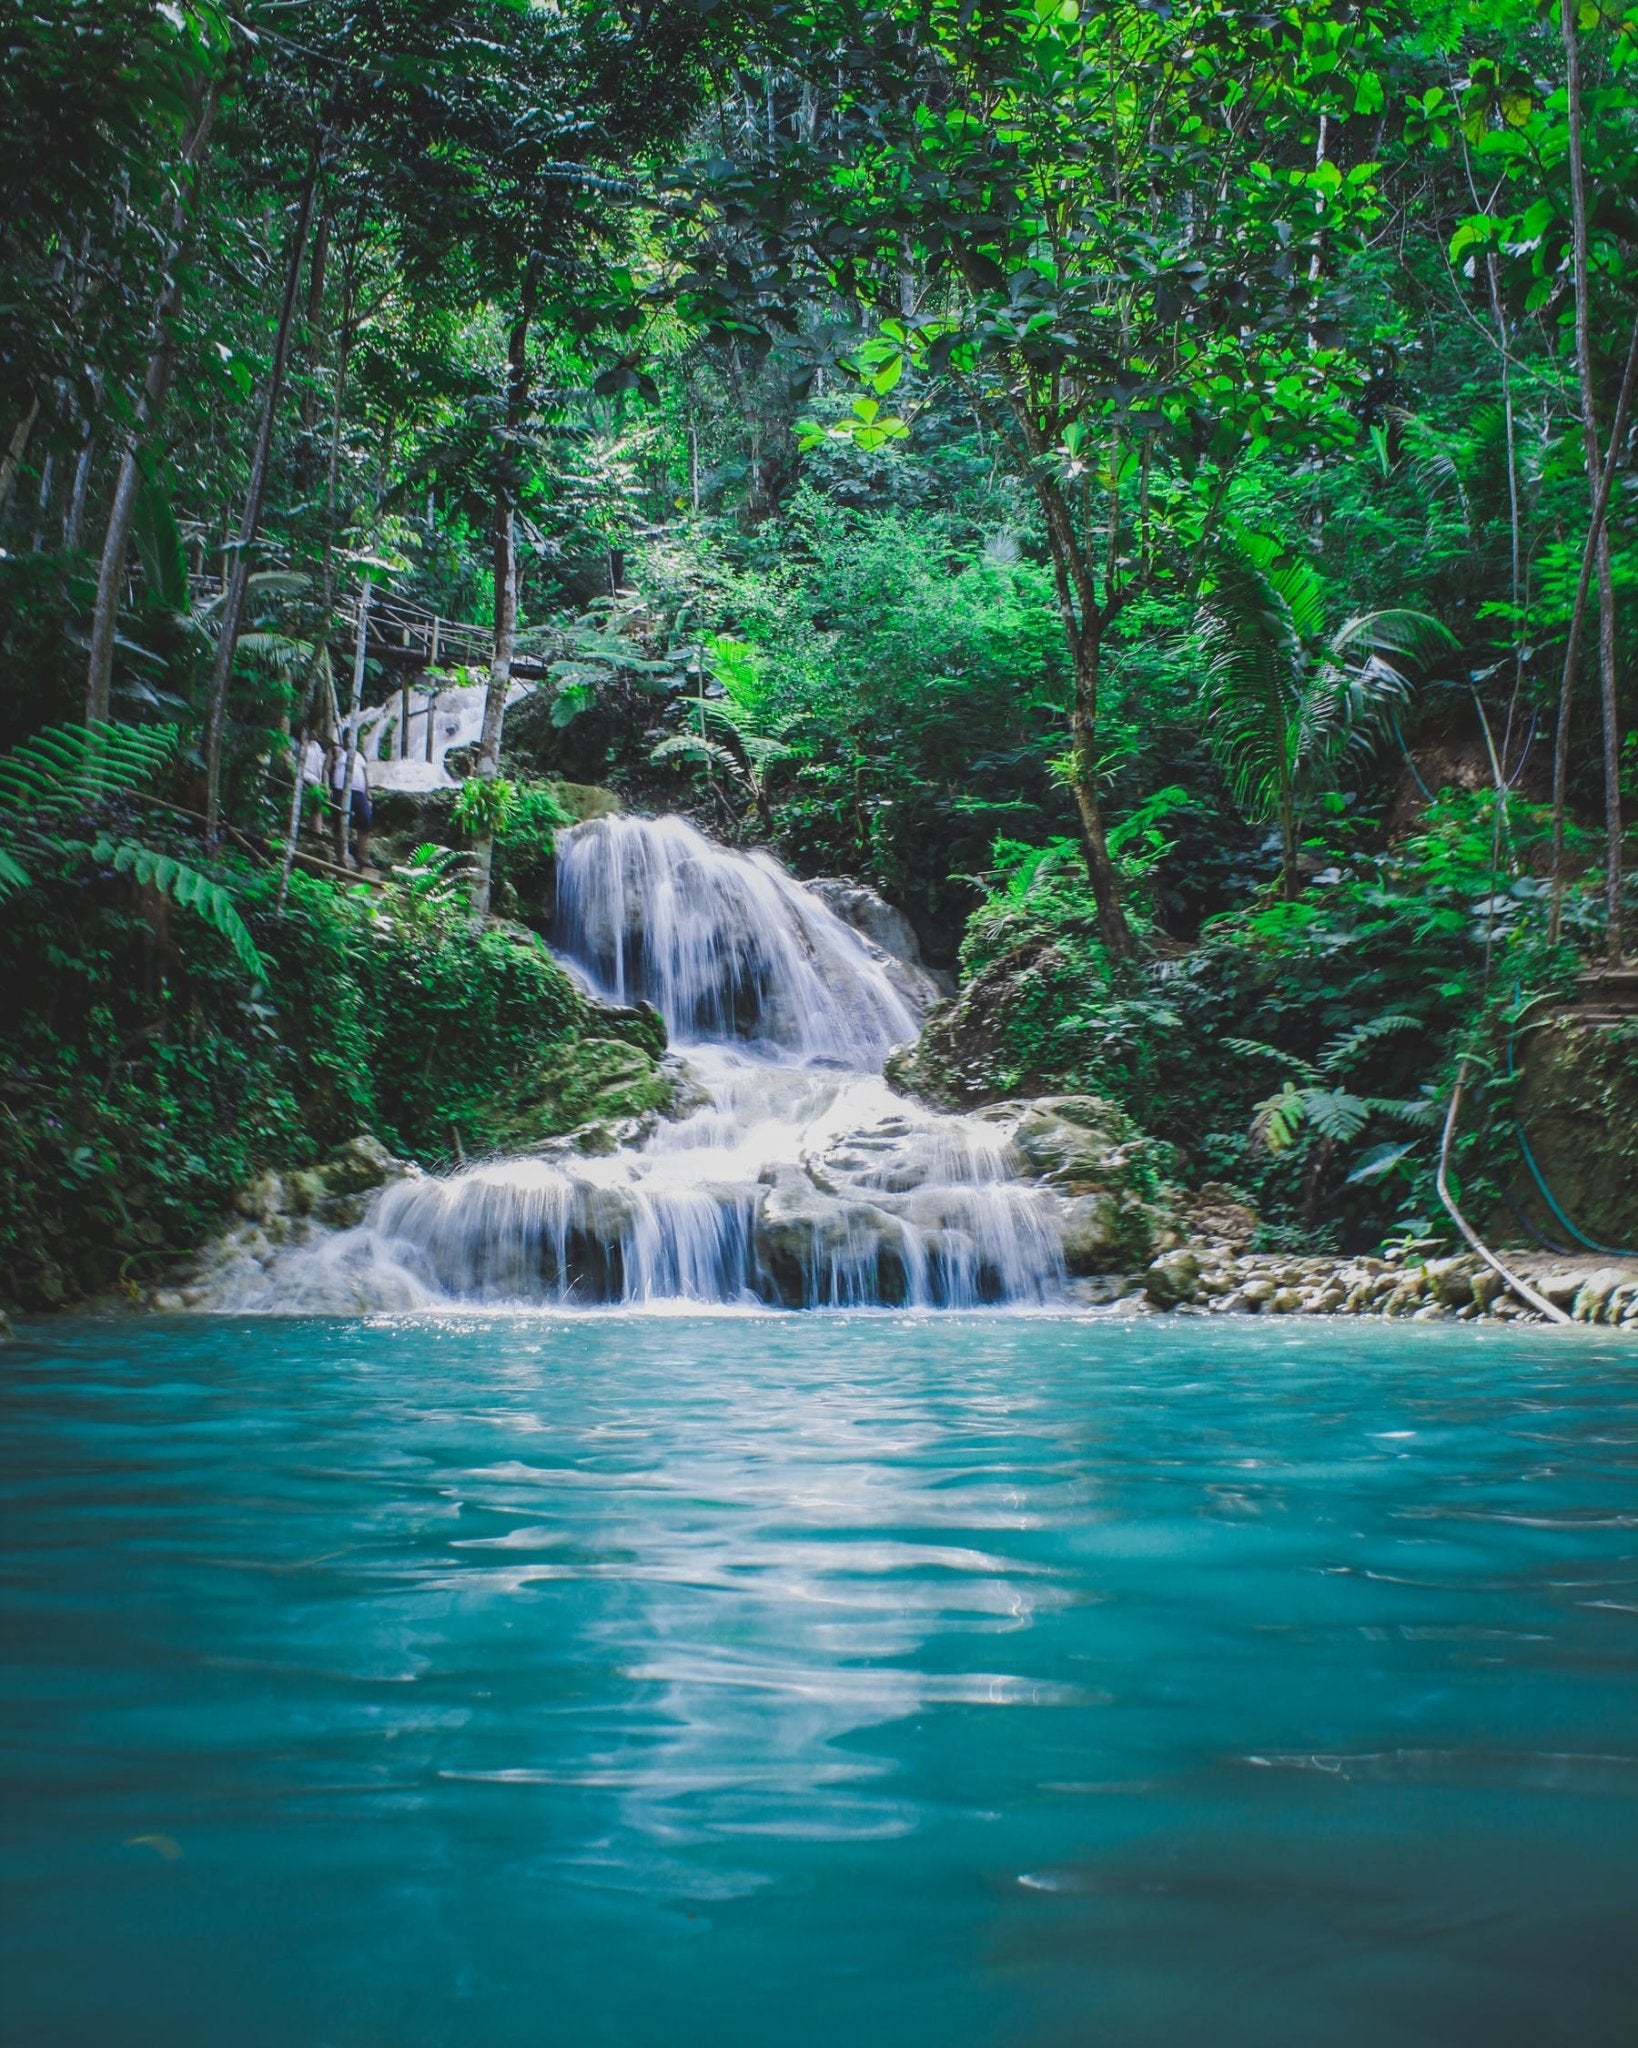
Waterfalls are enchanting and exquisite, and they give off a dreamy, fairy tale vibe that most people are drawn to. But, how do you capture a cascading waterfall without getting a blurred photo? To capture a waterfall's magnificence and beautifully vivid colors, you will want to follow this guide.
Here's a snapshot of what we will go over:
• Camera Equipment
• Camera Settings
• Consider Using a Filter
• Composition and Focal Point
• Consider the Environmental Elements
Camera Equipment
Before you start snapping that gorgeous waterfall, you will need to have all the right camera gear.
• Wide Angle Lens Invest in a 16-35mm wide-angle lens. A lens like this will ensure the entire waterfall will fit into your frame while capturing the foreground.
• Mid-telephoto Lens: If you want to photograph close-ups of small waterfalls, you will also need a 24-70mm telephoto lens in your camera bag.
• Tripod: Mounting your camera on a sturdy tripod is vital while photographing waterfalls. Since your camera is being held near a body of water, you will absolutely need something sturdy and durable! You will be using a slower shutter speed (we will get more into camera settings in a few minutes!) so, it is best to reduce the shake as much as possible. You want a clear photograph, not a blurred mess.
• Camera Remote: A camera remote will eliminate the last risk of shaking...your finger! Just clicking the shutter button will pose a risk. If your camera can't connect to your smartphone, look into our camera remote.
Camera Settings
Now that you have your camera equipment, you will want to make sure your camera is set to capture that dreamy and wistful waterfall!
• Shutter Speed: A slower shutter speed will give the water a slight blur while keeping the integrity of your background. The slight blur in the waterfall will give it that hazy look you want to achieve. You can alter your shutter speed to your liking, but start off with a shutter speed of 1 second.
• ISO: You will also want a lower ISO setting to prevent your photographs from being overexposed. A lower ISO of 100 will make your digital sensor less sensitive to light.
• Aperture: Set your lens at an aperture of f/11, so less light is being brought in. Experiment so you can find the best balance between shutter, ISO, and aperture settings (the exposure triangle).
• White Balance: This one can be tough. If you're in a forest setting, your camera might pick up green hues and, if there was a recent rainfall, it would pick up blues. The perfect white balance isn't guaranteed. Because of this, you will need to manually set this. See what an auto white balance picks up and then experiment from there.
• RAW: Shoot in RAW for better leverage in editing your photos once finished.
Consider Using a Filter
You can use a Neutral Density filter if you don't think your shutter speed isn't slow enough. Using these filters will help eliminate some of the light entering your lens. Different filters help you achieve the look you want in your photographs, and neutral Density filters will help smooth things out and bring out the tonal contrast. You will achieve vibrant colors, no doubt.
Example: A 2x Neutral Density filter will drop your light by nearly 50% and, a 4x will drop it to 25% less light.
Composition & Focal Point
Waterfalls aren't just about, well, themselves. Usually, the landscape around the waterfall adds to that fairy tale effect. Absorb everything from your natural backdrop. You might notice a few things that should be in your shot to enhance your photograph. Be creative and showcase your waterfall from different perspectives to make it stand out. You can start with the Leading Lines or Rule of Thirds composition techniques.
We wrote an entire article about different composition techniques, you can read it here: Photography Composition Techniques
Your focal point can be the waterfall itself or, try focusing on an element in front of your waterfall. Think of something like a log in the foreground to focus on.
Consider the Environmental Elements
The environment can completely throw off the entirety of the photograph. A sunny, rainy, overcast day will alter your photo in so many ways. Not that you can control mother nature, but it is best to try and capture a waterfall during an overcast. An overcast will help pull out the ethereal colors you most likely desire.
Related article: Camera Settings for Cloudy Day
Try to take your photograph during sunrise, immediately after sunrise or, the last hour before a sunset hits. This is referred to as the golden hours in photography.
Related article: Golden Hour - The Key to Better Golden Hour Photography
Waterfalls are awe-inspiring and, by following the guide above, you should be able to capture that awe. You need to make sure you have the right equipment and let your creativity reign while having fun in the breathtaking scenery.
Related article: The 3 Most Important Camera Settings
Related article: White Balance Photography: What is White Balance
Related article: How to Edit RAW Images in Photoshop


