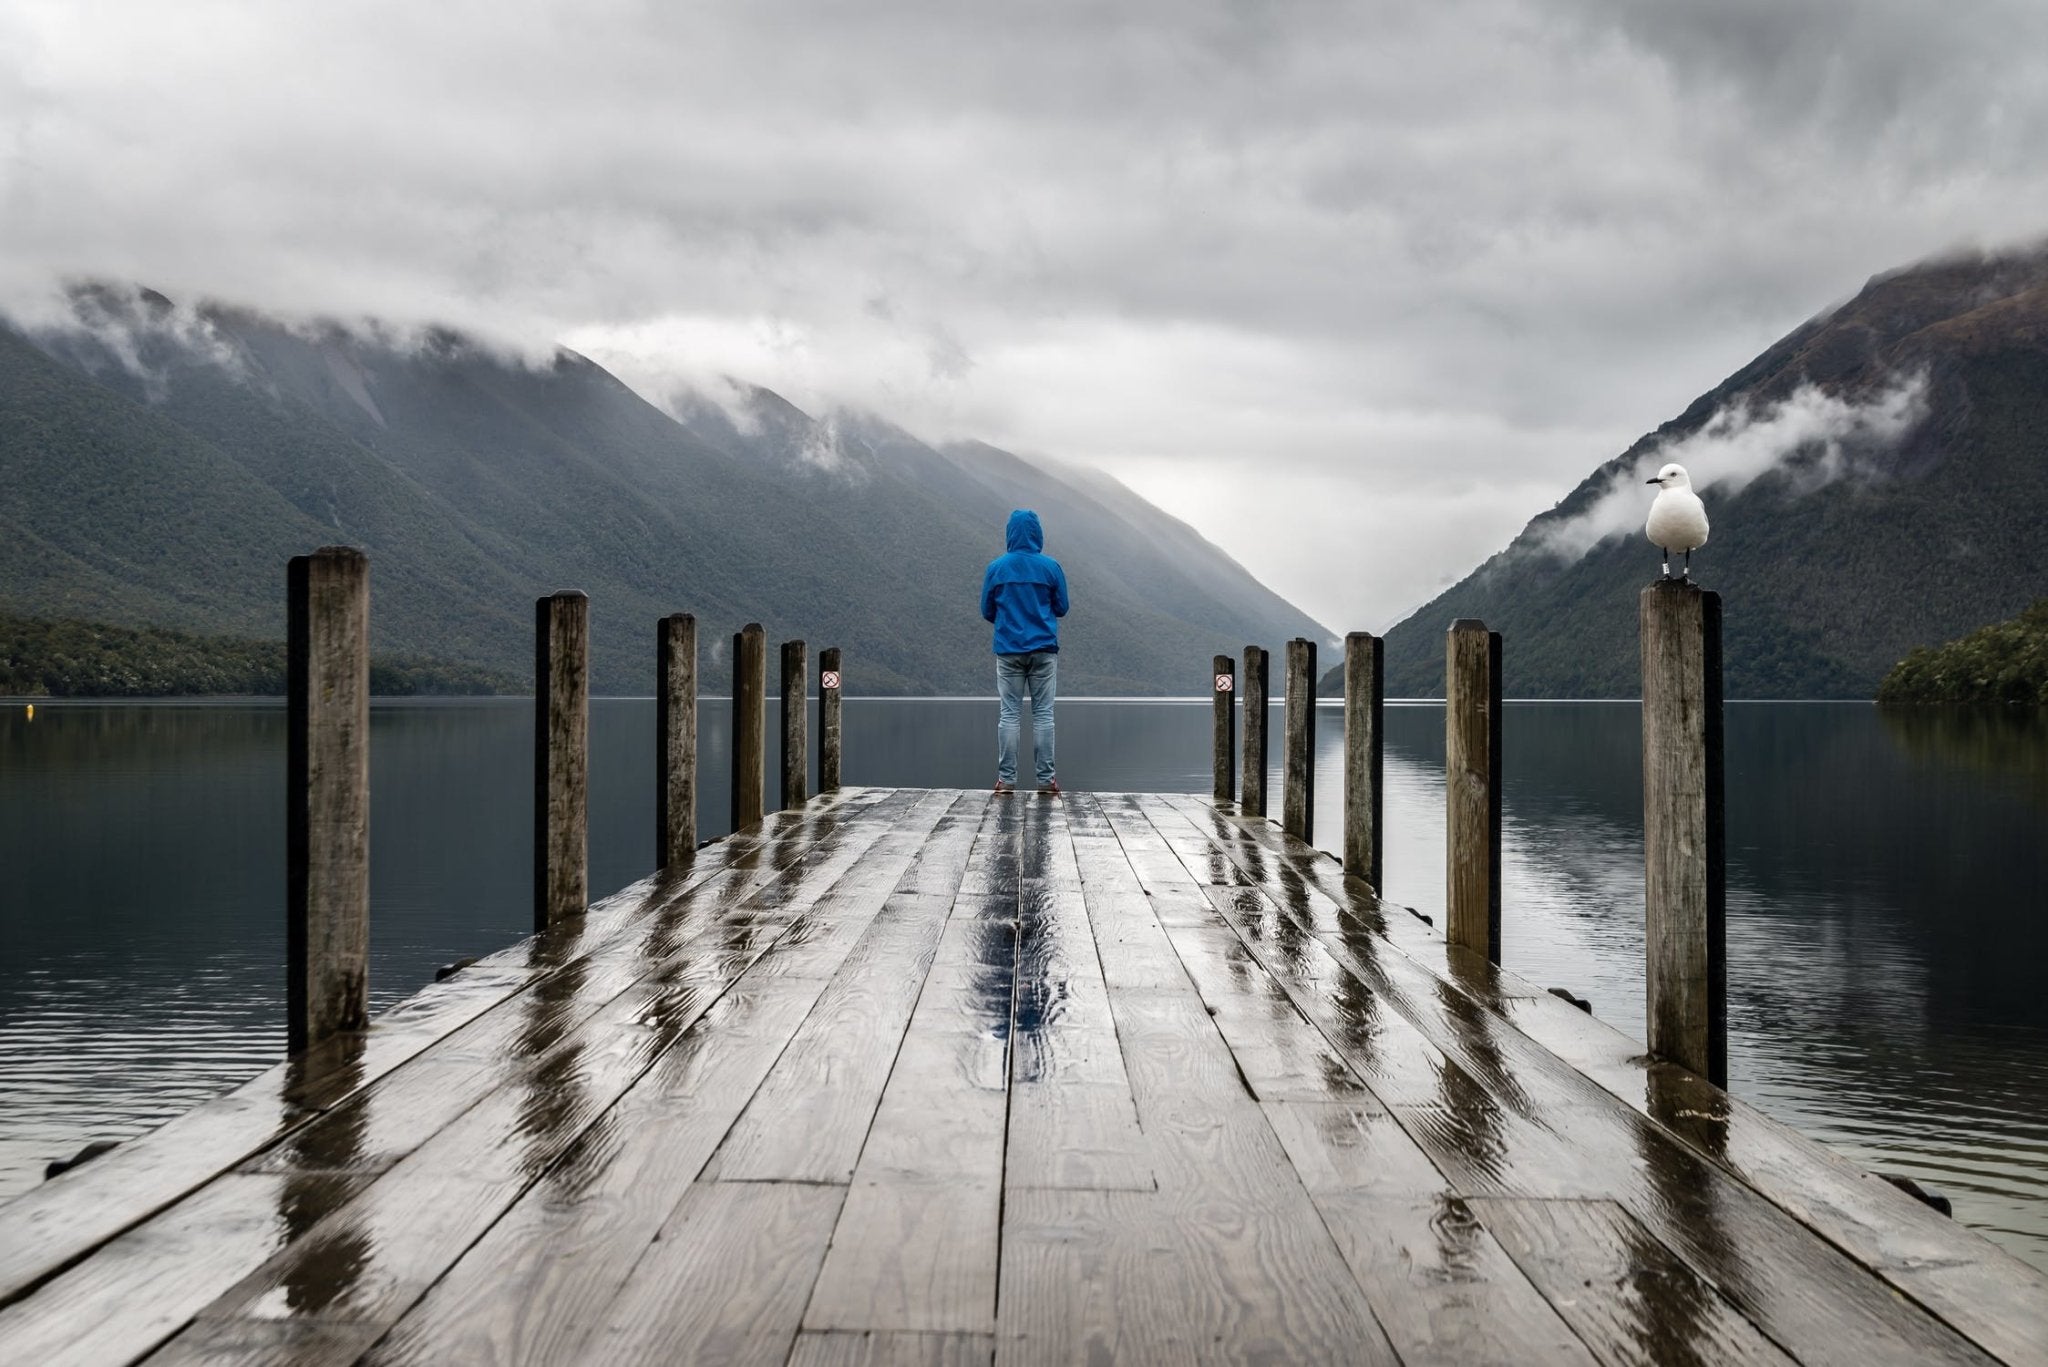
Do not fret if you see clouds on the horizon! If you think that the clouds will ruin your photos, think again! It may be hard to believe, but you can get some of your best photographs on those dreary and cloudy days!
One of the advantages of taking photographs on a cloudy day is how clouds diffuse natural light ever so perfectly. The clouds will eliminate harsh lighting and act as a light diffuser, just like a light box! Not only can clouds give you light, but you will also have a gorgeous backdrop from the cloudy skies that you can't buy! However, if you are taking a client's photo, you will want to try and focus more on them to ensure you are not taking anything away from them. You want to guarantee your client is the center of attention during portrait photos.
The clouds will offer beautifully soft and even lighting. You will have more opportunities to move around to take photos since you won't have to work around extreme lighting. It is beneficial to have even lighting. When you have even lighting, you won't have to worry about playing around with your subject to ensure the light isn't washing them out. Always have your subject or client face towards directional light to create illumination. If you do this, you prevent any darkness under your client's eyes and shadows. Try to step on a platform or stool to reach higher than your subject. If you can get them at a slightly higher angle (just a smidge above eye level), it will help illuminate them. Is there a downfall to this angle? Yep, the possibility of your light slightly closing their eyes because of the brightness from the sun will increase.
What camera settings should you use?
Having the correct settings on your camera will help ensure you are taking gorgeous photos.
• ISO: Automatically, set your ISO on your camera and see what it recommends, and then from there, you can play around with the ISO setting. Remember, you will need higher ISO numbers in less light. Stick with ISO numbers between 400 and 800.
• Shutter Speed: You will need to utilize a faster shutter speed to capture moving subjects. On the flip side, if you are taking a landscape photograph, you will need a slow shutter speed to allow more light into the camera. Always make sure to use your tripod.
• Aperture: For your aperture, make sure you keep it open to allow in much light.
How should you brighten your subjects if it's too dark?
If it looks too dark, you can still brighten up your photographs by finding a sunny spot through cracks in the clouds. Also, think about the colors your subject is on top of in the scene. If they are on a bright surface, the light will bounce off and provide an extra layer of brightness. Rain puddles will help give you another resource to reflect light. You can also use stormy clouds to create a dramatic effect in your photographs. If your photo seems too dim during post-processing, you can always add brightness to it.
Create a dramatic effect with black and white scale photographs.
If you look at your photos during post-processing and feel like they look dull, there is hope and, you can still save them. If you want to add more dynamics to your photos, you can convert them and adjust the color to black and white. Another way to add interest is experimenting with the highlights and shadows.
Add pops of color to your photographs!
When you aren't hoping to rely on a black and white photograph, turn to pops of color. Pops of color can instantly brighten up a photo you took. Adding bright colors will be attractive to the eye. Think of a rainy day and a child in a bright yellow rain jacket or a drab day with a brightly colored flower about to bloom. Use these clouds to your advantage by turning them into a natural softbox.
What type of camera lens should I use during cloudy days?
So now that you have a few tricks up your sleeve, what type of lens should you equip yourself with during a photoshoot? Here are my recommendations for you: an 85mm or 50mm will give you a creamy bokeh to swoon over.
Use these hacks and tips to improve your cloudy day photographs. If you need more help understanding how your camera settings work, check out our other blog detailing camera settings.


