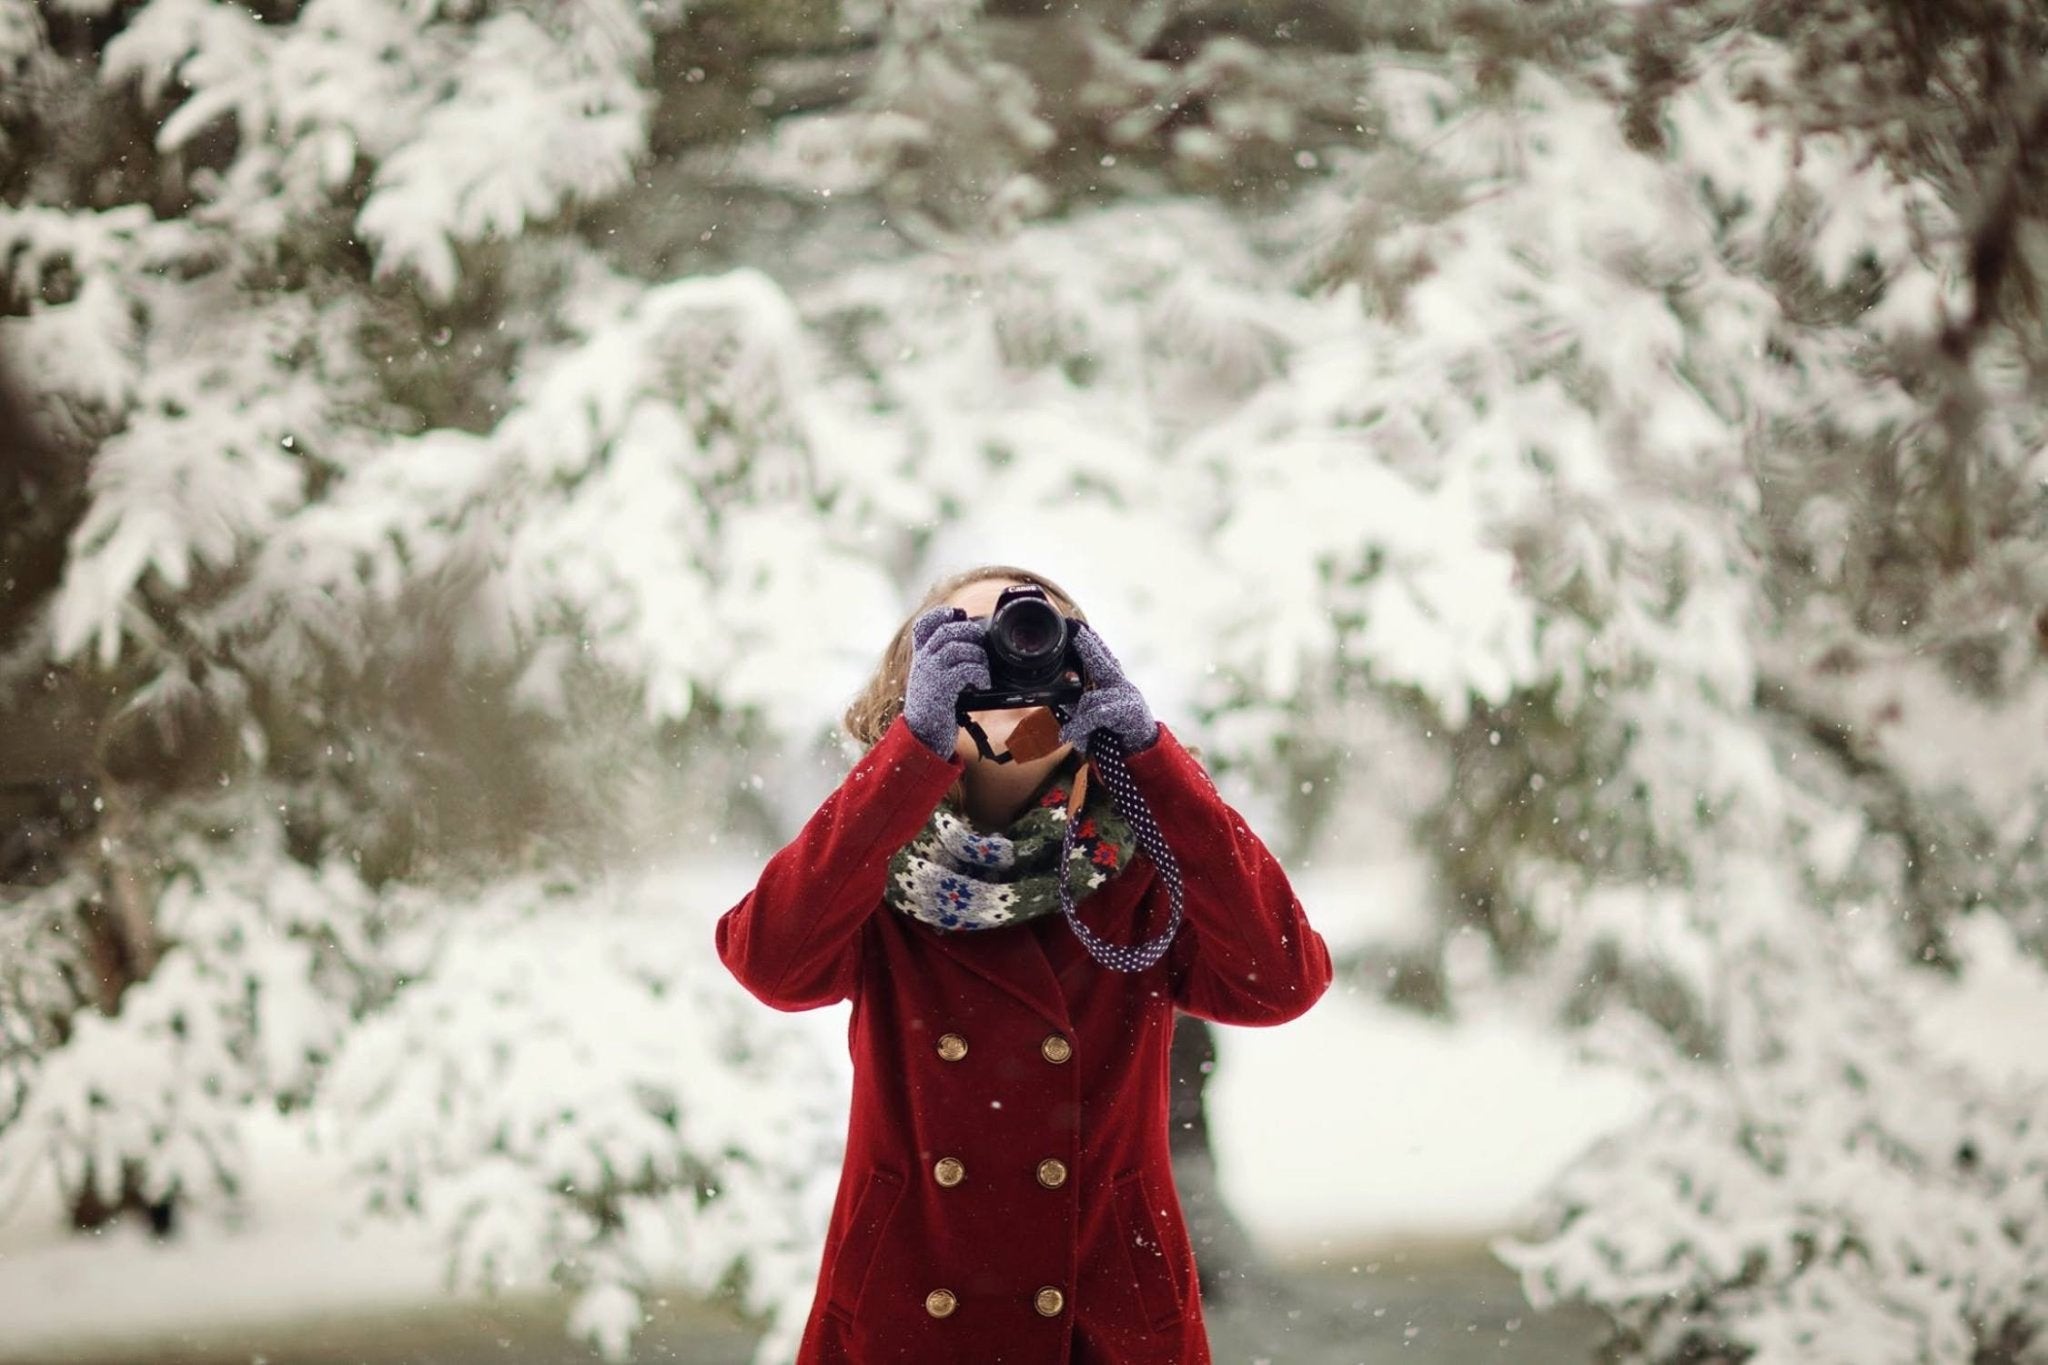
Photographs of snowflakes are always incredibly stunning, and each snowflake has its own unique detail that is eye-catching. However, capturing a snowflake in all its glory might seem a bit difficult.
How do you take a photograph of something so tiny that melts quickly?! Do not worry, I've got your back!
In this article, we will cover:
- The type of gear you will need to take the perfect snowflake photography.
- Tips on how to sharpen and focus on snowflakes.
- Crucial timing.
Gear Checklist
Let's start by checking off our gear checklist.
First, you will need a camera. If you already have a camera, ensure it can switch out lenses before going further. You can check out our article on the best cameras currently on the market if you still need to make the purchase.
The size of a snowflake is minuscule, only 2mm to 5mm. Because of this, you will need a lens that can magnify its beauty. Your lens will need to magnify the snowflake past the 1:1 ratio. You will need to invest in at least one of the following items:
- A 2:1 Focusing Macro Lens
- Extension Tubes - If you have a hard time locating a macro lens capable of a 2:1 magnification, try extension tubes. These tubes will sit between your lens and camera and are hollow.
- Close-up Filters - These filters are similar to bifocal glasses and, you can use more than one to help get a close shot of your desired snowflakes. The bad thing about these filters is how they interfere with the camera's autofocus. So if you choose this option, you will need to be comfortable with your manual focus.
The trusty ring flashes will do the trick for snowflake photography. This flash attaches to the front of your lens and will help create illumination around the snowflake. Having a ring flash will also eliminate pesky shadows. A benefit to using these flashes is manipulating two banks of light, and you can dim on them while allowing the other to shine bright. Experiment and play with your angles to capture different perceptions of light. Even the slightest turn can alter how your photography turns out, for better or worse.
Tips on how to photograph snowflakes sharp and in focus:
Tip #1 Search for your perfect little snowflake
Once the snow starts, the fun begins. If you're in the midwest like me, getting hit with a snowstorm isn't uncommon (we literally just had one and, it was dreamy).
Pro Tip: Use a dark glove or a mitten as a background for your snowflake! The color will contrast with your snowflake and, the mitten will offer a soft, insulated platform. You can easily remove any unwanted fibers during post-processing. But remember, do not use the mitten you are wearing! You don't want any heat near your precious snowflake!
Set the mitten down somewhere and wait for a snowflake to land. Once a few have plopped down, take a closer look. Are those the ones you want? Or did you get unlucky with balls of boring ice? To capture the beauty of a real snowflake, you are going to need big, clean, fluffy-like snowflakes.
You will need to keep a watchful eye on your flakes since snow can, well, melt. You need to get those suckers before it's too late. The fibers on the mitten will actually help prop them up so they don't melt too quickly.
Pro Tip: When photographing at different angles, you will help bring out the snowflake's prismatic colors and surface reflections.
Tip #2 Take continuous shots of your snowflakes
Aim to focus stack your photographs. You will need to capture many different frames of the same subject. Once you have done this, you can stack/combine them while editing for a focused shot. You can use the burst mode setting to get these continuous shots. Doing this will help if you have even the slightest out-of-focus spot on your snowflake.
You can also use a tripod to help get a steady shot. If you use a tripod, you need to set it up and be ready to go. Tripods can take time to set up. When photographing a snowflake, you don't want to waste any time!
Tip #3 Snowflake photo editing
After you've used the stacking method above, crop your photo. Since your focal point is the snowflake, you need to crop out the background of your image and all the negative space. You don't want to have a distraction in your photo since you want the viewer's eye to go directly to the snowflake and stay there. The snowflake will have enough gorgeous detail and, you want to preserve that.
Once cropping has been done, experiment with the contract and exposure until you are happy with how the colors look.
Enjoy your perfect snowflake!
This article should help you capture the perfect photo of a snowflake. Use the tips and tricks above and eagerly wait for the next snowfall! If you are interesting in learning more about photography, check out these related articles:
Related article: Camera Settings Guide – Best Camera Settings in Photography
Related article: Photography For Beginners - Basic Photography Tips
Related article: The 3 Most Important Camera Settings


