It's difficult to put a number on how many times we've looked up into the night sky and been dazzled by the endless points of light before our eyes. Some of us have been inspired to try and capture a small portion of the magic and majesty that hangs above our heads each night. But where do we begin?
Not only is the task at hand a bit intimidating -- even if we're seasoned photographers -- but also the equipment thought necessary to do the job can put a dent in our foreheads as well as our wallets.
Thankfully, the most critical thing when photographing the night sky is free and always in stock… It's technique!
That's the true secret -- not a telescope, a wide-focal length lens, a bagful of post-editing tricks, or even a state-of-the-art camera can give you what the building block of solid technique provides.
The tools of the trade will always factor in, of course, but without stellar composition and a wealth of knowledge behind you, the starry night will remain an elusive mystery.
Whether you're just starting out or your camera has become like a third eye, it's always good to begin at the beginning. Let's take a look at the fundamentals of astrophotography and help you cross off the Holy Grail of low-light challenges from your photo-taking bucket list.
Are you ready? Because I want you to think BIG -- as big as the blanket of stars, stretching outward into the recesses of space. I'm talking deep sky stuff, eclipses, moon photography, and even capturing auroras. The opportunities are as vast as the universe.
The Tools You'll Need:
- A Camera designed with low-light functionality in mind. It should shoot in Raw, have a wide native ISO range, and come equipped with Bulb Mode.
- A sturdy tripod. Often you'll be using long exposures to PULL light from the far reaches of the cosmos, and even a micro bump will blur your image. Be sure to lock down your camera to a reliable tripod.
- A remote, a wired/wireless shutter release, or a bluetooth application via your smartphone -- something to snap the picture other than your finger on the shutter button (again, to avoid shake/movement)
- A lens hood to help block out extraneous light coming from anywhere other than the stars themselves.
- Specially designed filters. These are optional, but depending on the kind of shot you're looking to get, they may be mandatory. An example of this would be when trying to capture an eclipse of the Sun. It's not quite the "night sky," but the moon *is* involved, and without the correct filter, the powerful sunlight could destroy your camera's sensor. If you didn't know, that's a BAD thing.
Okay, now you have a few items on hand. What's next?
Choose something specific that you'd like to photograph. I know that's a little tough given the enormity of your subject, but you've got to start somewhere. It's a good idea to research the moon's movement patterns, its "phases," and the observable constellations. There is now a slew of phone apps to help you map out your photoshoot (and to just use on their own to learn about the night sky -- super fun).
Pro Tip: If you want to get detailed shots of the constellations, you'll have to schedule your shoot for what's known as a "New Moon phase." This is when the constellations are clearest.
After that, there are seven more moon phases to plan for, the most popular being… you guessed it, "Full Moon." However, regardless of what you'd like to shoot, make sure you check the weather conditions. You'll want a clear night with high visibility and a spot with minimal light pollution. If you're living in a big city, you might want to take a little road trip to somewhere a bit more rural. Trust me, your night sky photographs will thank you.
It's just a phase -- why choose this 'Moon Phase' or that one?
A few words on some of the phases of the moon and the pros and cons for each.
New Moon:
If you desire to enjoy a Milky Way that won't cause cavities, or you want to get a starscape under your belt, shoot during the New Moon. The fainter light of this moon phase allows these other night sky attributes to really shine. But the other side of this low-light coin is: your camera settings may be pushed to their extremes. Higher ISOs and longer exposures will be required to compensate for the New Moon's dim light, affecting the overall quality of your picture.
Full Moon:
When you really want the moon to be the focus of your photograph, there is no better time. You'll be able to get the proper exposure with relative ease due to the full moon's overpowering light. Just beware that most other details in the sky are "eclipsed" by the full moon's showmanship -- Hey, Moon, Copernicus called, and YOU are NOT the center of the universe. Jeez.
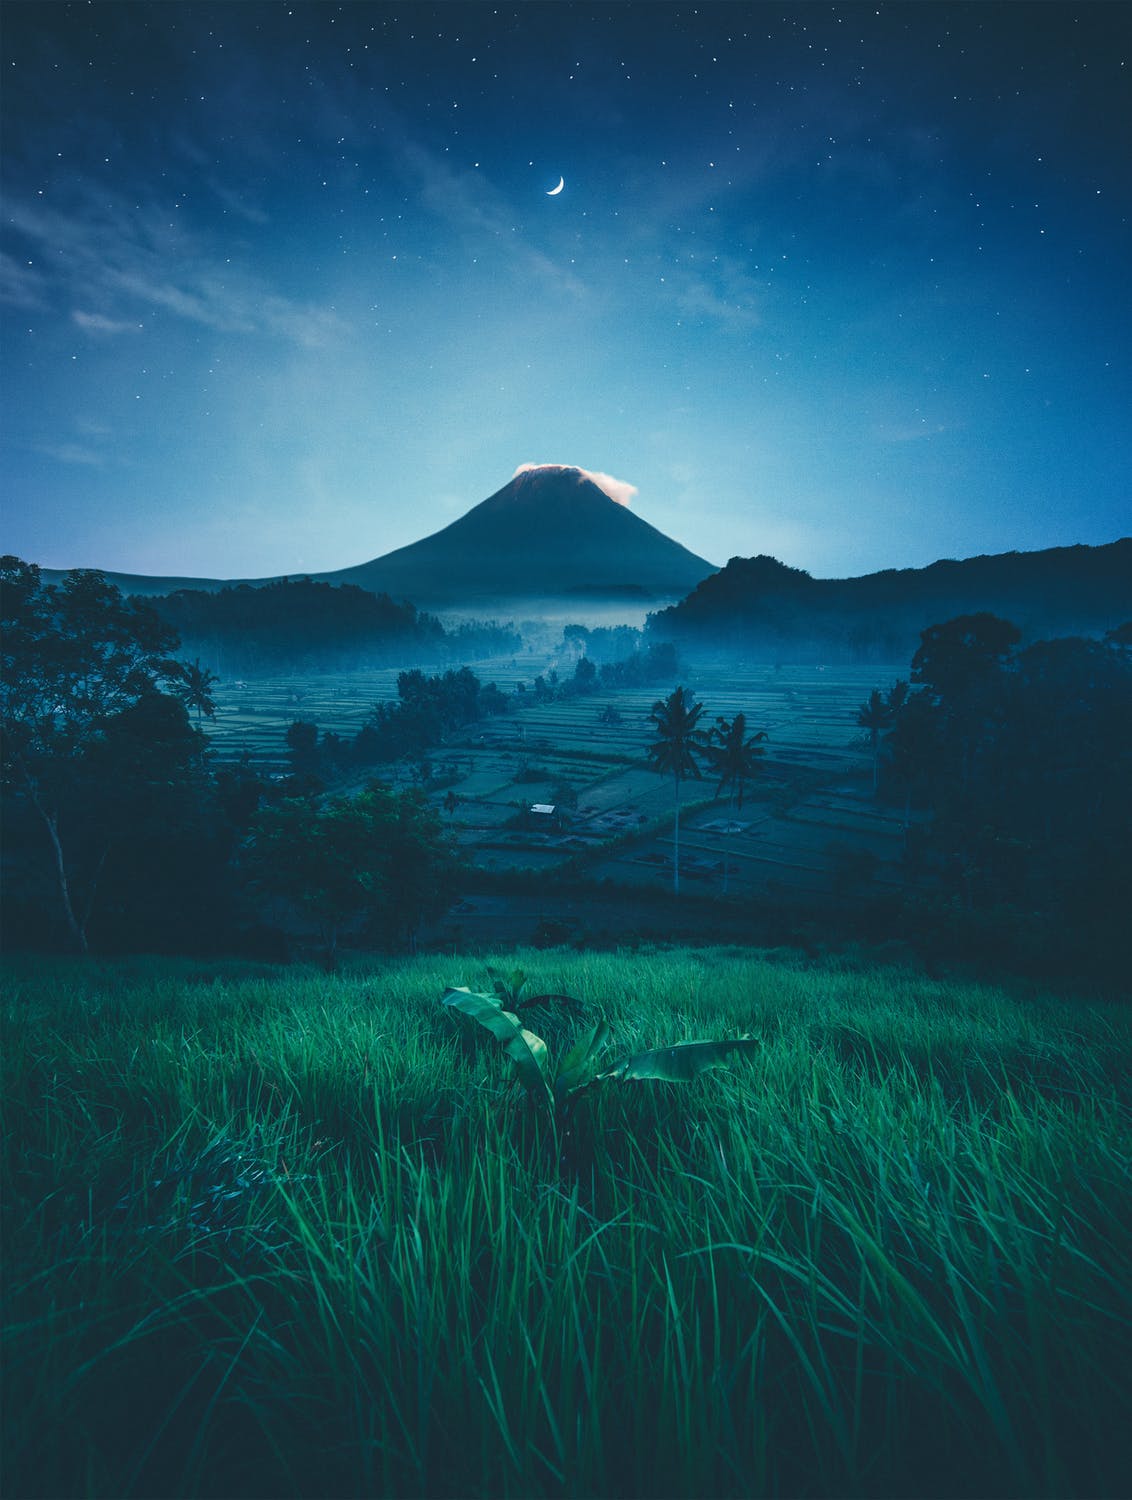
The Quarter or "Crescent" Moon:
Unable to decide on if you want to take the moon's portrait or if you want to mesmerize people with a detailed snapshot of your favorite constellation? The Crescent Phase gives you the best of both worlds -- or both moons, you could say. If you place the moon behind you during this phase, you can use it to illuminate the foreground of your shot. When shooting West, aim for an early night shoot. The moon will be hanging low in the sky, giving off a dramatic vividness. Shooting in the East direction? Plan for an early morning shoot. The moon is low in the West and will provide the best results.
Technique √
Tools √
Moon Phase √
Now, the Steps that will lead you to the Stars
First: pick your location. As mentioned before, it's best to travel at least 50 miles away from the city's lights. If you can get to a higher altitude, do so. High above sea level, the air is thinner, which allows for crisper, more detailed photographs.
Second: get your tripod into position. Make sure it's firmly on the ground with the legs' locking mechanisms tightened, it's set evenly (double-checked with a bubble level), and your camera is centered on the plate -- for extra balance, consider getting yourself an L-bracket.
Third: Get creative. It's time to frame your shot, and you have all the gear at your fingertips and the entire sky to choose from. Make sure you're being true to yourself, and you're helping others see the night sky the way you see it.
It's helpful to lean on some classic composition techniques, such as the Rule of Thirds.
Fourthly (and lastly): Let your eyes adjust. Before you start snapping away, make sure you've taken the proper time without artificial light sources (such as car headlights) to allow your eyes to get used to your environment.


