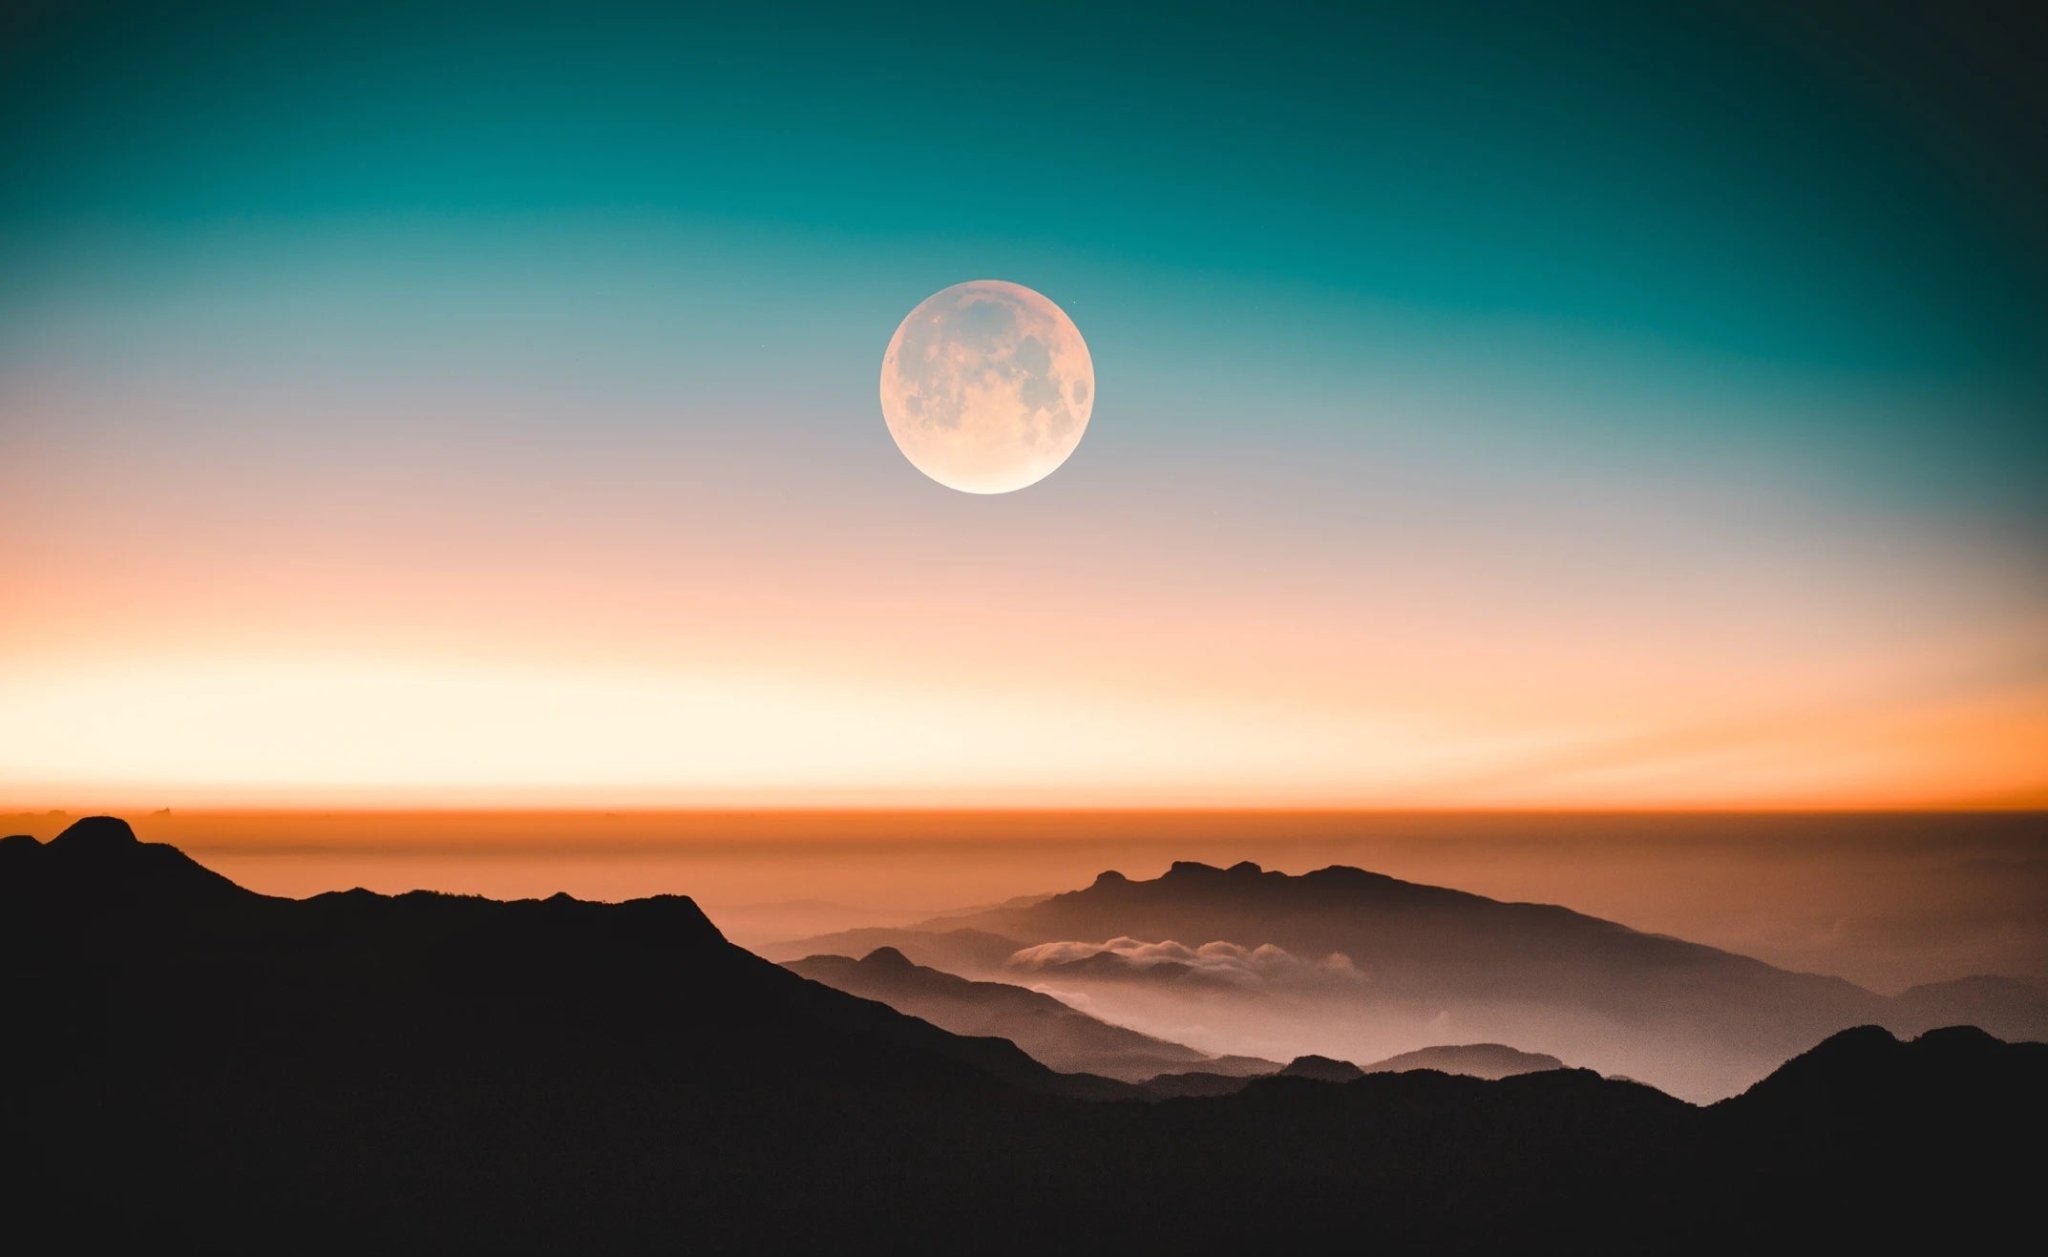
The moon is one of the most fascinating wonders of the universe. Many photographers go on a quest to capture the moon as well as other parts of our galaxy. To do this, you need to understand how the moon works and what type of photography equipment is needed.
There are even photographers out there (astrophotographers) that specialize in capturing the moon!
Equipment Checklist
The equipment needed is just as crucial as the moon itself! Get yourself a good mirrorless camera or a DSLR camera. Once you have the camera, you need a reliable tripod and a shutter-release cable. A tripod and release cable will eliminate any camera shake (which results in a blurry photo). And, of course, you can't forget a dedicated telephoto lens or wide-angle lens. Look for lenses with a 70-300mm or longer focal range.
Focusing on the Moon
Many new photographers like to rely on their camera's autofocus feature. However, it is always best to focus manually. You can ultimately control how crisp and clear your photograph turns out, set the focusing ring to infinity, and look for the best focus.
Pro-tip: This will take some practice to get the swing of it. Always take test shots to really learn how your camera and lens work. It's a great idea to focus on several objects for practice.
Once you have focused on your moon, it's time to move on to the next step.
Best Camera Settings for Moon Photos:
People tend to forget how bright the moon is, so you need to be extra careful with this step. You do not want to have an overexposed photograph. Start off with the following settings and adjust from there:
- Mount your camera on a tripod
- Set your camera ISO between 100 and 200
- Switch your lens to manual focus
- Select aperture between f/5.6 and f/11
- Set your shutter speed between 1/125 and 1/250
- Use auto white balance
Keep in mind that the settings above aren't exact. Depending on your camera, lens, and the phase of the moon, these settings may need to change.
When is the perfect time to photograph the moon?
People typically run outside when they hear that a full moon is approaching! I know I do. It is a spectacular lunar event to swoon over. Unfortunately, it is not an easy thing to capture in a photograph. A full moon gives off an unsightly glare that creates a bleh photo. Capture the moon in different phases when the craters throw shadows. This will add a creative dimension to your image.
What about the Earthshine?
If you are lucky and out on the right day, you may get some Earthshine! Earthshine is a gorgeous soft glow that occurs when the sunlight reflects off the Earth's surface and then onto the lunar surface. The perfect time is to capture it during the first sunset after the New Moon. Although there is always Earthshine - after the New Moon, the sunlight isn't too bright.
Here are the best camera settings to use to capture Earthshine:
- ISO: 400
- Aperture: f/2.8 - the lower, the better
- Shutter Speed: 1 to 4 seconds
Don't forget to try and capture the moonrise or moonset.
Capturing the moonrise or moonset is the perfect photo to get the opposite of a sunset. A Full Moon will give you breathtaking color ranges, like deep orange, pale yellow, and bright white. This is a great way to incorporate the moon into a beautiful landscape photo. Typically it is a sunrise or sunset - think outside of the box!
Be prepared - you only have a few minutes to capture this natural phenomenon! Arrive at your location early enough to set up. You can easily use Google to find a Full Moon calendar.
Post Production: Composites, Stacks, and Super Moons
During post-production, you can get creative. Try the technique called composites. A composite is where you take the moon and place it in a different landscape shot. However, be careful! You don't want this photo to look fake. Do not place the moon where it doesn't naturally occur, like in the Northern Hemisphere's sky. And make sure to size it correctly, so it isn't too big.
A neat take would be doing moon-stacks. This is where you capture a lunar time-lapse and take photographs showing the moon as it moves through the sky. Once you are finished, you can use Photoshop to place each moon phase in a single image.
Related article: Landscape Photography Settings
Here's your quick guide and reminder to the settings.
Always remember the light and moon phases will affect your camera's settings. Below is just a basic guideline to start with:
- ISO: Begin with a base ISO of 100. Doing this will limit how much light is coming in.
- Aperture: Start with f/11 and work your way up to f/16. The smaller aperture will make sure you aren't getting too much light. Experiment to get the best aperture for your situation.
- Shutter Speed: 1/100 is excellent to start with. Modify from 1/60 to 1/125.
With these tips and the setting guide above, you will give NASA a run for their money with your moon photographs! And, of course, practice makes perfect, don't get discouraged if your first picture isn't perfect.
Check out our other articles for more photography tips:
Related article: How to Take a Picture of the Moon - 9 Steps
Related article: How to Take Pictures of the Night Sky like a Star
Related article: How to Shoot Portraits at Night


