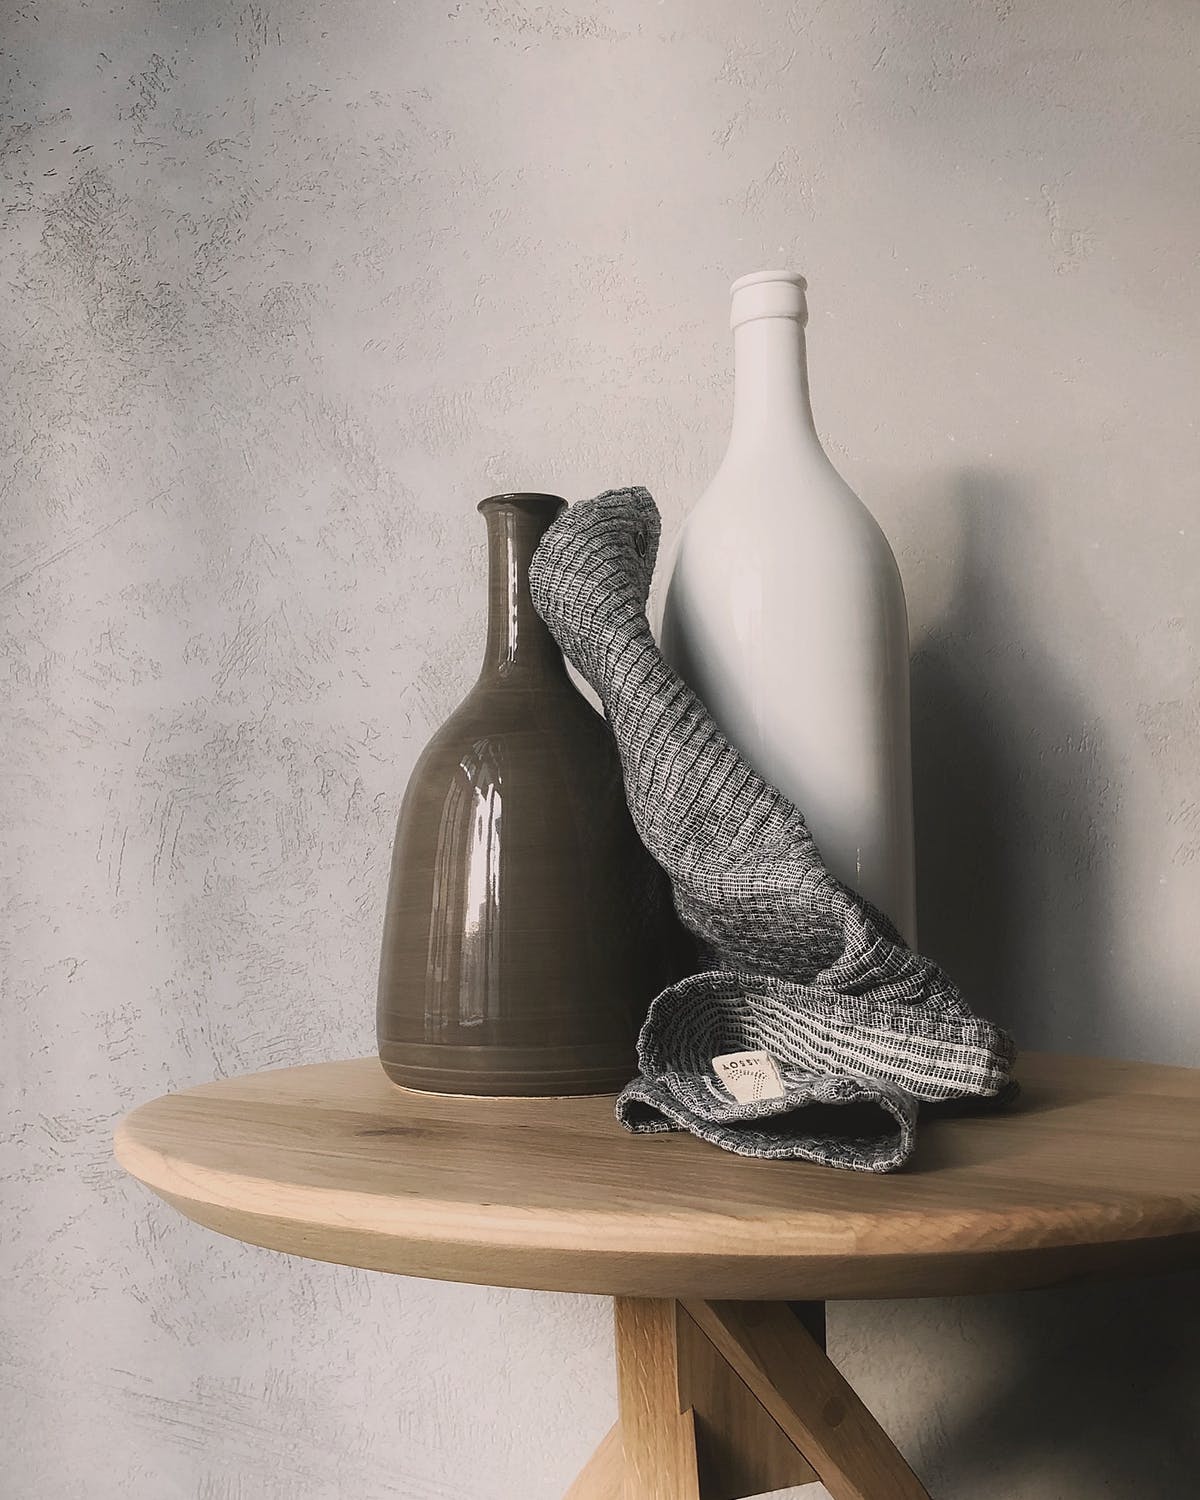
If you are an artist looking to photograph ceramics, you have come to the right place. Ceramics are simple to photograph and don't require too many props or gear. You can start photographing today to create an online portfolio of your work. Showcase your ceramics through social media or even a website like Squarespace or Wix.
Gather your supplies:
• Tripod
• Camera
• A grey card
• A backdrop or a photo product box
Set up your studio. If you are using a
photo product box, then you can simply pop it open, place the color insert needed, and you're ready to go.
If you are using a
backdrop, set it up, so it is draped over a table. You'll need the table to prop up your art. Next, place your art on whichever surface you've chosen. Keep your art centered on the surface and positioned towards the back. You can adjust the position of your art later on.
Some artists have also used a plain white sheet or even white paper to use as a backdrop. If purchasing a backdrop or photo box is out of your price range, you can try those ideas too. However, the obstacles with using these options are the chances of your materials getting wrinkled and tattered quickly. Investing in something a bit more professional will help with consistency. You will also avoid purchasing more paper or continuously ironing your white sheet.
Once you're happy with the backdrop and position of your art, move on to setting up your tripod and camera. Use a tripod so you can keep your camera as steady as possible. Making sure it's steady will eliminate the possibility of getting a blurry photo that doesn't capture the details of your ceramics. If you are using a tripod, you can also use a slower shutter speed to give your image a better depth of field. If you feel the art looks like it is floating in the air, you can always add a pedestal to show it is grounded.
For ceramics, a single light is all you will need unless you have a great source of natural light. Usually, I would say to avoid shadows at all costs but, with ceramics, having a slight shadow at the bottom will help show its depth. When using a light, place it directly above your art. You want to create soft shadows that aren't harsh. If you aren't happy with how your shadows come out, you can use a diffuser like below (it comes with 4 reflectors and 1 diffuser):
Promaster ReflectaDisc 5-in-1 Reflector + - 22”
Using your camera's custom white balance will help you have control. You can also use a grey card like this one:
Lastolite EzyBalance Gray Card
If you use a grey card, it will help adjust your white balance. Once you're happy with your white balance, set your exposure. Play with your settings while looking through your viewfinder to see what is capturing detail the best.
Now start having fun. Experiment with your angles and take several shots. If you are photographing a mug, bowl or, something with an opening, try to position your tripod and ceramic so the viewer can see.
For post-processing, use Adobe Photoshop for the following:
• Levels Feature: Check out the levels feature to adjust the brightness contrast and tonal range.
• Color Balance: Use this to help if your color is a bit off. You can play with the hues and saturation of your photo.
• Brightness/Darkness: You can play around with how bright your image is and how dark the shadow areas are.
• Smart Sharpen Filter: You can also use this feature to help bring out the detail. Just zoom in on your photo and click the smart sharpen option. This filter has a few options to correct Gaussian, lens, or motion blur).
You want to accurately portray your ceramic art. Using Photoshop should help you make the photo more clear. Try to avoid over-editing and altering your subject.
Now that you have the basics of photographing ceramics, you are ready to start snapping away. Remember to experiment with everything you're doing. Sometimes you just need to get creative and play around with your camera to see which settings take the best photos.


