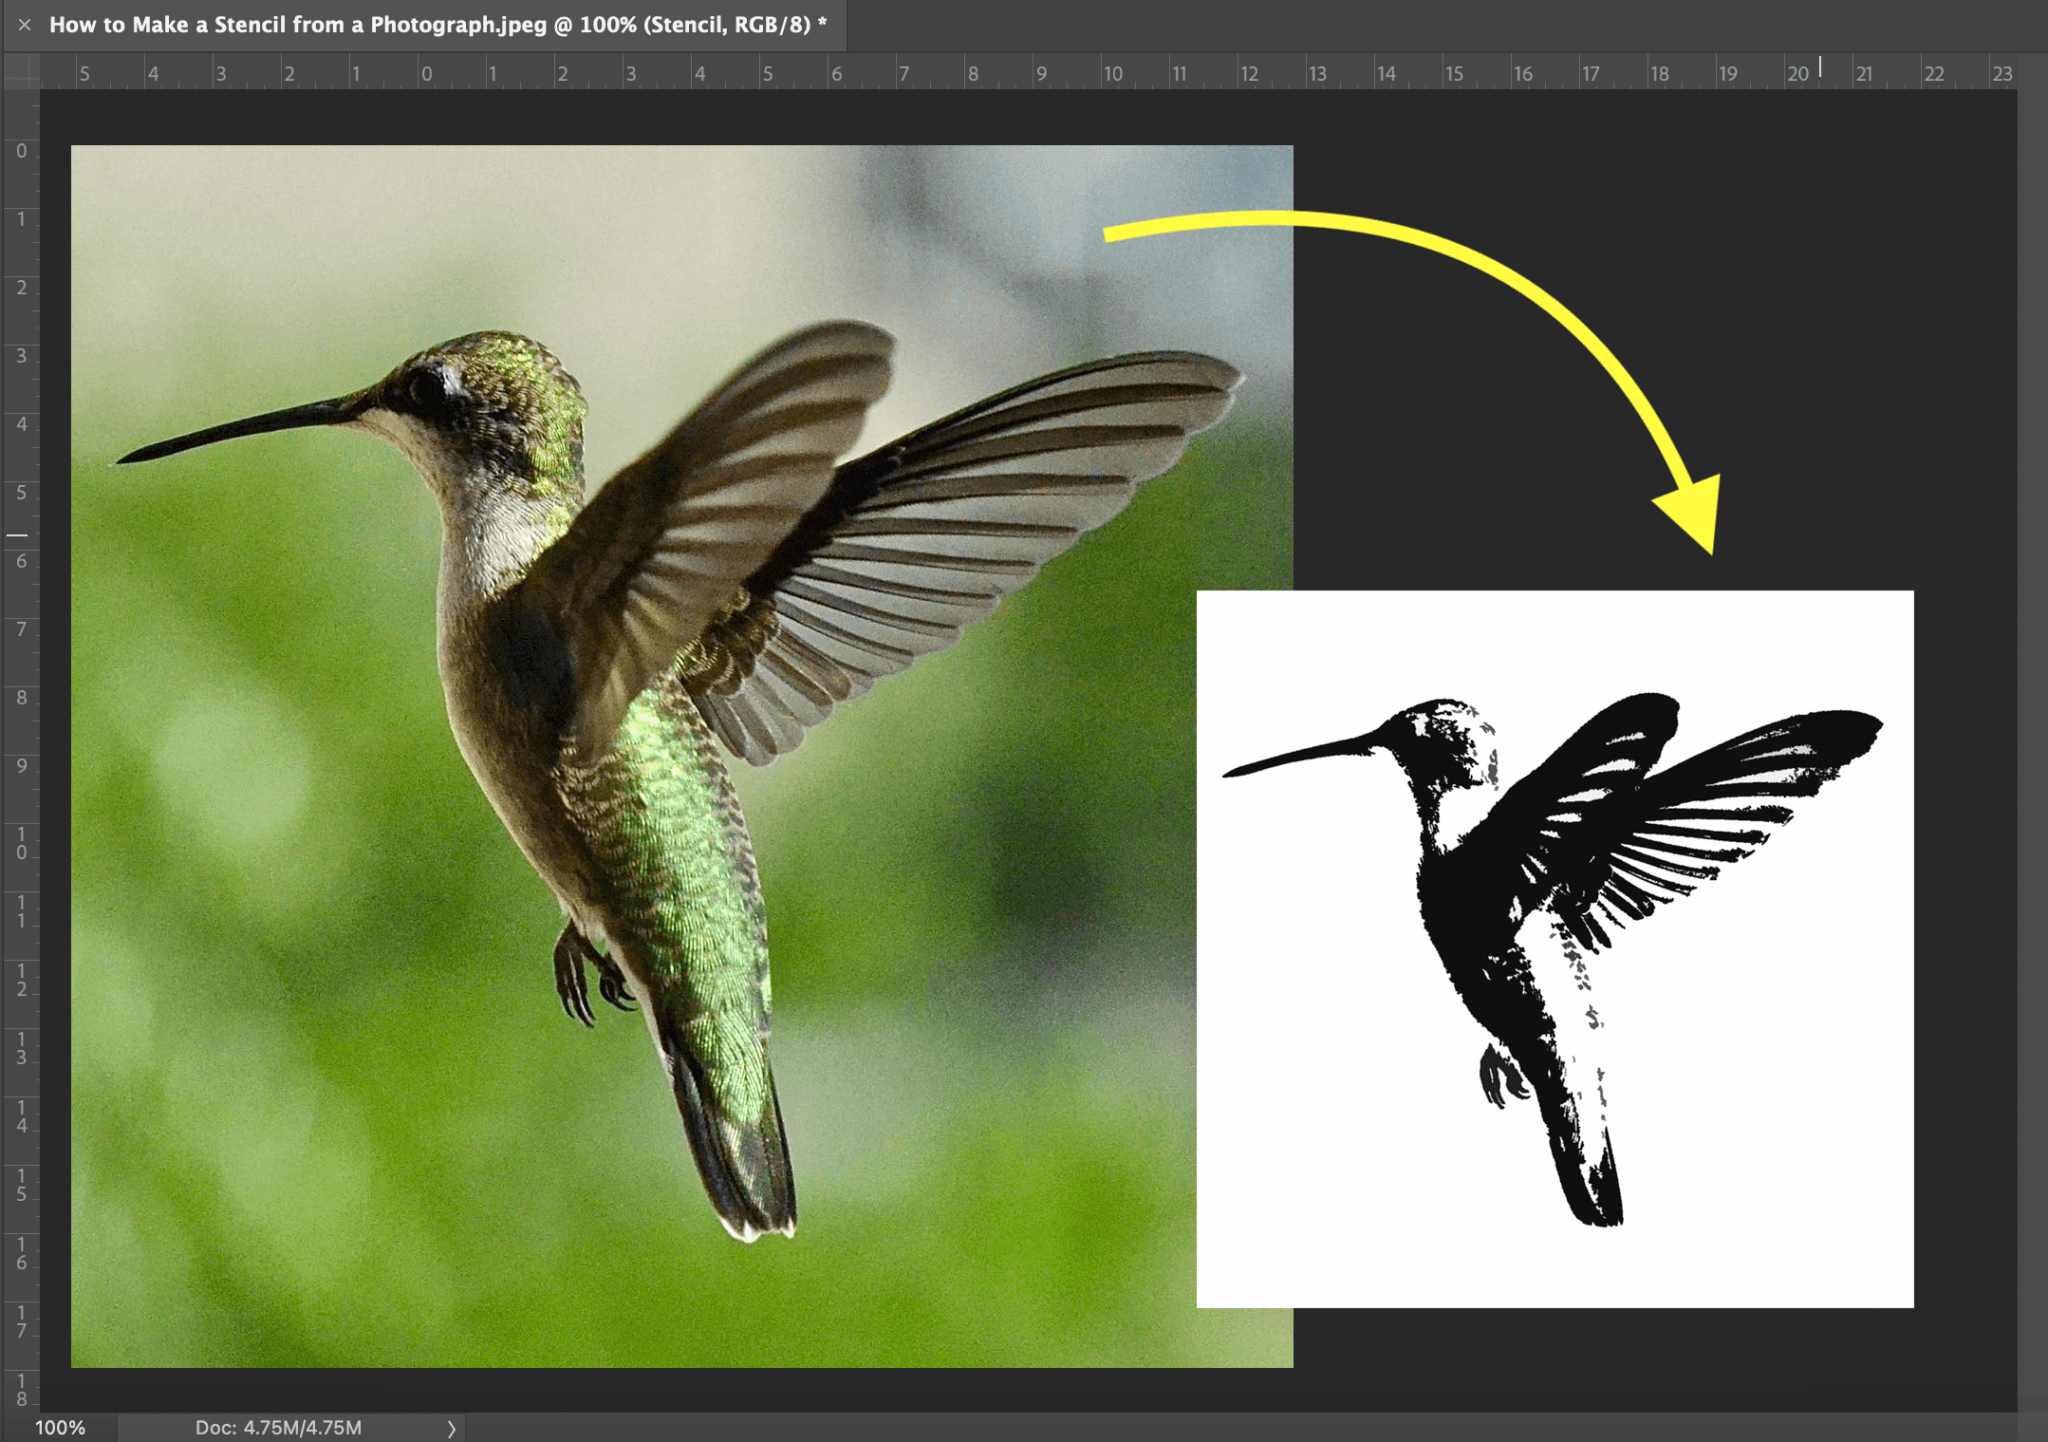
Converting photos into stencils is a neat trick to know in a pinch. Photographs you took can be used as a coloring page or even a stencil to paint a picture.
Luckily for you, creating a stencil is simple, and there are a few different ways to do this. You can use Photoshop, Illustrator, or free stencil creators.
How to Make a Stencil from a Picture:
- Open the image file in Photoshop
- Go to Image > Adjustment > Threshold
- Drag the Threshold slider to see the detail in your picture
- Use the white paintbrush to clean up the image and erase whatever you do not want showing in your stencil
- Go to the menu selection and click on Filter > Filter Gallery > Artistic > Cutout
- Make desirable adjustments to your stencil
- Print your stencil out on heavy cardstock
- Remove all of the black colors from your stencil with X-ACTO knife or scissors
How to Make a Stencil in Photoshop
Photoshop is one of the best photo editing software around with endless possibilities.
1. Open the image file in Photoshop.

2. Where your menu selection is, select Image>Adjustment>Threshold. Once this is done, the photo will become black and white.

3. A Threshold slider will appear. Drag the slider to see the detail in your photograph change. Drag it until you have minimal detail but enough of the image outline.

4. Clean the background of your stencil and use the white paintbrush to erase whatever you do not want showing in your stencil. Fill your white spaces with the black paintbrush tool.
Keep in mind that the black areas of your image will be removed and painted over.

Each detail of the stencil you want to be shown will need to be connected. Create lines with your white paintbrush to attach any isolated parts of your stencil to the photograph.

5. Go to the menu selection and click on Filter>Filter Gallery>Artistic>Cutout. This cutout filter will make the lines in your stencil straightened and easier to cut.

6. Now you can make adjustments to your stencil. There are a variety of filters or sliders that will alter your stencil. Example: The Edge Simplicity slider will let you straighten edges.

7. You're almost done! Give your stencil a final look before you print. Make sure everything is connected and ready to go.

8. Print your stencil out on heavy cardstock.
9. Remove all of the black colors from your stencil with X-ACTO knife or scissors. You should be left with a white stencil.
Stencil Creators Online
If you do not have access to Adobe Photoshop, another option would be stencil creators online. Most of these are pretty simple, and all you need to do is upload a photo and follow a few steps.
Stencil Graffiti Creator
This is one of the highly ranked stencil creator websites that is super easy to use.
- First, you will need to go to the site and upload your photography by choosing the Choose Stencil Image icon.
- Next, you have the option us their version of the spray can tool or use their brick option. Using the spray can let you pick the color you are using for your image. The brick tool allows you to select a texture.
- Next just export. Your stencil image is finished!
Stencil Creator
The Stencil Creator service has many functions to step up your stencil game. Although it has more access to different functions, it is still easy to use.
- Upload the image you want to convert into a stencil.
- Now you can choose the color and depth of your effect.
- This is the fun part where you can experiment with all available functions. You will see tools like contrast, effect levels, and color transformation. You can also use filters like Gaussian blur.
Photo2Stencil
The last stencil service on my list is Photo2Stencil. Here is a more basic stencil creator that can easily be uploaded to the stencil site. It may not offer as many bells and whistles as the stencil creator options above, and it gets the job done! You can also save the stencil you created as a vector image!
You can create stencils for your projects whenever you need them with the list above. Even if you do not have the popular Photoshop or Illustrator programs!
Related article: How to Edit RAW Images in Photoshop
Related article: How to Photograph Jewelry
Related article: How to Photograph Hummingbirds


