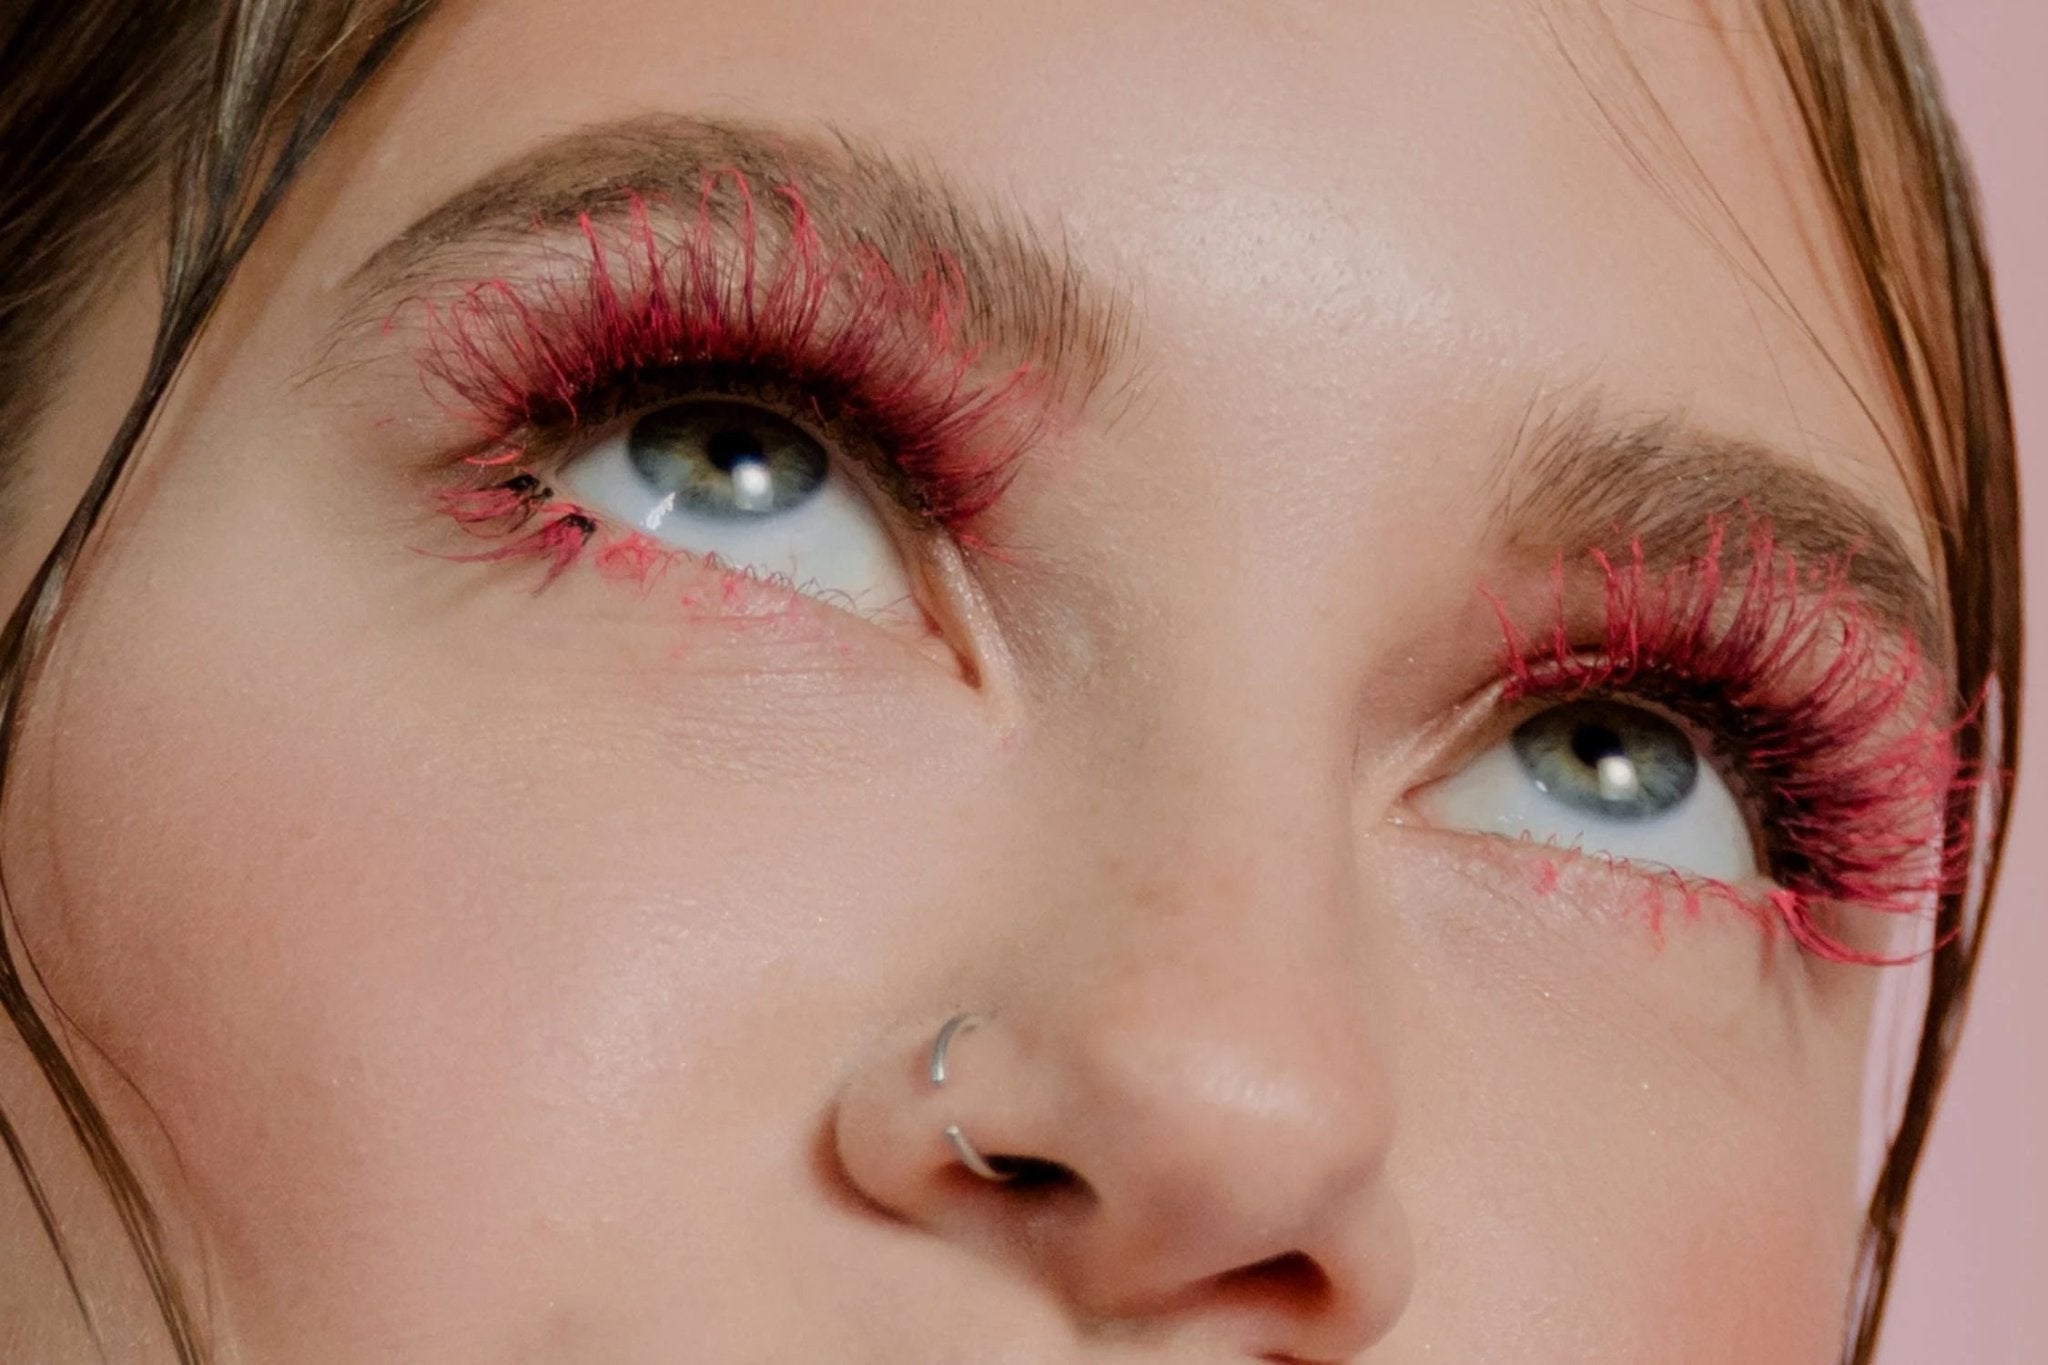
The lash business is booming, and the best way to get ahead of the game is by marketing the final product. If you are part of this booming business, you might have questions about how to properly take photographs of your client's lashes.
To keep clients interested and draw them into your business - you need bright and appealing images. People often take photos with their phones in poor lighting, which results in lackluster results. And, if you are trying to sell your service, lackluster is not a descriptive word you want to hear.
And, most likely, you are not a professional photographer. Do not worry - I can lead you in the right direction. With my tips and tricks, you will have people booking appointments!
What type of camera should I use?
Steer clear from your phone's camera. Although most smartphones have a decent camera, you will need something that packs a bigger punch. Especially since you are capturing a lot of tiny detail. Invest in a mirrorless camera or a DSLR camera.
What type of lens should I use?
Purchasing a macro lens is the best way to capture the tiny details from your model's lash set. These lenses are constructed to get intense close-up photography like eyes, insects, and the insides of a flower. With this lens, you can showcase your lash work perfectly. Typically lash artists need to show the difference between natural lashes and lash extensions, and you need to make sure there is a clear difference between these photographs.
However, if you want to showcase the overall look of the lashes on the face, you can use the lens that will come with your camera kit. You do not want to use your macro lens for headshots. The best photo to allure new customers is before and after photographs.
Will I Need Special Lighting?
Absolutely! Being in a bright, well-lit environment will make a world of difference in your photographs. Especially when it is an even source of light. Ring lights are a great way to give that even source of light you need. Many makeup influencers use these ring lights because they eliminate unwanted shadows.
What Special Techniques Should I Use?
There are rules of composition to follow that will up your photography game. No one will ever suspect that you are an amateur! Here are a few techniques to take gorgeous lash photos.
Rule of Thirds:
The Rule of Thirds composition technique is one of the more popular ones amongst professional photographers. While preparing to take your photograph, think of your image as being split up into nine equal portions - two horizontal and two vertical lines. Your goal is to put your focal point (the lashes) along the lines or where they intersect. Some cameras will even have an option to show you a guide.
Filling the Frame and Cropping:
There is a good chance you won't have access to a trendy and cool backdrop, but you will probably have a decent part of the client's chair there. When this happens, you can easily crop out any unappealing parts of your photo. Try to fill your frame as much as possible with your main subject.
Create Depth:
When you create depth in your photo, you draw the viewer's eye to the main subject. You can create depth by taking photographs at an angle or having some sort of background imagery. When you focus on the eye, it will blur your background - causing a three-dimensional feel.
Angles:
Taking your lash photographs at an angle is the ideal way to show the length and curl of the lashes. Going head-on doesn't justify the beauty of lashes, but side-views do. When you angle the camera to get an image from the top of the lash, you can showcase the fullness of the lash set.
Lastly, You Can Always Edit Your Photos
Although a little bit of editing is required, do not go crazy. Over editing is easy to spot and can almost create a false advertisement. You should only edit to adjust brightness, contrast, and shadows and want your photograph to be realistic.
Now that you have this guide, you can get to snappin'! Improve your marketing and social media presence by capturing gorgeous lashes that will wow future clients. And, remember, practice and experimentation will perfect your photos. Don't get flustered if they aren't turning out the way you imagined. For more information on camera settings, check out our other articles:
Related article: Macro Eye Photography
Related article: What is Saturation in Photography
Related article: Best Aperture for Portraits
Related article: How to Edit RAW Images in Photoshop


