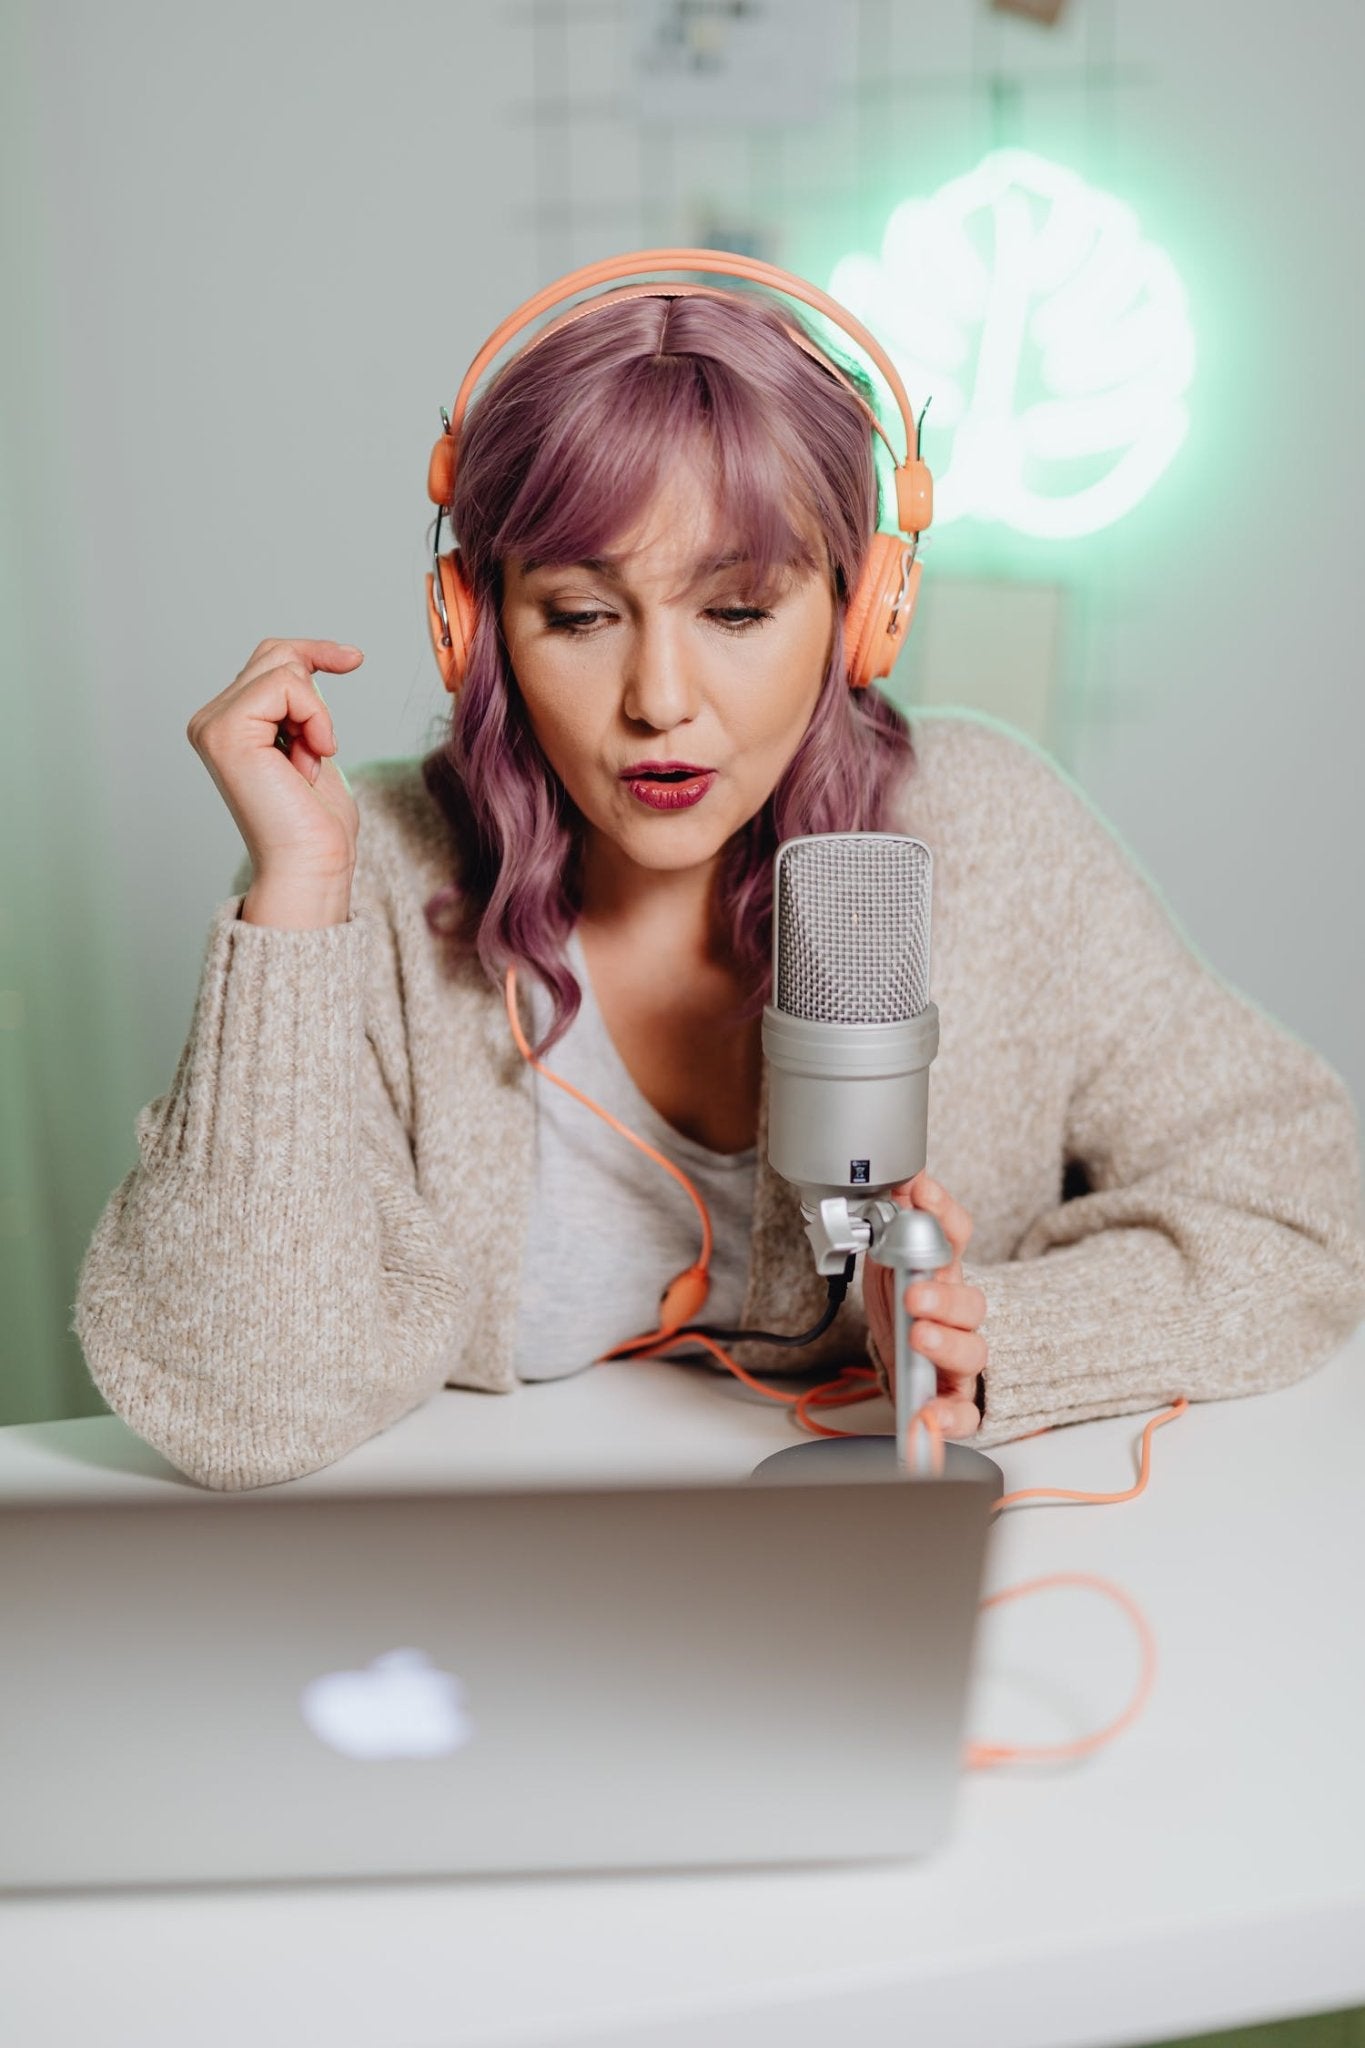
Take the leap and start a podcast! If you chose to click on this article, you are at least thinking about recording one. If you are worried about it being hard, you've come to the right place. It is so easy and, I am here to help you along the way.
Let's start with a checklist!
• Figure out where you want to record.
Do you already have a space in mind? Will you be recording at home, outside, in an office? Your best bet will be to record in a controlled environment with limited outside noises.
• Look into software you can trust.
There are many software options to choose from, some are free, and others will cost money. Make sure whichever software program you choose will be compatible with your computer.
- Audacity - Free and easy to use but has professional editing features. Visually it isn't as clean as its competitors.
- GarageBand - This option is popular amongst musicians and podcasters. The downside to this software is that it is only compatible with a Mac.
- Adobe Audition - This powerful subscription-based service is a good option for professionals. Adobe Audition takes time to learn but is well worth it.
- Ableton - Expensive but fantastic. This software is of severe podcasters and can give you the option of recording live.
- ProTools - The outstanding editing features with this software will take you far. You will get professional quality sound but, it will come with a price.
There are plenty of other editing software to choose from if you want to dive further into this. These are just my top 5 recommendations.
• Make sure you have a microphone!
How you're recording yourself is crucial. You want to make sure you sound crystal clear.
USB Microphones: These are easy to use and can connect directly to your computer.Rode NT-USB Mini USB Microphone
Saramonic L.Diaphram USB Desktop Condenser Mic
Dynamic Microphones: This microphone concentrates on the person's voice. It helps cancel out environmental noises.
Rode PodMic Dynamic Podcasting Microphone
Saramonic SR-HM7 DI Handheld Dynamic USB Microphone for iOS Devices (Black)
Built-in Microphones: These microphones should be used temporarily and; not for professional podcast recording.
Condenser Microphones: This type of microphone is perfect for those wanting a professional-sounding podcast. It picks up great audio.
Rode Dual Powered Condenser Shotgun Microphone NTG-2
Saramonic SmartMic Di
• Now, it's time to hit the record button.
Once you have your software, microphone, and studio location, you can record your podcast. Depending on your podcast topic, you should have an outline created to help you stay on track while recording.
Let's use Audacity as an example for a step-by-step guide. Make sure you have your microphone connected or synced. Audacity will use a built-in microphone if you do not choose which microphone you want to use. You can observe your volume levels by using the input level bar.
Once set up, click the red button to start recording. When you have finished recording, you can click the stop button. A perk to this software is integrating a recording if you forgot to mention something from when you previously hit record.
Audacity will give you complete control of pausing and continuing with a recording. If you feel like there was a flub during your recording, you can go back in and edit.
Once you have said everything you want, you can export your podcast. In the Audacity software, you can go up to File and then click Export Audio.
Include an episode name and select your file type. You should either use an M4A or MP3 file type and using one of these is considered an industry standard for platforms like iTunes and Spotify. Make sure to include all of your episode info.
For the MP3 and M4A options, you will need an encoder like LAME. This encoder is something you can download straight from Audacity.
• But wait, before you publish, you will need to edit!
You will almost always need to edit your recording. Editing might mean you're trimming dead air or eliminating noise from the background. You can cut silence by using the Truncate Silence feature. You can find this by going to the Effect tool. Eliminate dead air by inputting the following settings - Level: 20dB • Duration: 2 • Truncate to 0. You can play around with these settings until everything sounds perfect to you. Editing will be trial and error, so make sure you are patient and have your listening ears on.
• Go ahead and publish!
After you have edited your recording and feel happy with what you created, go ahead and publish! Utilizing the steps above will help you use Audacity if that is the software you choose.


