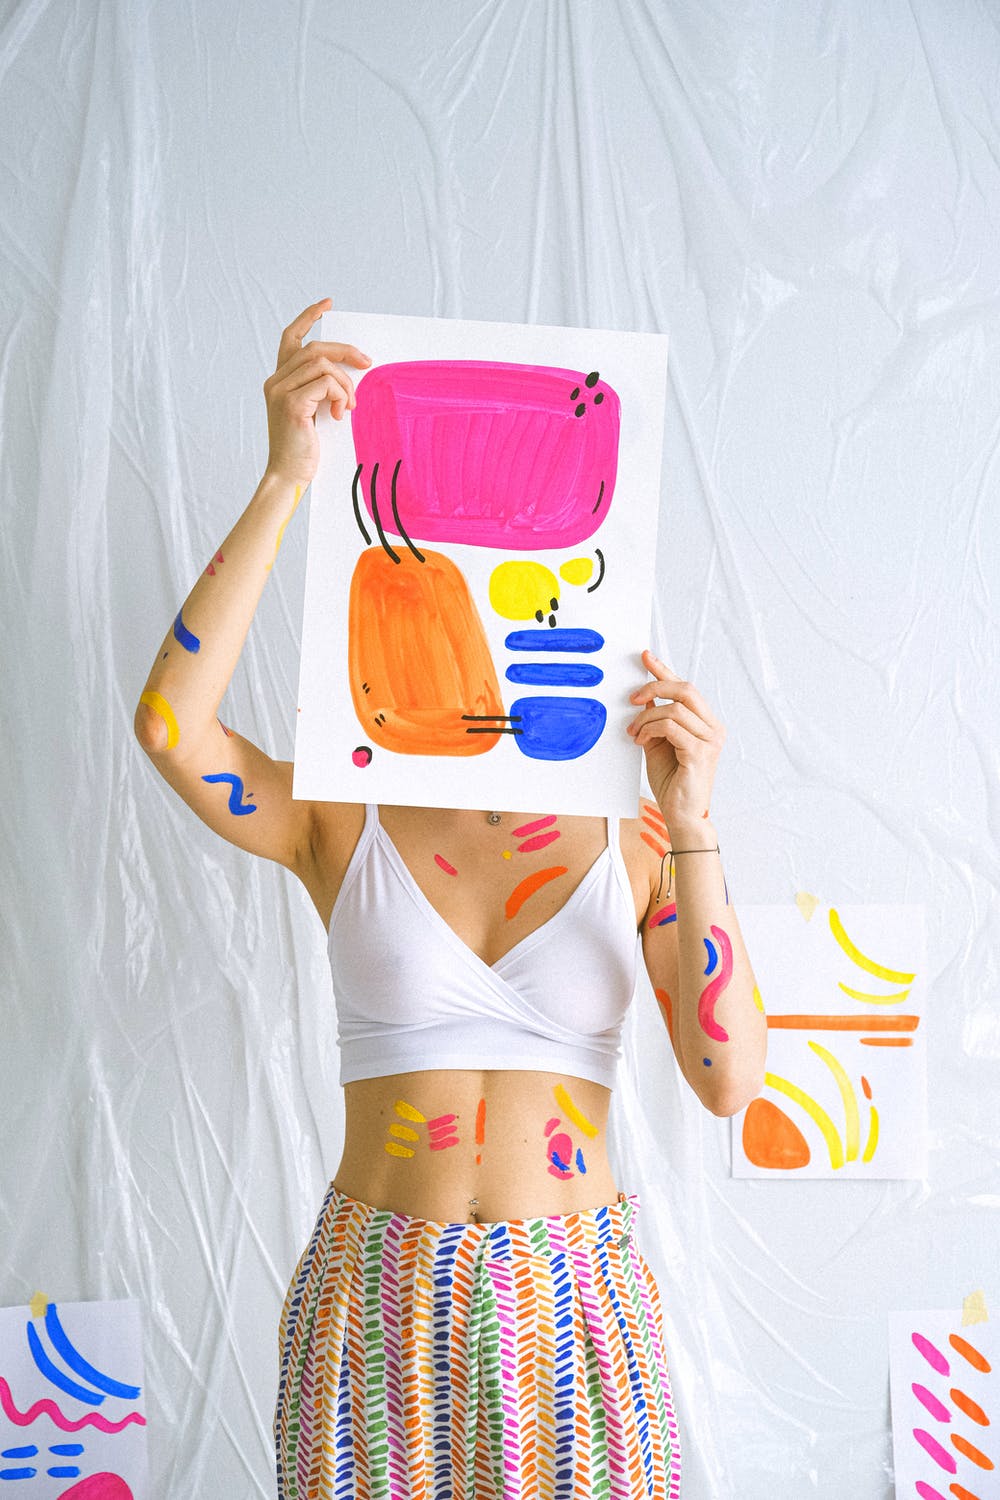
Here at B&C Camera, we understand some artists may need to take photos of their artwork, so we decided to curate some tips and tricks to make your photos stand out.
Understanding how to photograph artwork may seem tricky. If you are hoping to persuade a gallerist to showcase your art, trying to sell a piece online, or even posting it onto an art blog to show your followers what you've done, you might want some pointers.
1. First things first, do you even have all of the right equipment?!
Almost everyone has a smartphone which provides a good starting resource. These new phones have some capabilities with professional features. However, a professional camera will always offer you better results, and your smartphone can have your back.
If you decide to use a simple point-and-shoot camera, not a mirrorless camera or a DSLR, make sure it has the capabilities for some basic settings like white balance, F-stop (aperture), ISO, at least 20 megapixels, and a flash.
Some other options to consider:
• Can you shoot in raw?
• Do you have access to a tripod? You'll want it! The tripod will allow your photos to be steady with no movement.
• Do some research on your white balance. You'll want to make sure you have the best setting. This will all depend on the natural lighting you are working with. Is it during the day? Cloudy? How about an overcast? All of that matters for the white balance.
• Also, check your aperture or F stop. These should usually be set to a landscape setting or about 8.
• And as one of the last things, make sure the ISO is set to about 100, so you can keep the photo's integrity.
2. Setting the scene is everything!
First off, make sure your background isn't too busy and more eye-catching than the art itself. Try using a solid color as your background. Using white will make the editing process smoother, but a neutral color will also work. Positioning your artwork is just as important as having the correct equipment. It may even be the most crucial part of the process. Depending on the size of your artwork, you might be able to hang it on the wall and snap a photo directly in front, head-on. However, life isn't always that easy. There's a chance you may have to place your artwork on the floor and try different angles to capture the perfect light.
Perfect lighting is crucial for all photographers, no matter what you are trying to photograph. You want a nice balance of light, not too bright - not too dark. If shooting outdoors, an overcast usually provides the perfect lighting condition. When indoors, you need good filtered light. If you want to be in control, you can always purchase a lighting kit.
3. Time to save and get ready to edit!
Now that the hard part is over, the following steps should be easy. Always, always, always, look on a large screen! Once you have the photos pulled up, you will choose which photos came out the best. Once saved, the editing will begin. Macs and PCs both provide simple editing software. If editing is something you do more frequently, we suggest purchasing Adobe Lightroom or Photoshop. Both of these programs offer way more features than the standard editing programs.
4. The nitty-gritty of editing.
Cropping and Resizing: You may need to crop your artwork to remove any blank space in the actual photo. Depending on all the sources you will be sharing this photograph, you may need to crop and resize with various sizes. Some social media sites can be picky with the photos you upload and want specific dimensions in pixels. We suggest looking up the recommended size for whichever area you upload to. The dots per inch (DPI) is something else to pay close attention to. If the DPI is high, photos can take a long time to load. The standard DPI is about 72 for websites and social media.
Color/Exposure and White Balance: You want to know your artwork is perfectly conveyed through the photo. A quick tip is to hold your art next to the computer screen and see if the colors match. Especially look at the whites and blacks. If the colors don't match, you can easily play around with the exposure and saturation through photo editing software.
We hope that this article has been helpful for you to understand how to photograph artwork. Photography is a complex topic, and we know there are so many different things going on in the professional photography world. These guidelines should help as a starting point, but please keep in mind these may not be perfect solutions for every scenario or client request. If you have any questions about what's written here or need some other type of photography help from us, feel free to reach out anytime!


