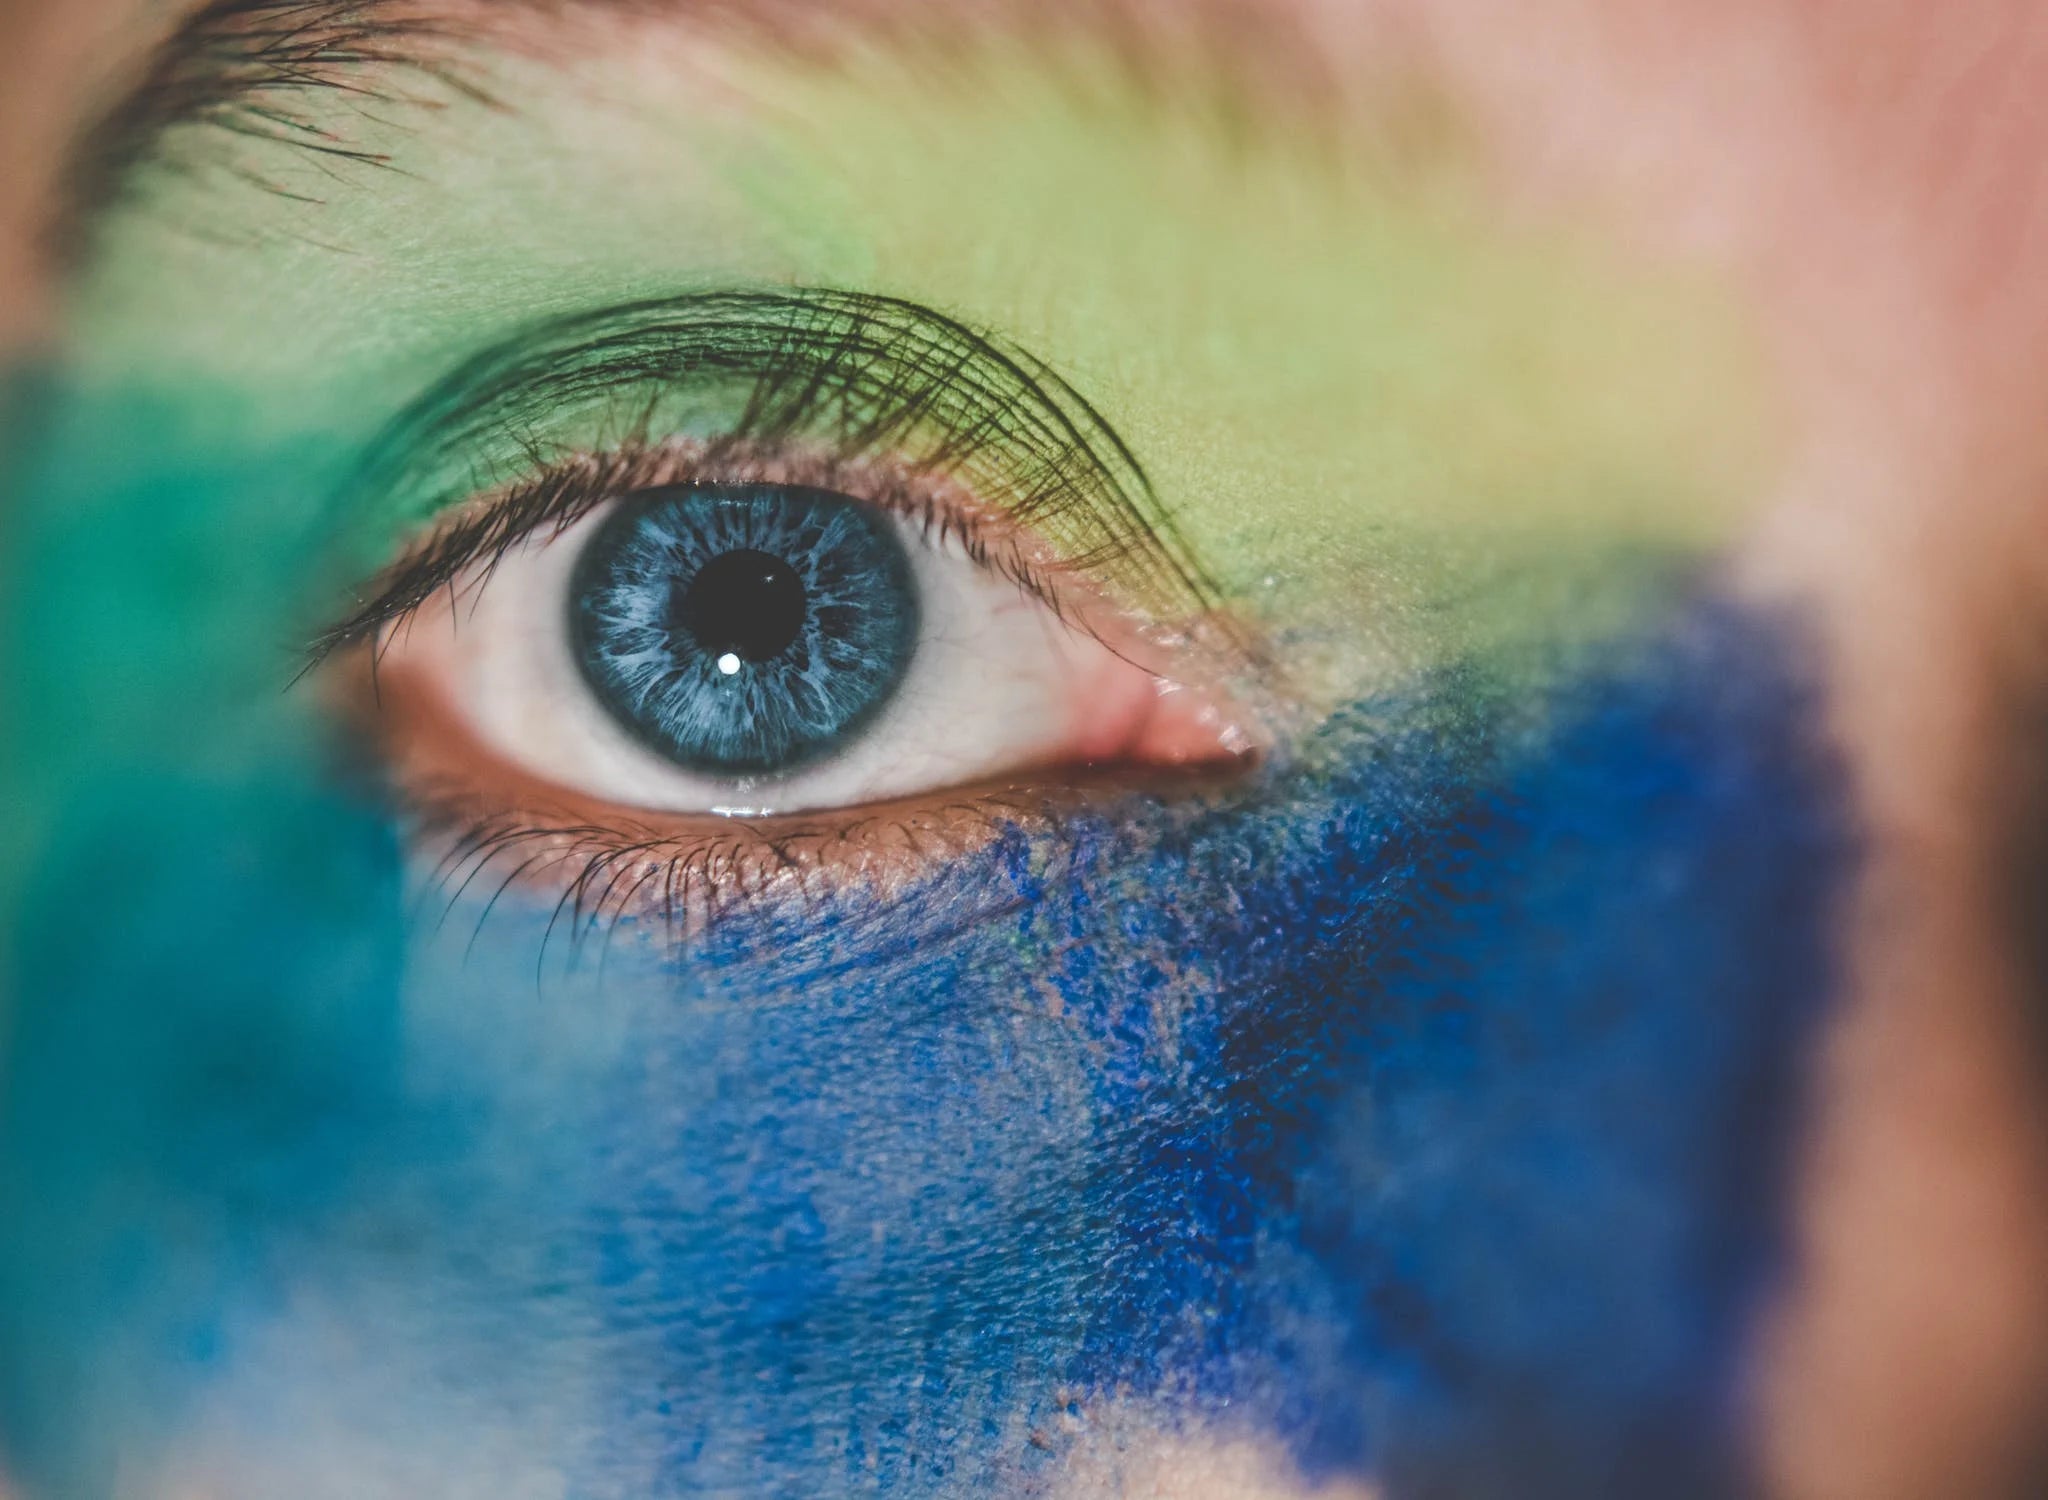
Your eye is known to be the window to your soul. So, of course, there is no wonder why so many people are intrigued by taking macro photographs of them. They offer beautiful mesmerizing shapes and colors, and they often even give a kaleidoscope type of look.
However, you will need some tips to execute the best eye macro photographs.
Recommended Camera Settings
To get those enchanting macro eye photographs, you need to use the best camera settings. Keep in mind that these are recommendations, not rules. Use these as a starting point, and then experiment with your camera to see which settings work best.
ISO
The proper ISO will reduce the amount of noise in your images. Adjust your ISO manually for super sharp photographs. If you are in a brighter environment, start with is ISO of 100. When you are in low light conditions, you might need to increase your ISO to 800. The higher your ISO, the more chance you have of noise.
Related article: Best ISO for Portraits
Aperture
Use a narrow aperture to get an eye in focus. Start by using an f/8 and work your way up. Steer clear of large apertures that will give you a shallow depth of field that will make it harder to focus.
Related article: Best Aperture for Portraits
Shutter Speed
You can quickly get away with using your camera's aperture priority setting. By doing this, your camera will choose a shutter speed automatically. It will save you a decent amount of time. However, this doesn't mean you can forget about your shutter speed. Keep an eye on where it's at and keep it above 1/60th of a second. If your shutter speed goes too slow, it will cause a blurred photograph.
Related article: Best Shutter Speed for Portraits
More Tips & Recommendations
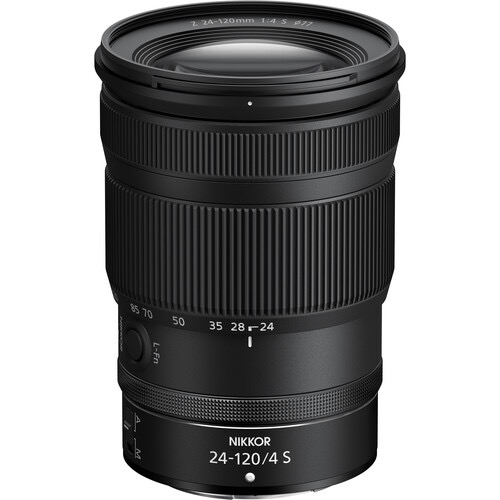
Invest in a Macro Lens
True macro lenses will give you sharp photos. A regular lens will not work and will only focus a certain distance. A macro lens is similar to a magnifying glass, and it will allow you to get close to your subject while retaining a clear image. Invest in a macro lens with at least a 100mm focal length. You will get close, but not too close to block out any light.
What to Do If You Don't Have a Macro Lens
There are a few alternatives if you do not have access to a macro lens. You can use extension tubes, bellows, or reversing rings in place of a macro lens. These accessories can be attached to the lens you are using. And voila! You have an alternative to getting closer to your subject without a macro.
Make Sure the Eye is Well Rested
Eyes are sensitive. Ask your model to rest unless you are going for a tired-looking and blood-shot eye. You want your model's eye to be stress-free to get the whites of the eye to be white. If you plan on including the whites of the eye, activities that can be strenuous to the eyes should wait until after the photoshoot. So scrolling through TikTok is a no-no. You can also have eye drops on hand to alleviate any red veins.
Your model Needs to Be Still
The eye can rapidly move at any second. Some people are just twitchy than others ( I know I am!). Make sure your model can be as stiff as a board to prevent blurry photos. On top of having a steady model, you need a steady hand. Use a tripod to avoid hand movements from you.
Lighting
Never forget your lighting. The lighting condition you are in can make or break any photograph, no matter the genre. You will need some illumination to guarantee that plenty of light is hitting your subject to get all of the iris's details. You don't want your model to stare into the sun and damage their eyes - even for a good shot. A shaded area that still has excellent light is ideal. If you aren't in natural light, use continuous lighting like a softbox. A softbox will diffuse harsh sunlight. Stay away from flashes or strobes that can make your model involuntarily blink. And last but not least, keep whatever light you are using to the side, and it will prevent unwanted shadows.
Post-Processing
You still have the post-processing step to redeem your eye macro photo if you aren't 100% happy. Following these recommendations should result in a great photograph. But, a few tweaks can take it to another level. Experiment with your white balance, brightness, and contrast to help highlight the iris's details. If you want to draw out the colors, use the vibrance and saturation tool. Remember, do not overdo your edits. There is a fine line between a gorgeous photo and an unnatural and over-processed one.
The key to capturing an eye will always be to stay as still as possible. Regardless, the recommendations above will help you capture a macro of an eye, the window to someone's soul.
Related article: Best Lens for Newborn Photography
Related article: How to Do Silhouette Photography
Related article: Starting a Photography Business Checklist