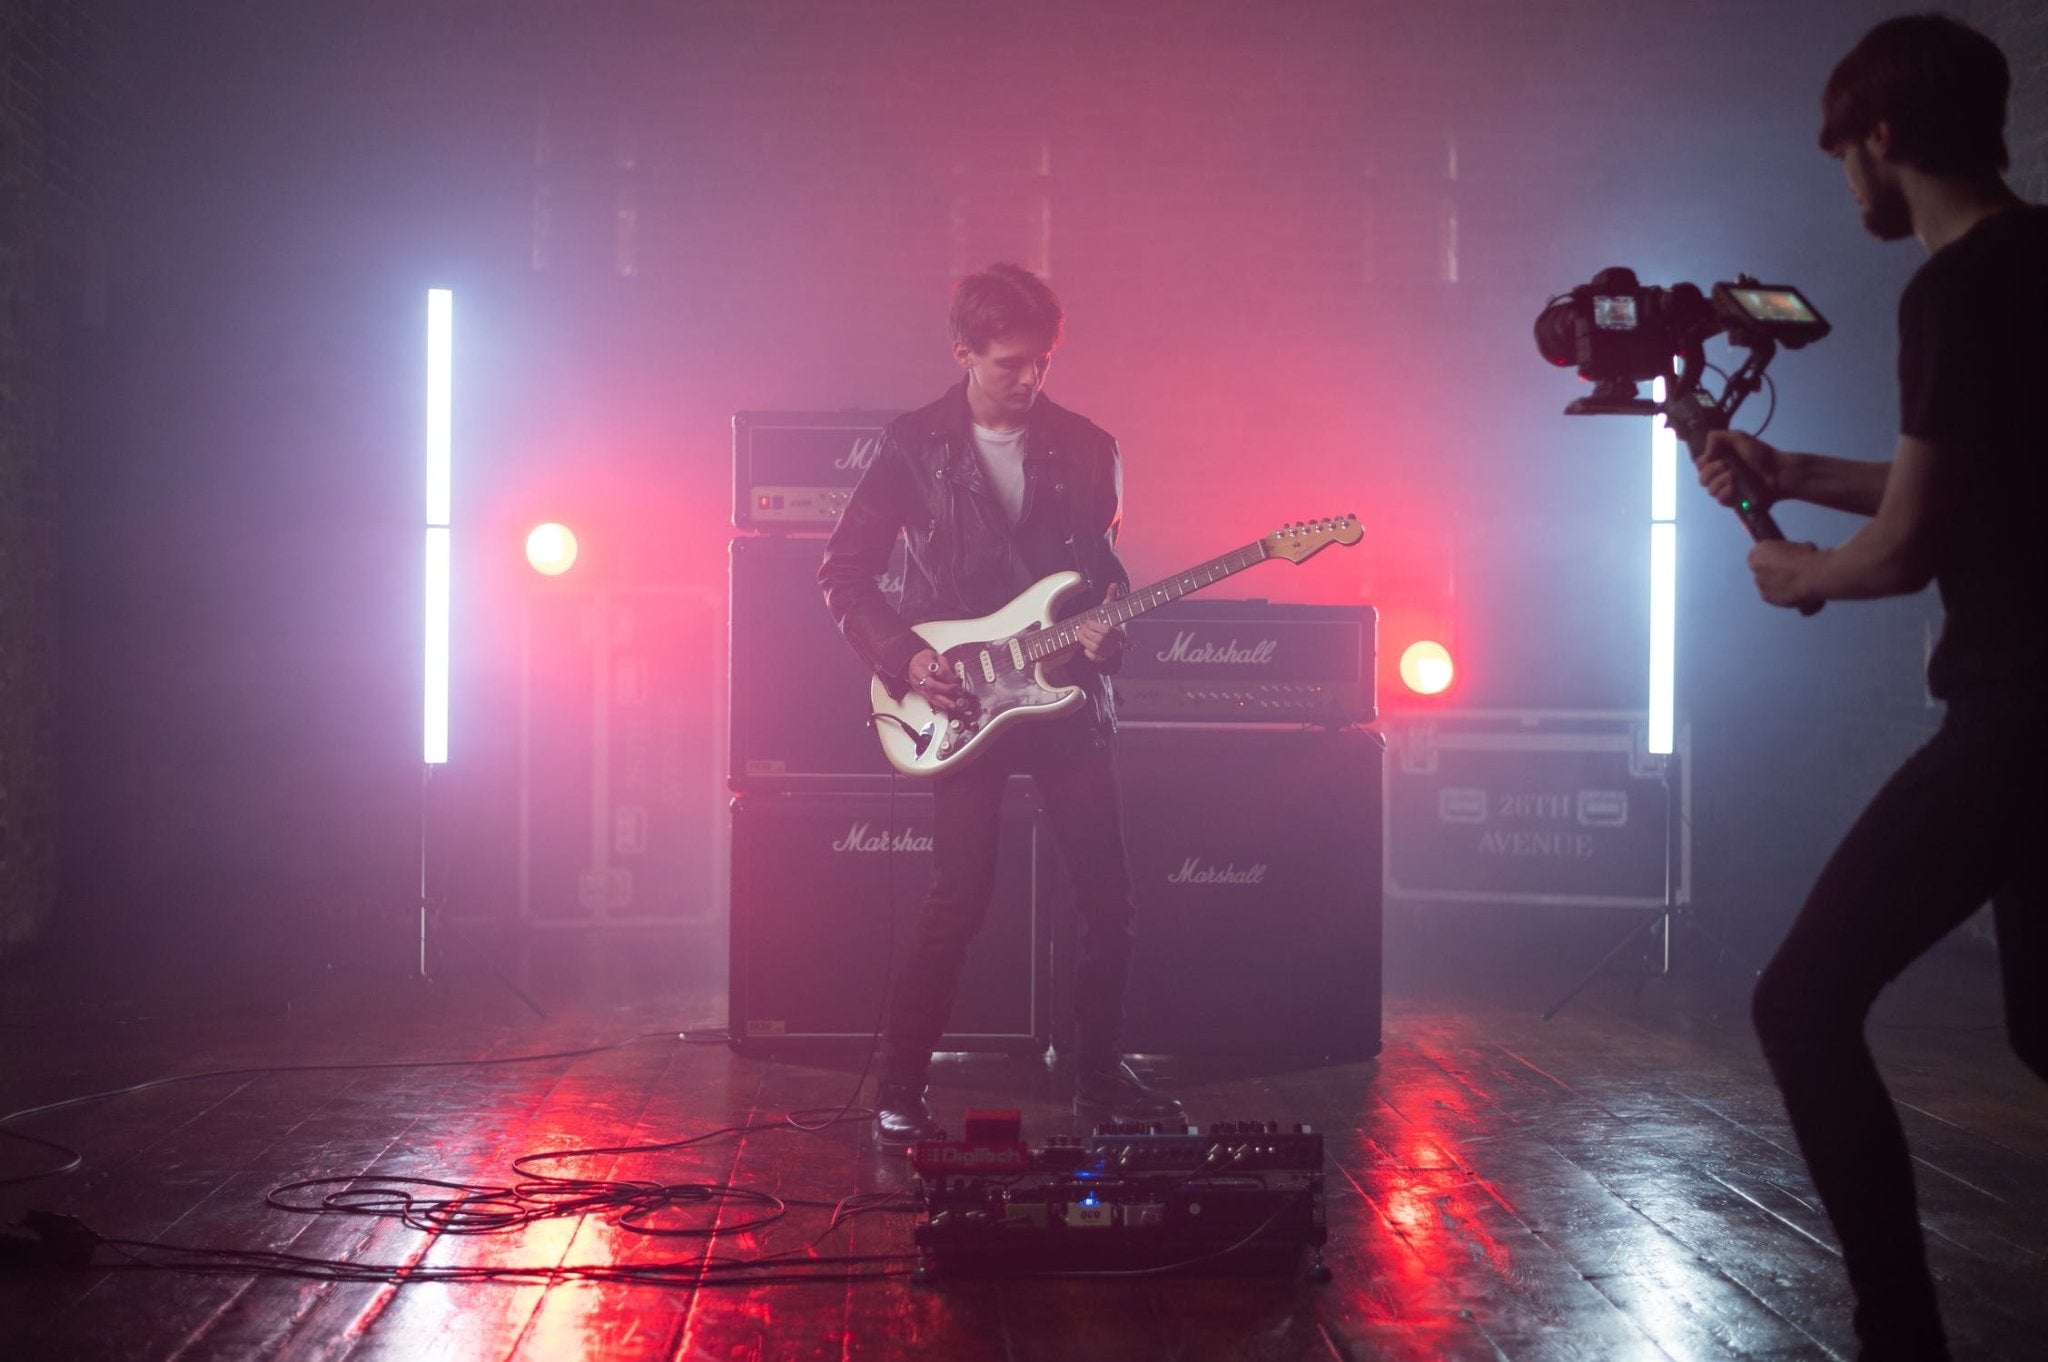
Cameras have advanced dramatically from their inception, but even within the last ten years. Modern mirrorless cameras and DSLRs now include an abundance of options, which you may play with to alter the appearance and feel of your film. The keyword there is "play." It should be fun, shouldn't it?
With so many camera options to pick from, many individuals get nervous and opt for the simple approach of using their cameras in auto mode.
But there's a better way to do things for improved results: skip the auto mode and manually tune the equipment settings.
Is it worth all the trouble to change each camera setting manually? The answer is yes, and the good news is that it isn't challenging to do so.
Although digital cameras appear to have an endless number of settings, there are only seven that you should pay attention to produce a high-quality video.
Camera Settings for Video You Need to Know:
- Video Resolution
- Frame Rate
- Video Bitrate
- Shutter Speed
- Aperture
- ISO
- White Balance
We'll detail each of these below, so you know how to get high-quality video footage every time you pick up your camera.
Are you ready to learn all there is to know about the most satisfactory video settings? Let's get rolling. P.S. that's a little video lingo.
Pro tip: We recommend that you follow this list in the same order it's written while experimenting with your camera settings. Then, as you set up your camera to shoot, you can go through the mental checklist.
Video Resolution
The first thing to consider is video resolution. Video quality is determined by the number of pixels in the video, referred to as resolution. The better the resolution and picture clarity, the higher the pixel count.
We suggested that your video resolution be set to 1920×1080 pixels or higher. In theory, you should use a 4K or even higher setting, but not all cameras support this. 4K is close to becoming consumer-grade, but not quite yet.
Some of the biggest channels on the web upload videos in 1080p resolution, so don't worry if you don't have access to 4K. At this point, it's more data for editing, but it's not how everyone is experiencing your footage.
Always starting with the highest resolution possible is a good rule of thumb. If you need to reduce the resolution later, you may do so in video editing. Conversely, it isn't possible to achieve a higher resolution after the shoot.
The only thing to consider when shooting high resolution, which might deter you from doing so, is the amount of space you have on your memory cards and whether or not you have a computer that's beefy enough to handle all that pro footage.
If you're still in the process of upgrading your cards and computer, 1080p is still the industry standard, so get shooting.
Frame Rate
The frame rate of the camera, also known as frames per second (FPS), should be adjusted. The FPS determines the motion blur or the movement in your video.
This camera option is simple since the standard is 30 FPS for the NTSC area (the Americas). This frame rate works fine in most situations, especially if you're uploading to YouTube.
However, if you want a more realistic film appearance, consider lowering the frame rate to 24 FPS. This is generally considered "cinematic," as this is the frame rate we've been watching in movies for over 100 years.
Higher frame rates (like 60p or 120p) are reserved for slow-mo.
Video Bitrate
It's time to manually change your camera's video bitrate, which determines the quality of the recorded video in each frame – once you've decided on the desired frame rate, that is.
The bitrate rate is the number of megabits per second, or Mbps, used to create each video frame and is represented as bits (1s and 0s).
A bigger file implies a greater bitrate, which means you'll deal with a larger file. This sounds great in theory, but again, keep an eye on the size and speed of your memory cards. Bigger files equal larger storage demands.
Setting the bitrate is problematic because it depends on your camera. Because every device has access to various bitrates, this is a question of personal preference. Another thing to remember is that bitrates aren't comparable across the board; for example, 18 Mbps may be the maximum setting on one camera but the lowest option on another.
Generally speaking, the bigger the number of bits, the better because this translates to less compression on your resolution. 1080p footage processed at a higher bitrate will look better than 4K footage processed and only 5 Mbps, for example.
Shutter Speed
You've figured out the resolution, frame rate, and bitrate, so it's time to look at the settings that affect the appearance and feel of your detail shot. Shutter speed is first on the list, with this setting having a significant impact on how the motion of the video appears to the audience.
The shutter speed, which refers to the time it takes for light from a flash to reach the sensor, is also a setting many photographers overlook. It's also essential since it helps determine the exposure and brightness of the photograph, so needless to say, this is a vital parameter to understand. You'll be able to reduce the chance of any motion "blur" by quickening your shutter speed. You'll be able to accentuate motion blur with a slower shutter speed creatively (but be careful – images are usually better when seen in crisp detail).
The frame rate option you've chosen determines the optimum shutter speed for your film. The general guideline is to use a shutter speed double the frame rate. A frame rate of 30 FPS, for example, necessitates a shutter speed of 60 (or 1/60 of a second).
Set the shutter speed to 1/48 if you've gone with a cinematic look by setting the frame rate to 24 frames per second. However, not all cameras have this option; 1/50 is close enough and will still produce excellent outcomes.
Aperture
Let's look at how to change your aperture next. The opening in the camera lens referred to as the aperture, is adjusted to increase or decrease the quantity of light in a photograph. Consider it like a person's eye: A bigger pupil allows more light into the eye.
The aperture is the lens opening size, which controls how much light enters a photo. The smaller the aperture, or wider the lens opening, the more light enters into a shot; reducing it, on the other hand, or narrowing it, produces a darker image.
The aperture is more than just a way to adjust brightness, though. The aperture may modify the entire appearance of the picture while at the same time blurring out the background and keeping the subject in sharp focus. This is known as "depth of field" or the "zone" of focus within your shot.
Just remember that blurrier backgrounds tend to add emphasis to your subject. While highly desired in portrait photography, use a shallow depth of field sparingly in the video because you don't want this technique to lose its potency throughout a 5, 10, to 45-minute video.
ISO
The brightness of your shot is determined by the combination of your shutter speed, aperture, and our following setting, ISO. The term "exposure triangle" is often used to describe these three settings because they all impact how a video appears in terms of brightness.
ISO is usually the following setting to consider once you've set the shutter speed to match the frame rate and adjusted the aperture to get the desired look for your photo. ISO is a variable that may be used to increase or decrease the brightness of your shot electronically. It's a great and easy tool, but be cautious, as the higher the ISO, the more "noise" depreciates your image quality.
ISO efficiency and range vary from camera to camera, so do some research and add light!
White Balance
Another option to consider is white balance, which can significantly impact the shot's appearance and feel. Depending on the light temperature your camera is beneath, the footage might appear blue or make the subject appear like an orange Oompa-Loompa if you incorrectly set the white balance.
Related article: White Balance Photography: What is White Balance
Cameras generally come with pre-programmed white balance settings that are set to shoot in the sunshine, on a cloudy day, or under artificial lighting. Another choice is to manually adjust the color temperature number, also known as the Kelvin number.
Related article: Kelvin Color Temperature - Color Temperature Chart
When comparing different Kelvin numbers, it's usually good to start with the various presets and see if any of them suit your desired aesthetic. If that doesn't work, try matching the lighting setup of the video shoot to the Kelvin number.
Lower on the Kelvin scale, the warmer the light. The higher the number, the cooler or bluer the light.
So there you go! Tweak those seven things, and you'll be well on your way to filming that elusive "cinematic" footage!
Related article: How to Make a YouTube Video (Beginner's Guide)
Related article: The 3 Most Important Camera Settings
Related article: Nanlite Review
Related article: Best Camera Settings for Outdoor Portraits